
Chapter 13 – On the Run
Introduction
Hello everyone, welcome to our Walkthrough for Chapter Thirteen of Year Six of Harry Potter Hogwarts Mystery. Last time, you acquired an Invisibility Cloak and decided to practice using it on your professors before attempting to sneak into the Ministry of Magic. The cloak worked just as intended, and you managed to eavesdrop on some of your professors without any of them noticing you.
However, later on, while you were in Hog’s Head Inn, Mad-Eye Moody arrived to warn you of the upcoming danger. He asked you to meet him at the Training Grounds where he’ll explain everything in detail.
Summary
Chapter Summary:
- Lesson 1: Fwooper
- Location: Care of Magical Creatures
- Unlock: 9 Care of Magical Creatures Stars
- Requirements: 3 hours – 5/5 stars
- Lesson 2: Sea Urchin Jinx
- Location: Defence Against the Dark Arts Classroom
- Unlock: 9 Defence Against the Dark Arts Stars
- Requirements: 3 hours – 5/5 stars
- Task 1: Meet with Mad-Eye
- Location: Training Grounds
- Requirements (duel): 31 Courage, 35 Empathy, 31 Knowledge; 450 Coins
- Task 2: Attend Divinations Class
- Location: Divination Classroom
- Requirements: 3 hours – 1/5 stars
- Choice: Choose a friend to confide in
- Tonks: +5 Empathy
- Chiara: +5 Empathy
- Barnaby: +5 Empathy
- Task 3: Meet with Merula & Ben
- Location: Training Grounds
- Requirements: 1 hour – 3/5 stars
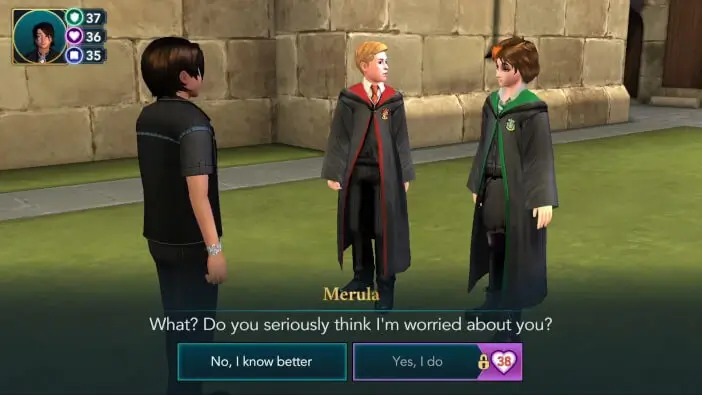
- Choice: Tell Merula do you think she is worried about you
- No, I know better: +5 Knowledge
- Yes, I do (38 Empathy): +10 Empathy
- Task 4: Gather Allies
- Location: Clocktower Courtyard
- Requirements: 1 hour – 3/5 stars
- Choice: Decide which side you will support
- Side with Charlie: +5 Empathy
- Side with Ben: +5 Courage
- Task 5: Confront Ben
- Location: Spider’s Lair
- Requirements (Duel): 28 Courage, 31 Empathy, 28 Knowledge; 450 Coins
- Choice: Reply to Ben
- Yes, I miss the old you (Ben level 9): +10 Empathy
- No, I like how you’ve grown: +5 Courage
- Chapter Rewards: 250 Coins and 2000 Experience Points
Walkthrough
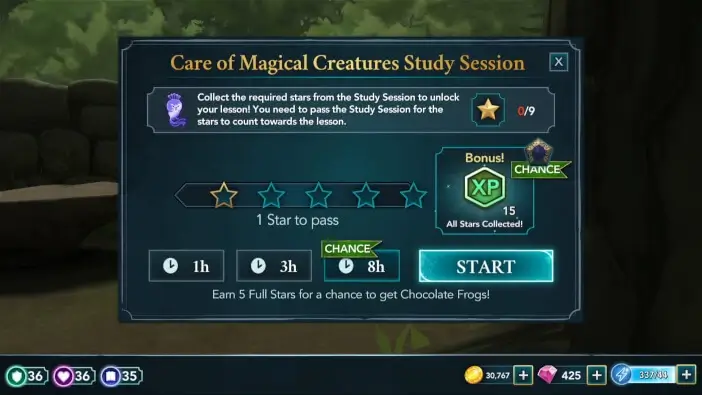
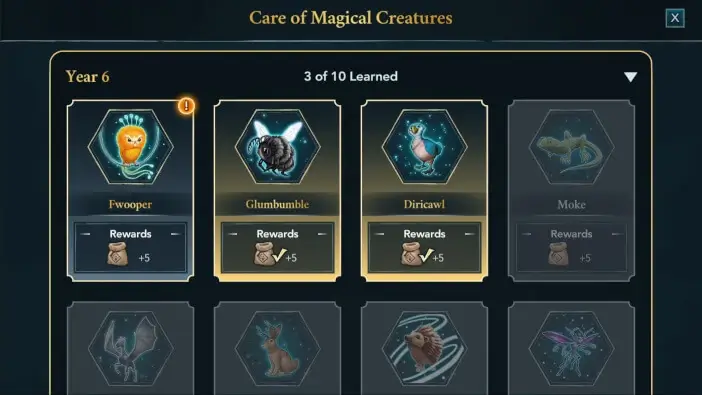
But first, as usual, you should get the lessons out of the way. Proceed to the Care of Magical Creatures when you are ready. To unlock the Fwooper lesson, you need to earn nine stars from Care of Magical Creatures. Pick the class duration you prefer and hit Start to begin.
In general, Care of Magical Creatures classes have plenty of reward actions, which should make things easier for you.
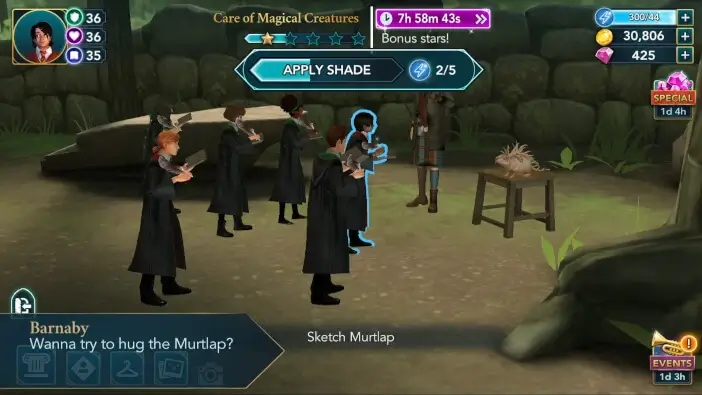
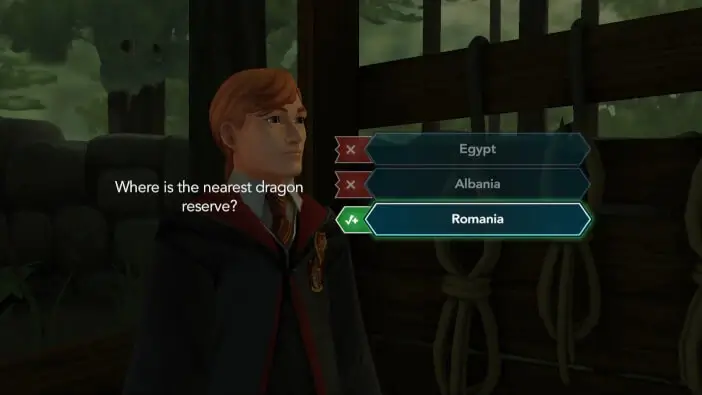
Pay attention to the mini-tasks and try to successfully complete all of them to gain some extra Courage points.
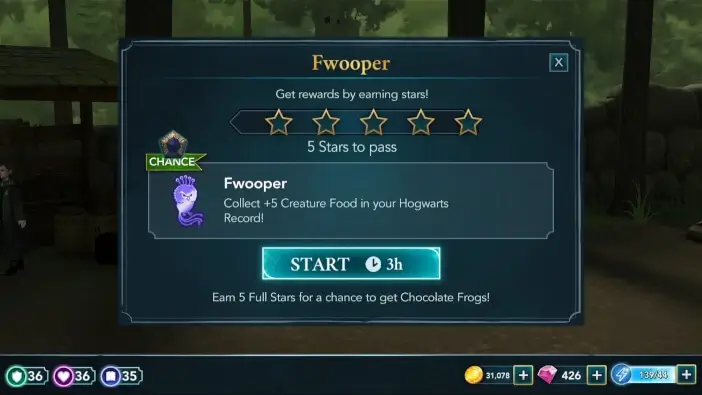
Return to the Care of Magical Creatures once you unlock the lesson. To complete the Fwooper lesson, you need to earn five stars within three hours. All five stars are required to pass.
As with the regular classes, bonus actions are in plenty here.

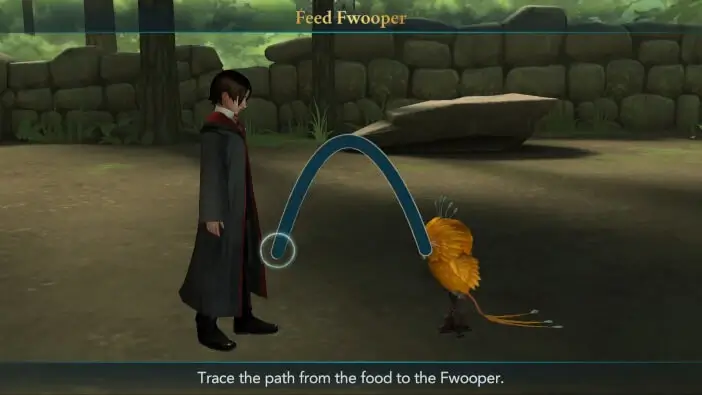
Upon gaining the fifth star, you will be tasked with feeding the Fwooper.
Once you are done, hit the Collect button to claim your rewards. You’ll earn an additional reward for completing the lesson. You can claim it in the Care of Magical Creatures section of your Hogwarts Record.
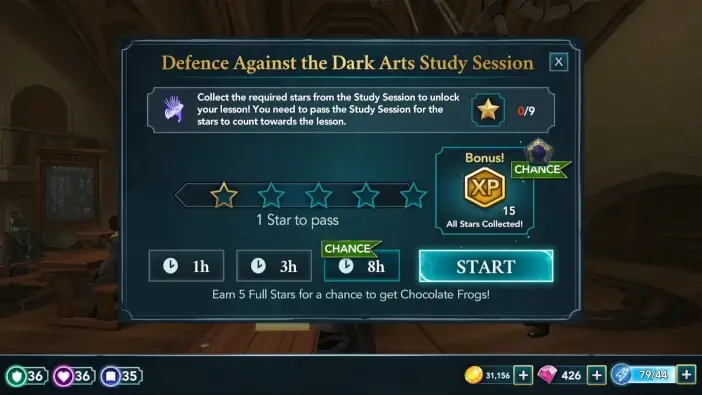
When you are ready, proceed to the Defence Against the Dark Arts classroom for the second lesson of the chapter. Unlocking the Sea Urchin Jinx lesson requires earning… you guessed it – nine stars from Defence Against the Dark Arts classes.
As always, prioritize reward actions to save energy.
Focus on completing mini-tasks in order to gain some additional Courage points.
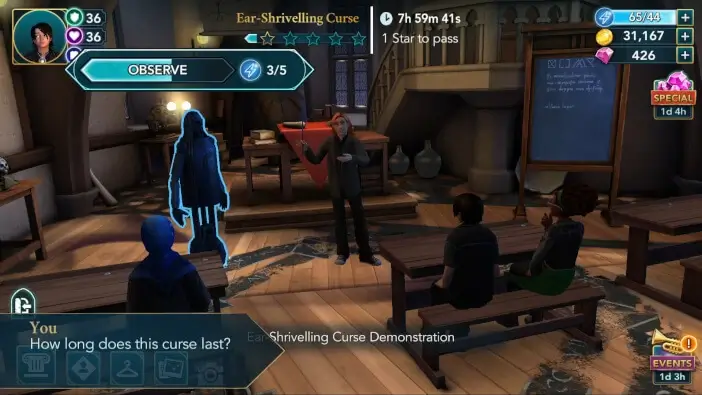
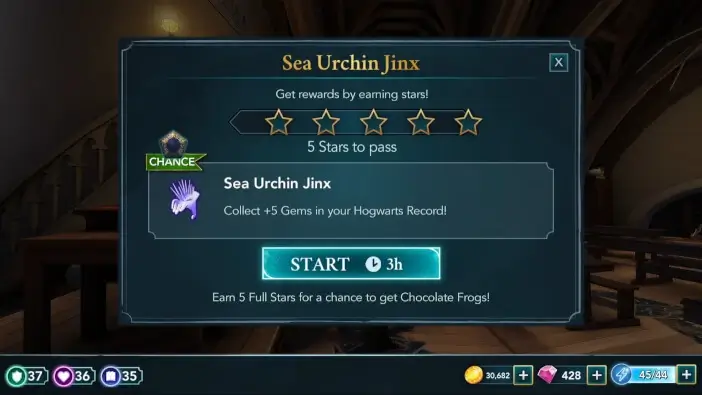
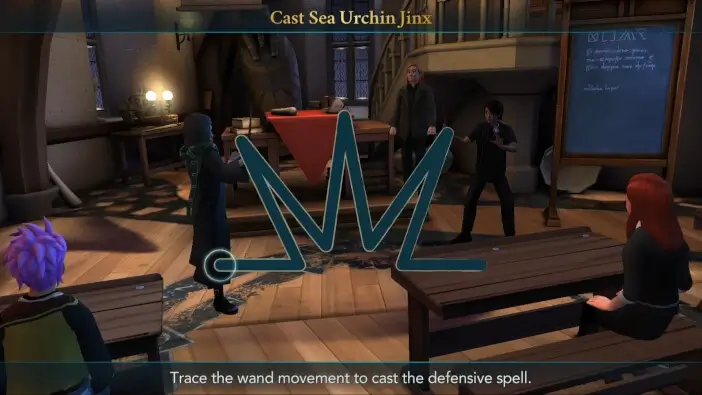
Once you unlock the lesson, return to the classroom to attend it. Learning the Sea Urchin Jinx requires obtaining five stars within three hours. All five stars are needed to pass, so avoid starting this lesson with an empty energy bar.
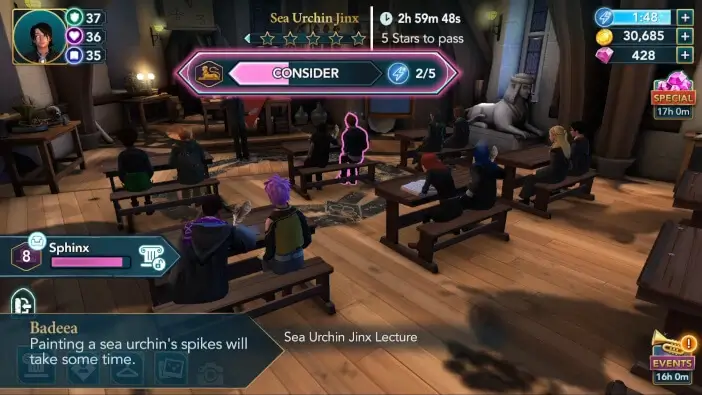
Do this just like any other regular class, and you’ll be done in no time.
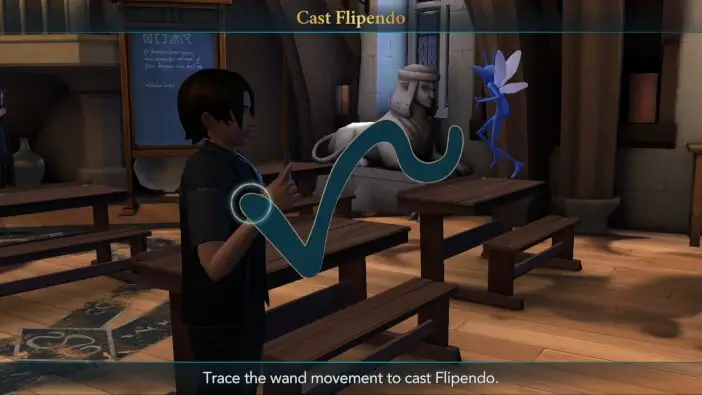
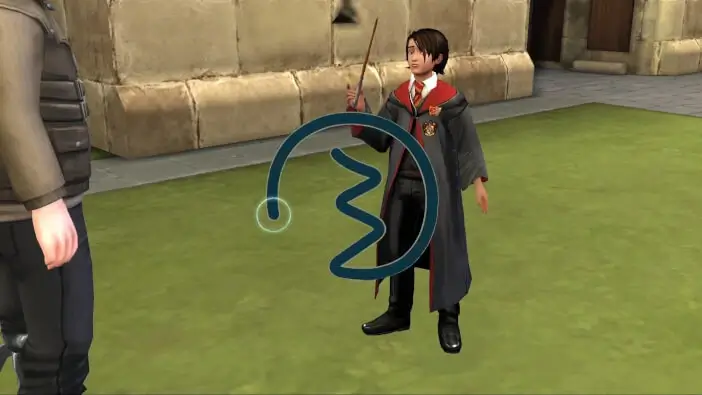
Upon earning the fifth star, you’ll be tasked with casting the spell. Trace the wand movement to do so.
Hit the Collect button to claim your rewards. You can claim an additional reward in the Defence Against the Dark Arts section of your Hogwarts Record.

Immediately after finishing this lesson, proceed to the Training Grounds to meet Mad-Eye Moody. The reason for this is simple – the next task doesn’t involve spending energy, so you don’t need to wait for it to recharge. Upon meeting him, Mad-Eye Moody will scold you for even considering breaking into the Ministry of Magic.
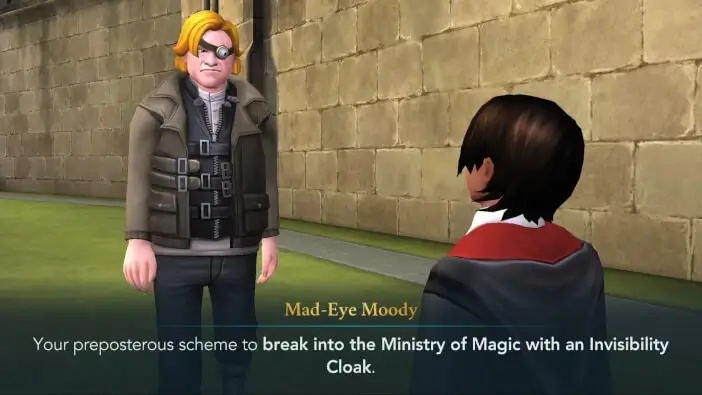
Apparently, he’s got eyes and ears everywhere.
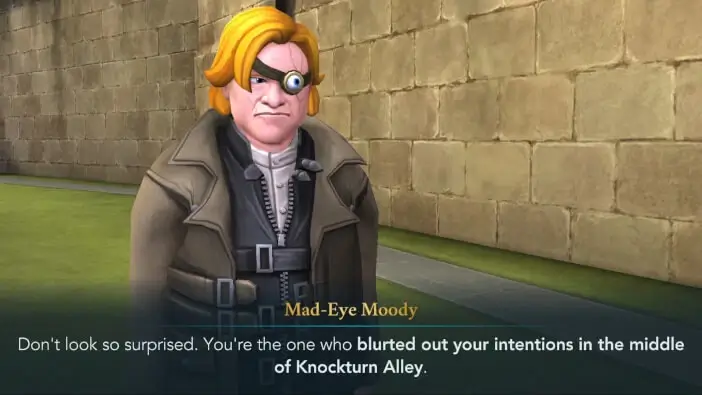
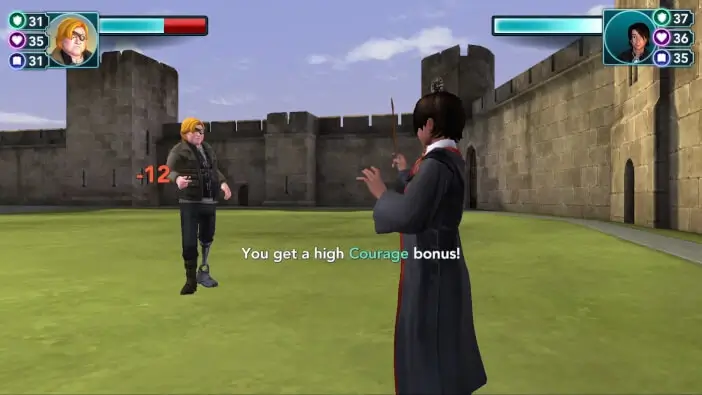
Before you get any chance to explain yourself, he’ll tell you to ready your wand. He wants to make sure you can hold your own in a fight. The task window will display the recommended attribute levels and the cost of each attempt.
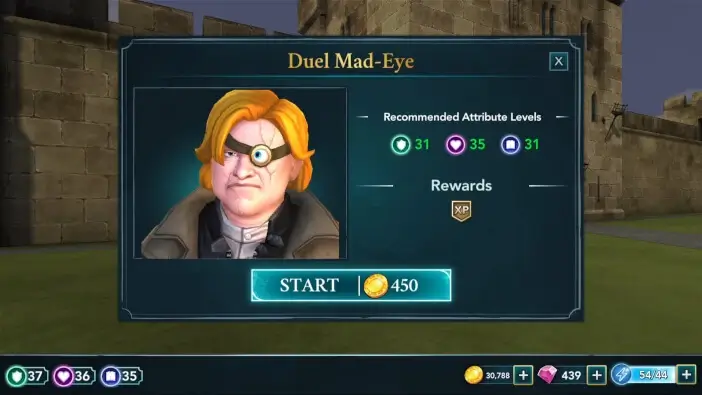
At this point, your attribute levels should be above the recommended ones, which will make it easier to win this duel. Since the Courage requirement is quite low, you can go Sneaky or Defensive on every turn and use Flipendo or Bombarda. This way, you should easily be able to win the duel. All in all, you shouldn’t have much trouble winning this one.
Once you’ve finished, Moody will commend your dueling skills, and you’ll attribute your improvement to Bill Weasley.

You will then demonstrate the spell he taught you.
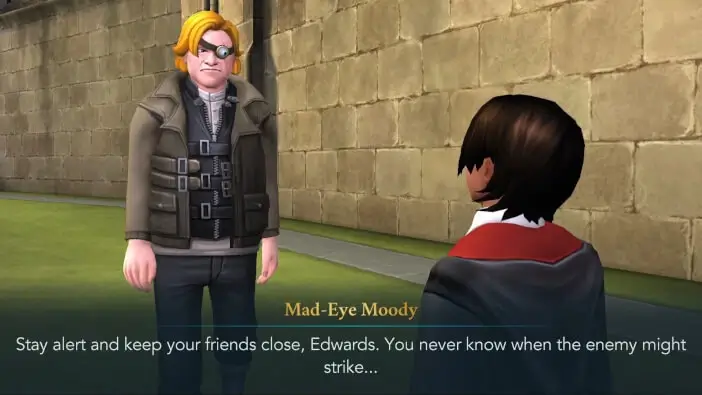
Mad-Eye Moody will say that this spell might come in handy soon. According to him, ‘R’ has some former Death Eaters within its ranks. He’ll also warn you that an Azkaban escapee is after you. This is why he wanted to test your skills by dueling you.
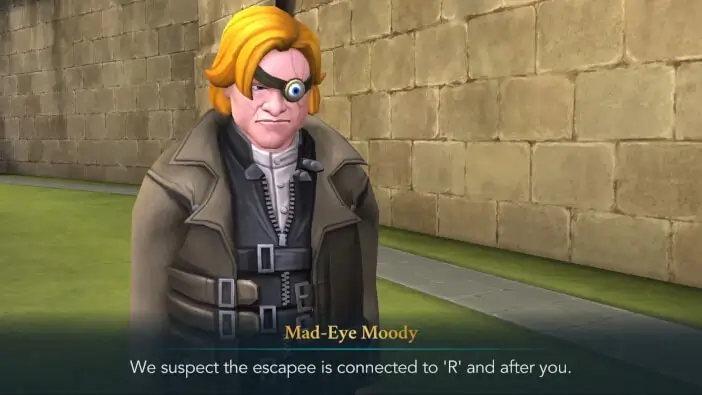
Additionally, there’s a possibility that the assassin Jacob warned you about is the same Dark Wizard, Moody mentioned. Before leaving, Mad-Eye Moody will advise you to always have someone watching your back.
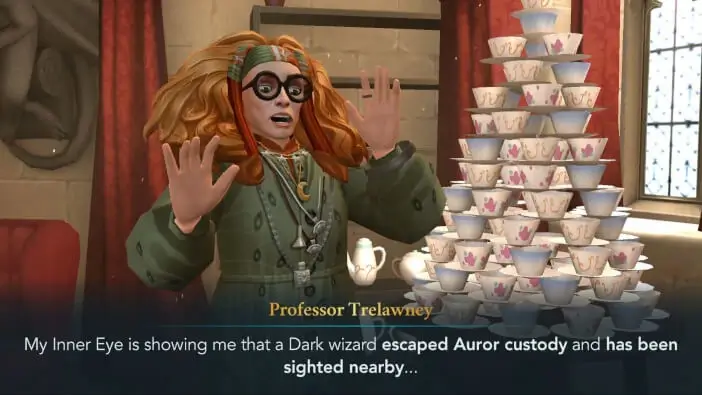
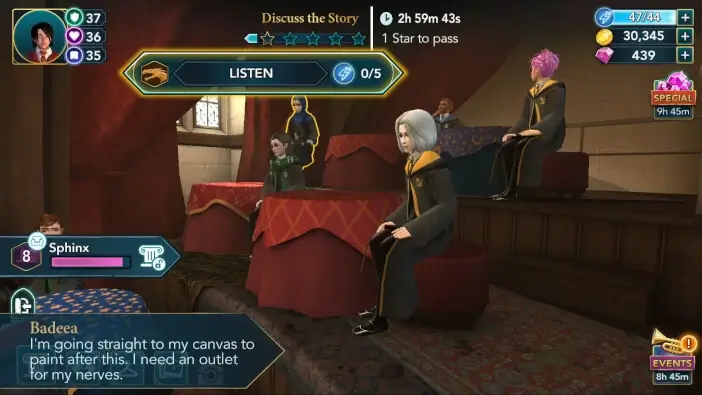
Next, you’ll have to attend the Divination class. Proceed to the classroom when you are ready. Upon arriving, you’ll be able to interact with some of your classmates before continuing. Shortly after the class starts, Professor Trelawney will receive a vision.
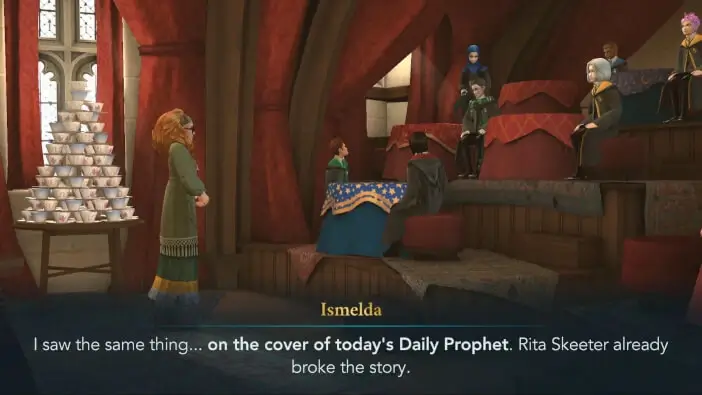
According to Ismelda, that news was already covered in the Daily Prophet.
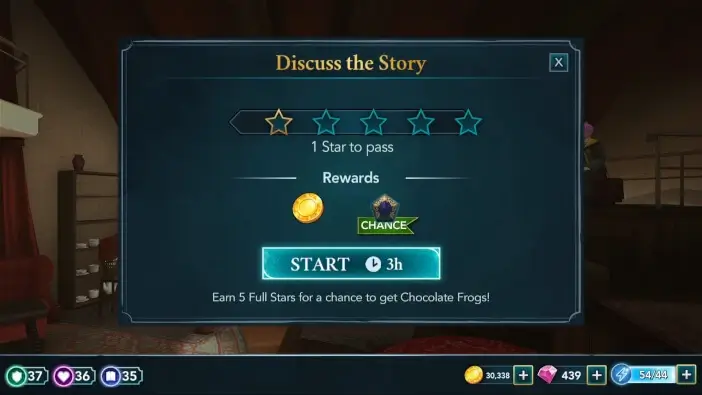
Nevertheless, the Professor will suggest divining new insights from the story. Doing so requires earning at least one out of five stars within three hours.
Both Talbott and Badeea have reward actions linked to them. Prioritize these to save some energy.
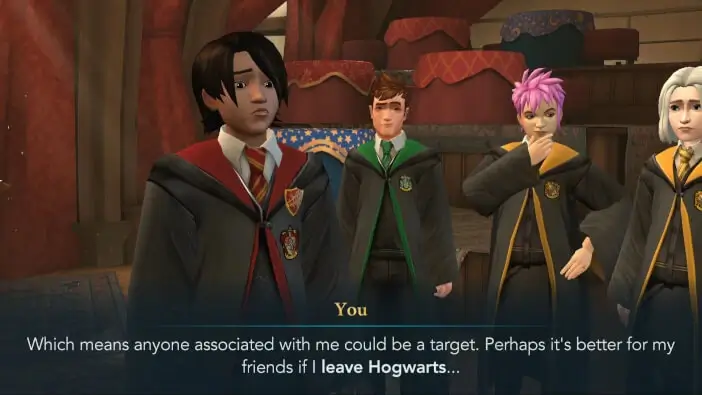
Once the class is finished, your friends will notice your concerns about the Azkaban escapee. You will conclude that the escaped wizard must be near Hogwarts because he’s after you.
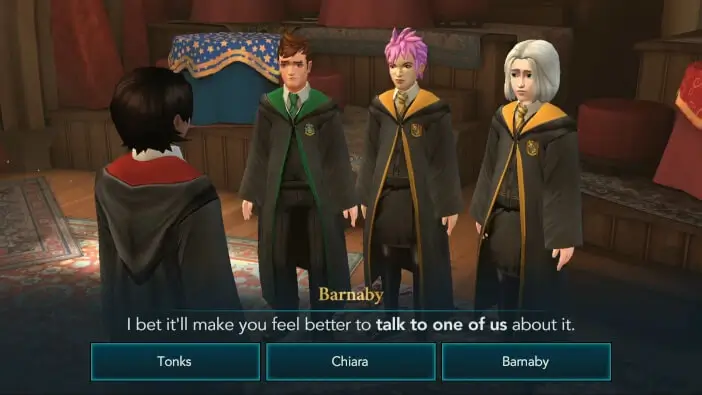
Barnaby will suggest talking to one of them. You can choose which friend you want to confide in. The following scene will play out differently, depending on this choice, but ultimately, the story won’t be affected significantly, so feel free to pick the friend you prefer.
You’ll tell your friend about the situation and mention your idea of leaving Hogwarts. Your friend will disagree, saying it’s safer if you both stay together.
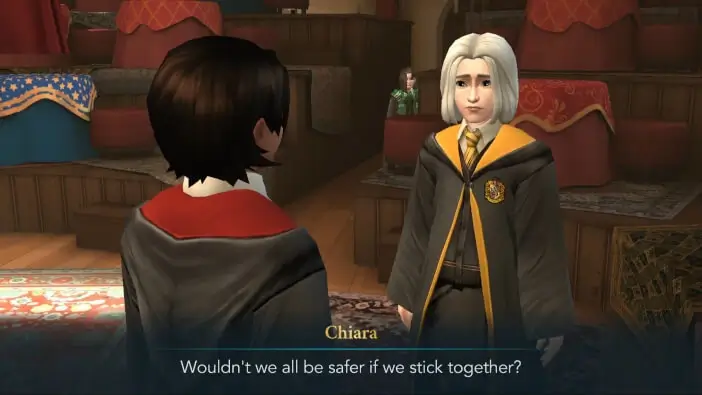
In the end, you’ll decide to think things through. For the next task, proceed to the Training Grounds to meet with Merula and Ben. Once you arrive, you’ll notice the two of them hanging out, which in itself is quite an unusual sight.
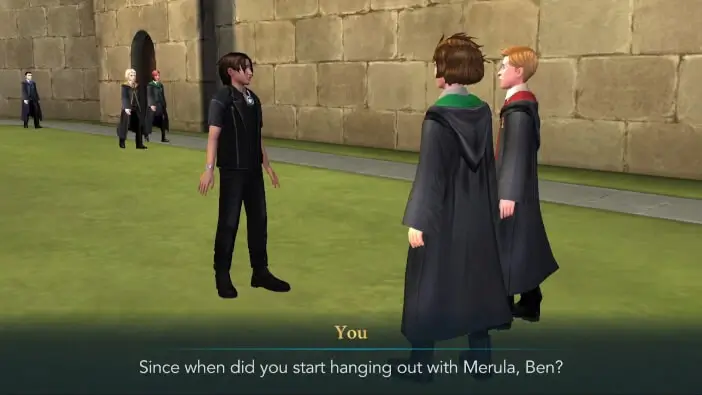
As Penny used to say, rumors do indeed travel fast around Hogwarts, and they will say they heard that you want to leave Hogwarts to keep it safe, which will leave Ben confused. Merula, on the other hand, will quickly connect the dots.
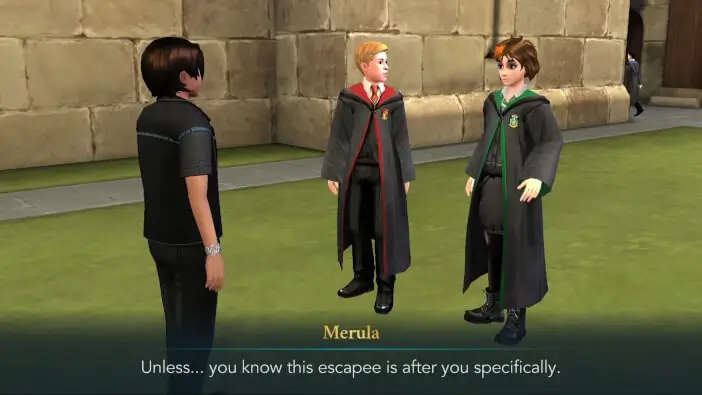
She’ll insist that you tell the truth.
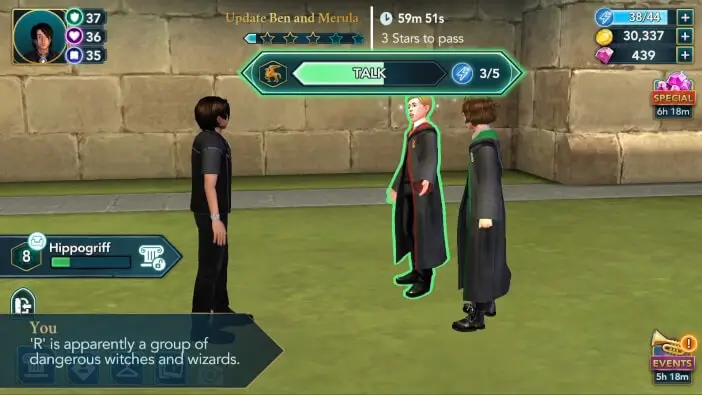
Eventually, you will agree to explain everything to them. To do that, you need to obtain five stars within an hour. Three stars are needed to pass.
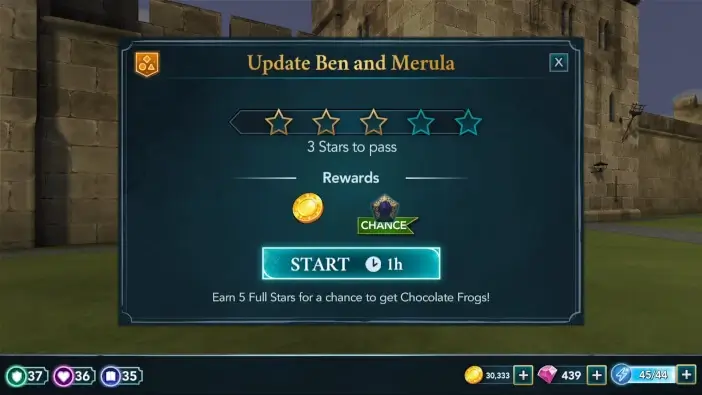
There is a bonus action tied to Ben, so prioritize it to save some energy.
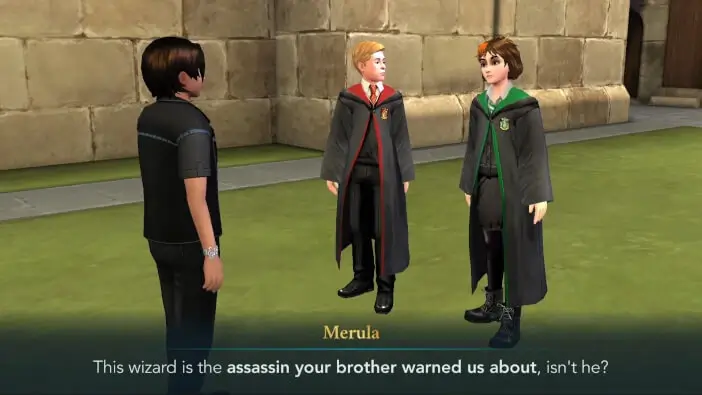
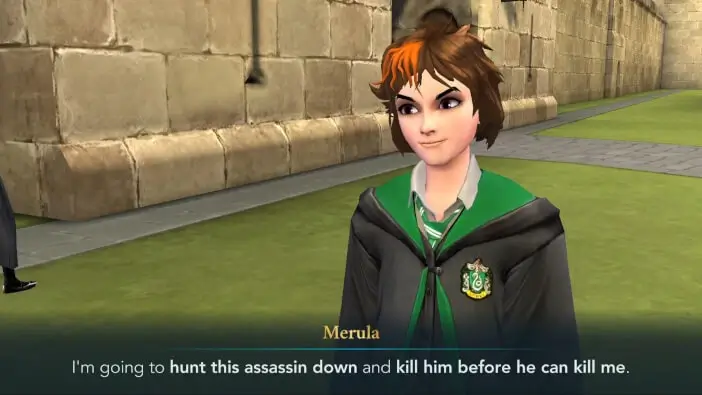
After explaining everything to them, Merula will be even more certain that the assassin Jacob warned you about is the Azkaban escapee. Because of that, she’ll be determined to do something about it.
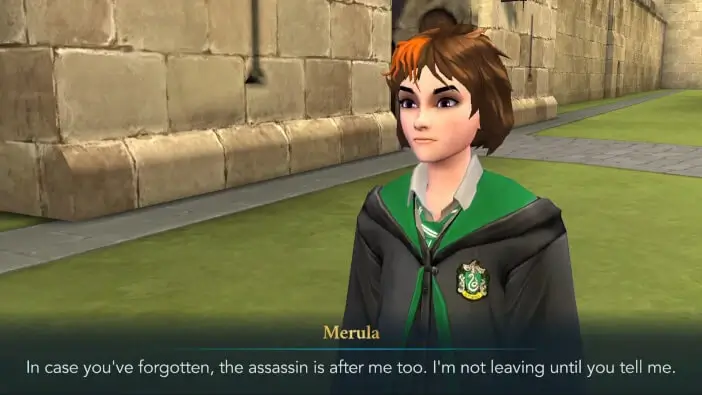
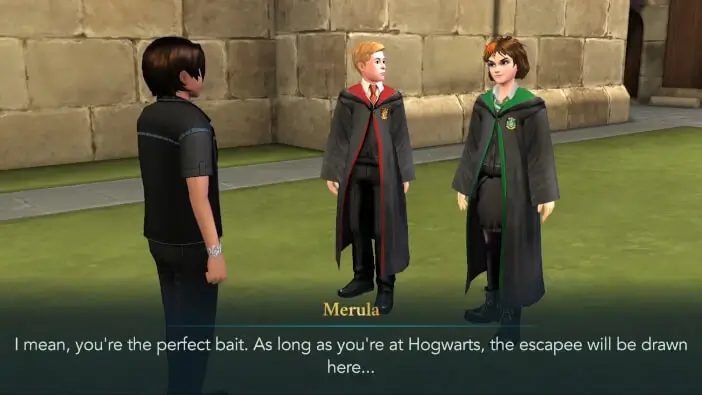
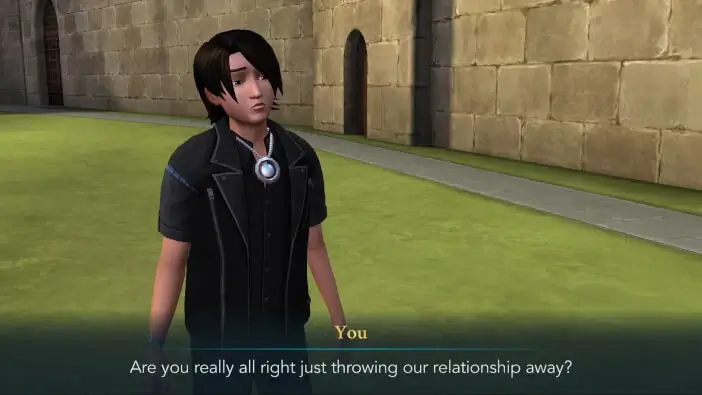
Ben will offer to help and be your protector. However, you’ll remain uncertain about whether staying at Hogwarts is the right choice. You’ll also notice a change in Merula’s expression.

However, not willing to show any vulnerability, she’ll swiftly revert to her usual self.
She’ll notice that you’re seeing right through her, so she’ll ask if you really think she’s worried about you. There are two options to reply with. While this choice won’t impact the main story, if you like Merula, it is highly recommended to select the second option. Bear in mind that this option requires level 38 Empathy, which is pretty high.
If you went on a first date with Merula, you’ll get to see some additional dialogue.


Ben will once again stress that you shouldn’t be alone. In the end, you’ll agree to stay and then decide to search for a friend who was with you in the Portrait Vault.

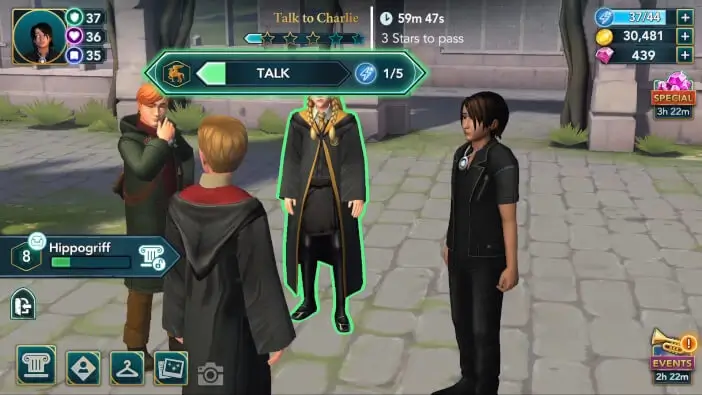
Proceed to the Clocktower Courtyard when you are ready. Shortly after arriving, the friend who went with you into the buried vault will ask you about the Azkaban escapee.
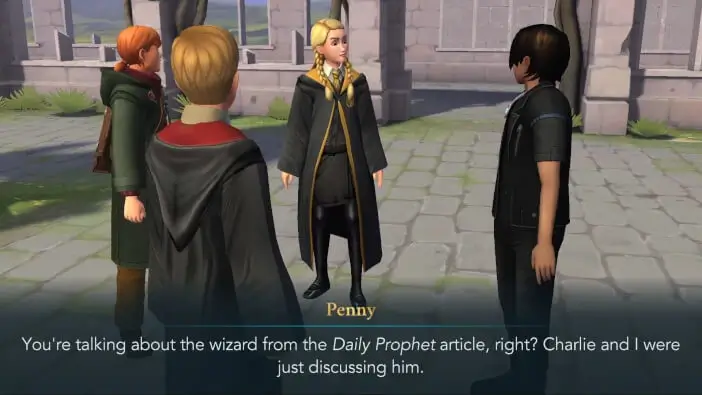
Charlie will also want to know more. Since you need allies anyway, you’ll decide to explain everything to them. Doing so requires earning at least three out of five stars within an hour.
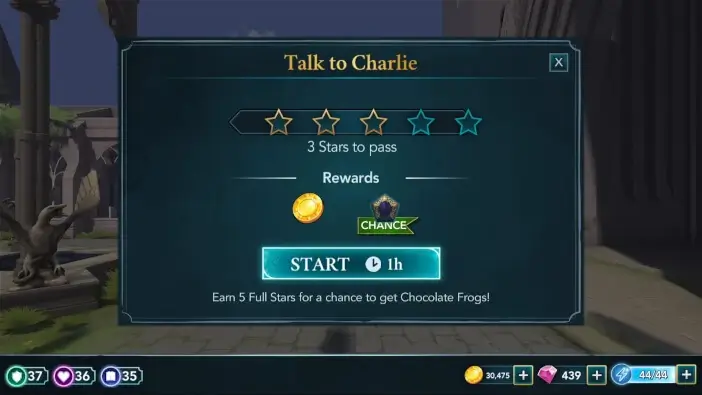
There are reward actions linked to Penny and your character. Prioritize those if you are looking to save some energy.
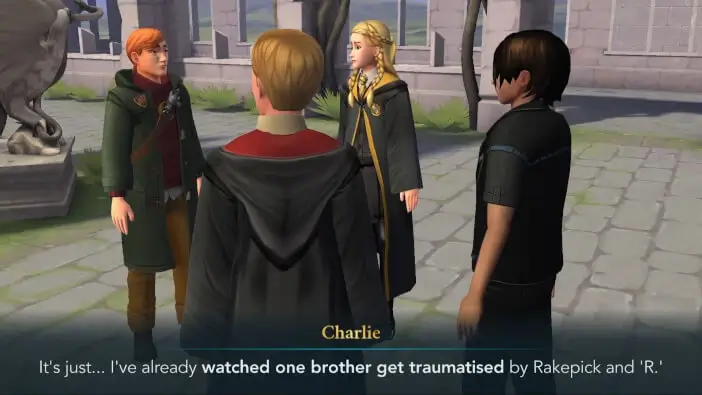
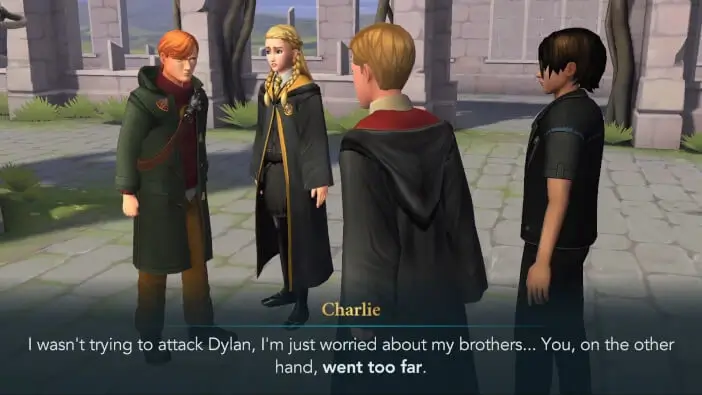
When you are done explaining things, Charlie will point out the obvious.
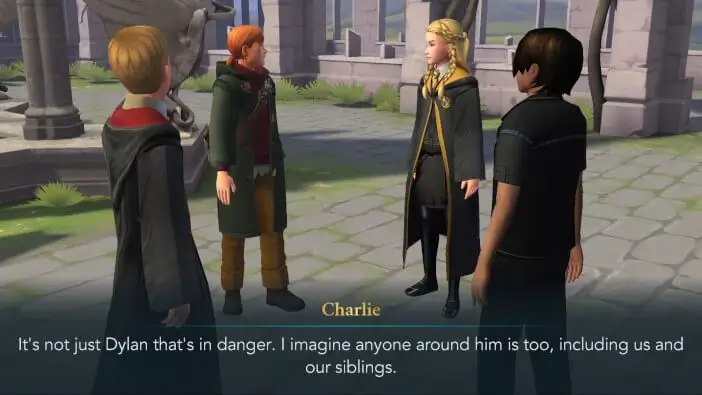
Reluctantly, Penny will agree with him. Apparently, Charlie doesn’t want any of his siblings meddling with anything related to the cursed vaults.
Ben will not like the way Charlie talked to you, and he’ll decide to shut him up.


You’ll scold Ben for doing that, and you’ll use Finite Incantatem to help Charlie.
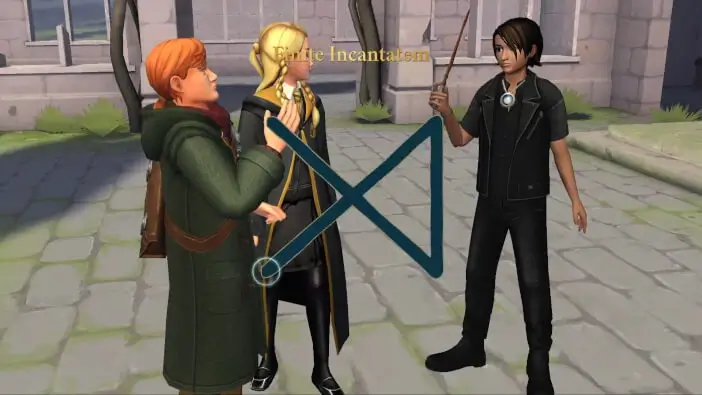
Charlie will be quite angry at Ben for casting Langlock Jinx on him.
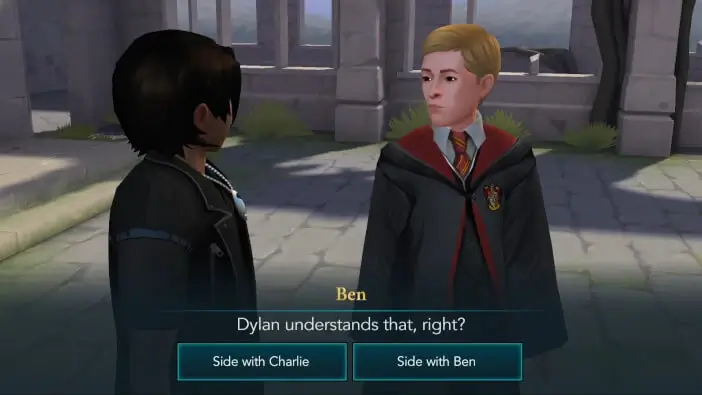
Ben, however, was just trying to protect you. You will get the option to side with him or with Charlie. This choice won’t heavily impact the story, so feel free to pick the option you prefer.
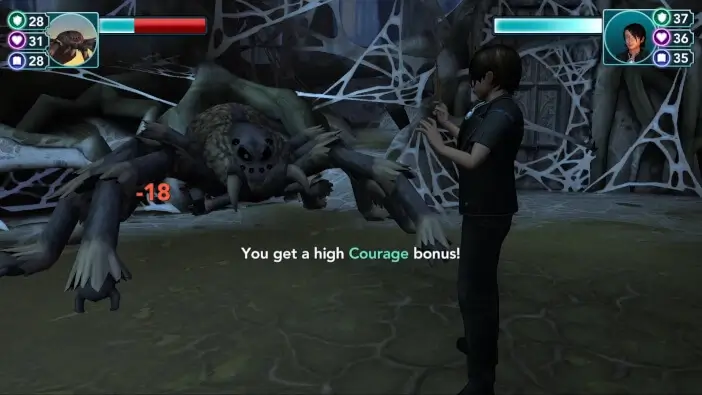
Regardless of this choice, Ben will decide to prove he’s able to protect you. Head to the Spider’s Lair when you are ready. Once you arrive, you’ll notice that Actomantula isn’t really fond of your Gryffindor friend.
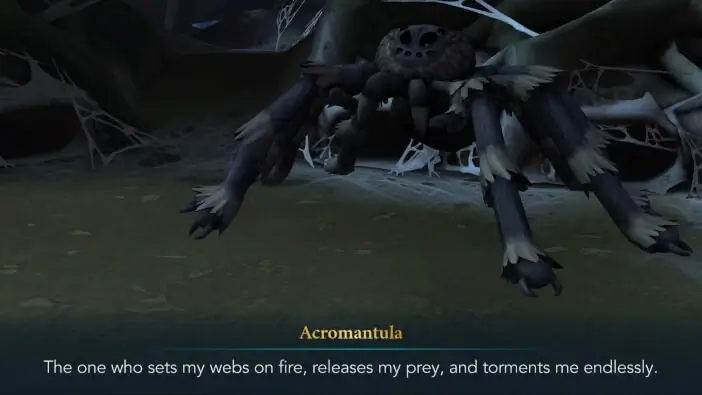

Judging by the looks of it, the spider isn’t willing to just let you walk away. You’ll quickly decide to interfere and prevent Ben from getting hurt.
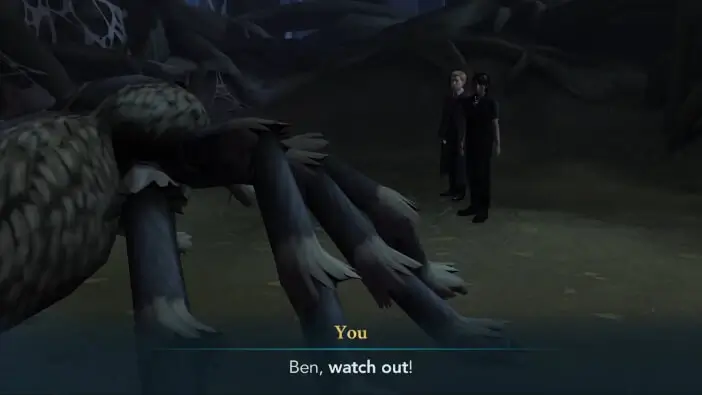
Looks like you’ll have to duel this Acromantula once again. The task window will display all the relevant information.

This duel is pretty easy. The spider will go Sneaky > Defensive > Aggressive most of the time. Simply pick the stance to counter it and you should be able to win without much trouble.
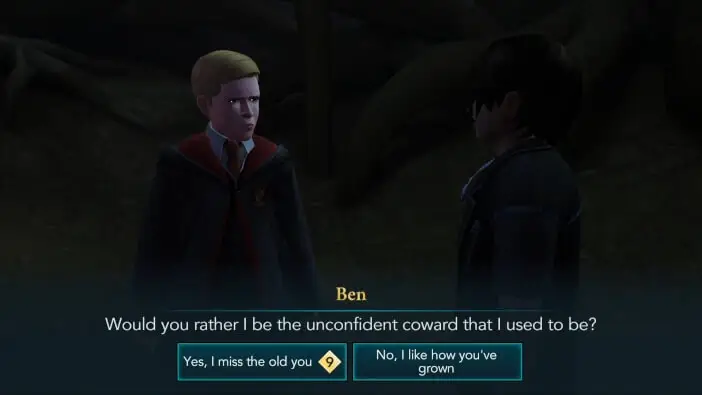
Once again, you’ll scold Ben for being so reckless.

Ben will ask if you prefer his old cowardly persona. There are two options to respond with, but neither of those will affect the outcome of the chapter, so feel free to pick the one you prefer.
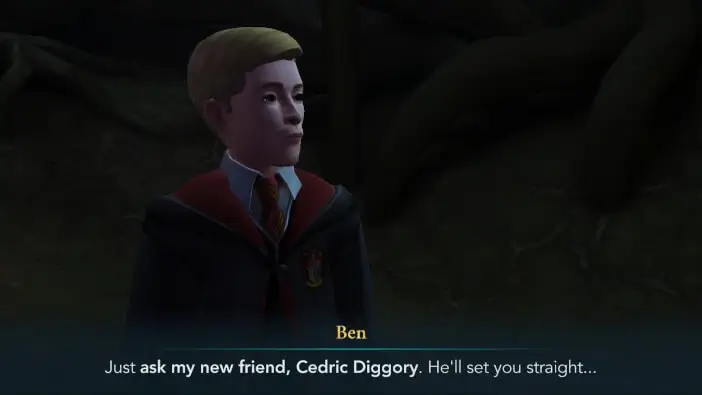
Regardless of your choice, Ben will say that he wants to be confident and brave. Apparently, his new friend, Cedric Diggory agrees with him.
With this, Chapter 13 of Year 6 will come to an end. Hit the Collect button to claim your rewards. You will receive 250 Coins and 2000 Experience Points.
Will you finally get to talk to Cedric Diggory and learn more about him? Is he really as impressive as everyone says? Find out in the next chapter of Harry Potter Hogwarts Mystery.
Thank you for reading.
