
Chapter 7 – Niffler Hunting
Introduction
Hello everyone, welcome to our Walkthrough for Chapter Seven of Year Six of Harry Potter Hogwarts Mystery. In the previous chapter, you finally got to reunite with Jacob. He told you that a mysterious assassin is after you and Merula, and he wanted to duel you to make sure you’re able to defend yourself. Sadly, your reunion was short-lived since he had to leave after that, but at least you got to see him again.
Summary
Chapter Summary:
- Lesson 1: Knotgrass
- Location: Herbology Classroom
- Unlock: 9 Herbology Stars
- Requirements: 3 hours – 5/5 stars
- Lesson 2: Cartomancy
- Location: Divination Classroom
- Unlock: 9 Divinations Stars
- Requirements: 3 hours – 5/5 stars
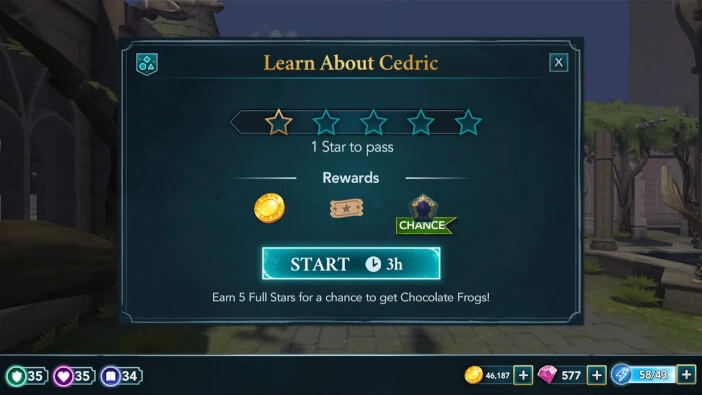
- Task 1: Meet Cedric
- Location: Clocktower Courtyard
- Requirements: 3 hours – 1/5 star
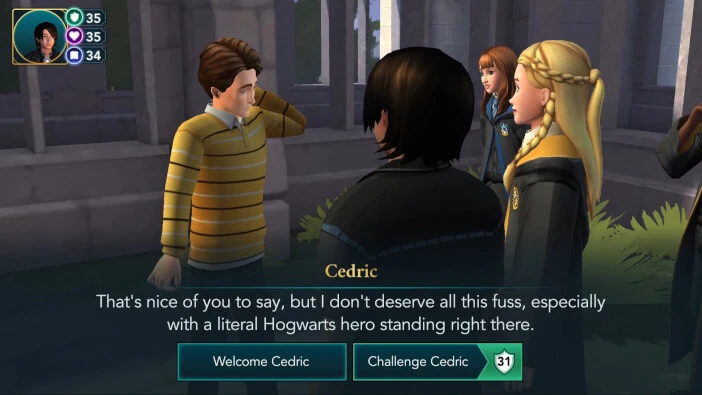
- Choice: Choose whether you want to welcome Cedric or challenge him
- Welcome Cedric: +5 Empathy
- Challenge Cedric (31 Courage): +10 Courage
- Task 2: Search for Sickleworth
- Waiting Time: 3 hours
- Location: Care of Magical Creatures Classroom
- Requirements: 8 hours – 1/5 stars
- Task 3: Follow Sickleworth’s Trail
- Location: Transfiguration Classroom
- Requirements: 1 hour – 1/5 stars
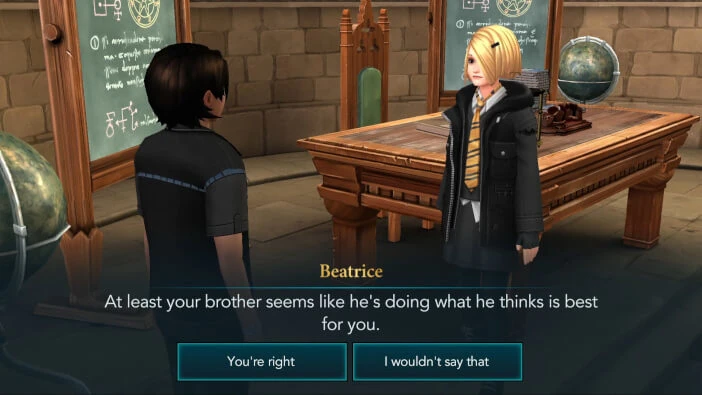
- Choice: Choose whether you will agree with Beatrice or not
- You’re right: +5 Knowledge
- I wouldn’t say that: +5 Courage
- Task 4: Check for Sickleworth
- Waiting Time: 3 hours
- Location: Hospital Wing
- Requirements: 3 hours – 1/5 star
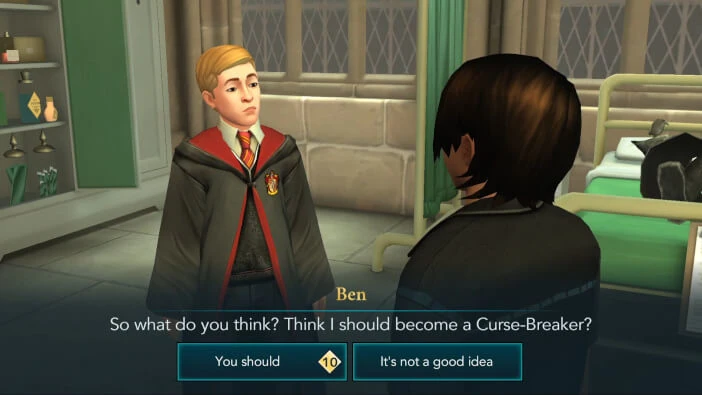
- Choice: Tell Ben what you think about him becoming a Curse-Breaker
- You should (Ben level 10): +10 Courage
- It’s not a good idea: +5 Knowledge
- Task 5: Catch Sickleworth
- Waiting Time: 4 hours
- Location: Corridor
- Requirements: 3 hours – 1/5 star
- Chapter Rewards: 250 Coins and 2000 Experience Points
Walkthrough
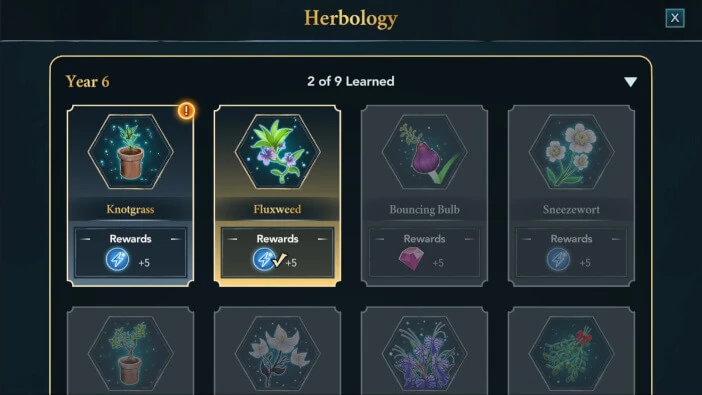
Now, you can once again start things off by completing the lessons, so head to the Herbology classroom when you are ready. To unlock the Knotgrass lesson, you need to obtain nine stars from Herbology classes. Pick the class duration you prefer and hit Start to begin.

Herbology classes are pretty generous with reward actions, so use that to your advantage to save some energy.
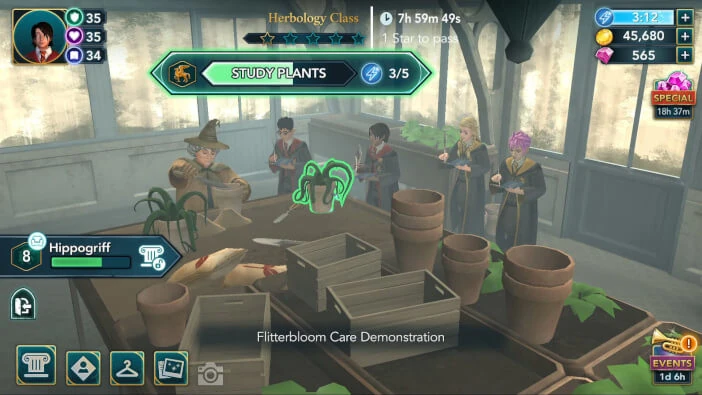
Also, try your best to succeed at all of the mini-tasks to earn some additional Empathy points.

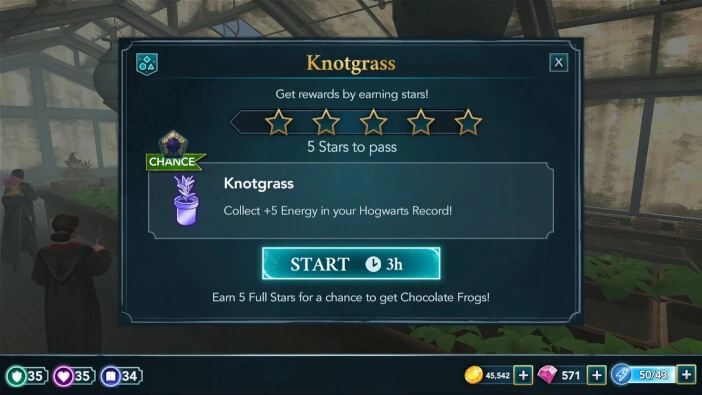
Once you acquire enough stars to unlock the lesson, head back to the classroom to attend it. To complete the Knotgrass lesson, you need to earn five stars within three hours. All five stars are required to pass.
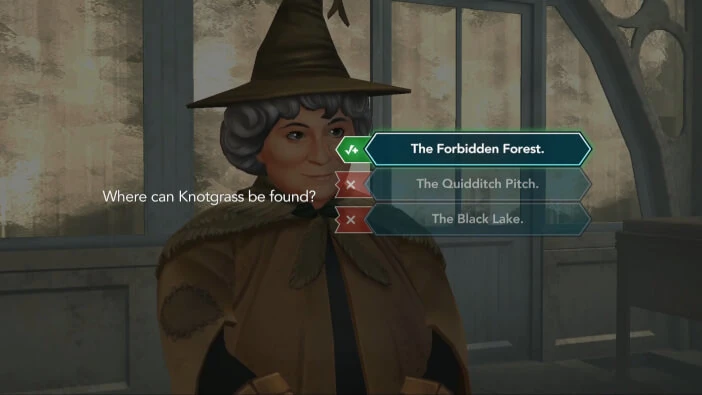
Other than a few different mini-tasks, this lesson is quite similar to most of the regular classes.
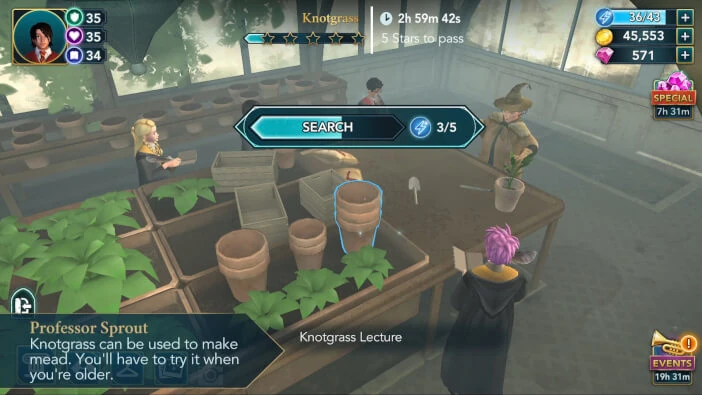
After earning the fifth star, you’ll be tasked with fertilizing your plant. Trace the path on the screen to do so.

Hit the Collect button to claim your rewards. You can claim an additional reward in the Herbology section of your Hogwarts Record.
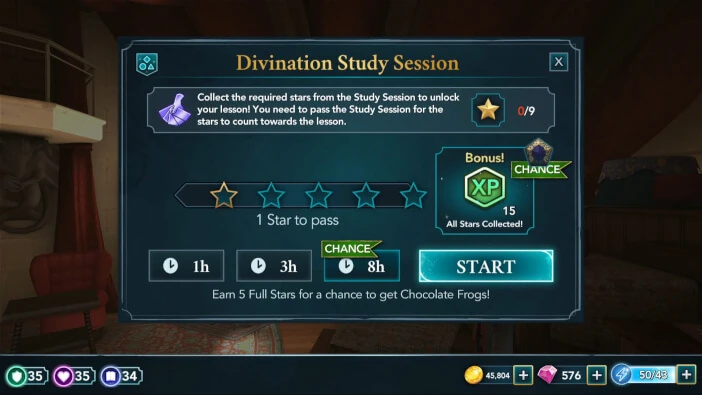
Head to the Divination classroom for the second lesson of the chapter. To unlock the Cartomancy lesson, you need to earn nine stars from Divination classes. As always, choose the class duration suitable to your liking and hit Start to begin.
Like before, prioritize the reward actions to save energy.

Successfully completing mini-tasks will award you some Empathy points.

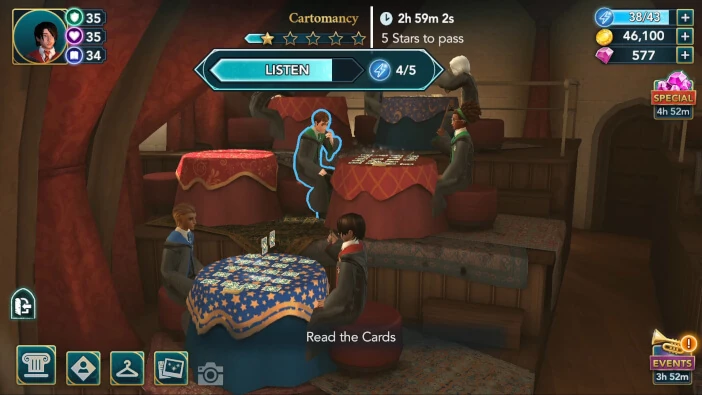
Once the lesson is unlocked, head back to the classroom to attend it. Completing the Cartomancy lesson requires earning five stars within three hours. All of the stars are required to pass, so avoid starting this lesson if you are out of energy.

This lesson is pretty similar to most of the regular classes, so simply treat it as such.

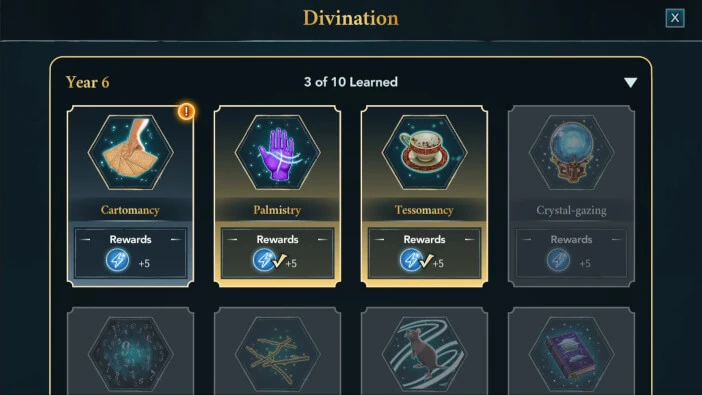
When you are done, you can collect your reward from the Divination section of your Hogwarts Record.
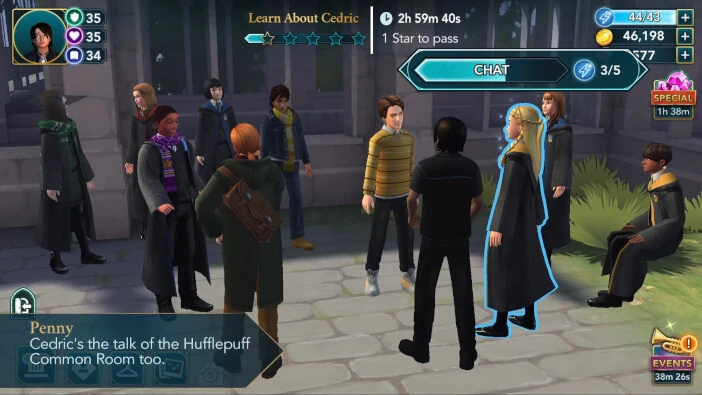
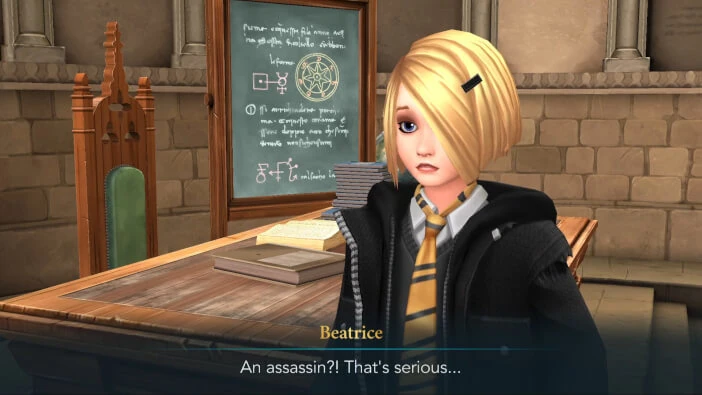
Now that the lessons are out of the way, proceed to the Courtyard to meet Cedric. Upon arriving, you can interact with some of the characters before continuing. Penny will be surprised to hear that you saw Jacob again. You’ll also inform her about the mysterious assassin sent after you and Merula.

Penny will anxiously question you about the identity of the assassin and why they pose a threat to you and Merula. You’ll explain that Jacob didn’t provide any answers. Shortly after, she’ll introduce you to Cedric Diggory.


You’ll then get to learn more about him. This requires earning five stars within three hours. Only one star is needed to pass.
There are bonus actions tied to Cedric, Charlie, and Penny, so prioritize those to save some energy.
Once you’re done, you’ll learn that many of your friends are fascinated with Cedric.

Cedric, on the other hand, is quite modest. You’ll then get to choose whether you want to welcome or challenge him. If you like Cedric, it is recommended to pick the first option.
Not long after that, you’ll notice Sickleworth carrying a white quill.

You’ll decide to follow him since he might lead you to Rakepick and Diego will be kind enough to offer you his assistance.

However, you need to wait three hours before you’re able to continue. Since your energy takes nearly three hours to fully recharge, it is recommended simply to wait until this timer runs out.

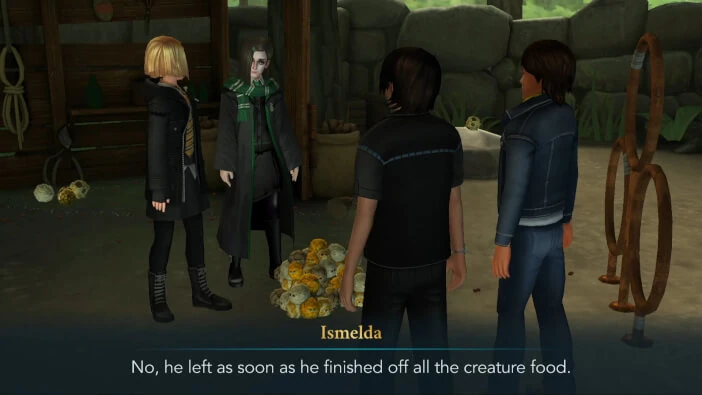
Once the waiting time is over, proceed to the Care of Magical Creatures to look for Sickleworth. When you get there, you’ll notice Beatrice and Ismelda tossing Puffskeins around.
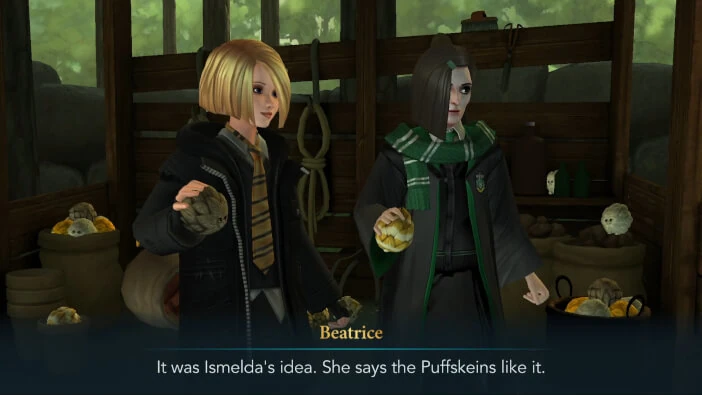
After asking them about Sickleworth, they’ll tell you that he was just there, raiding bags of food and parading his white feather around when he recently left the place.
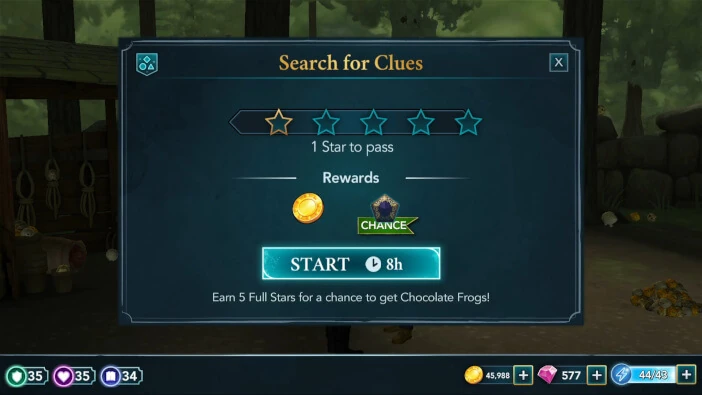
You’ll decide to search the place and see if you can find any clues. Doing that requires earning at least one out of five stars within eight hours.
There are reward actions tied to Beatrice and one of the Puffskeins. Focus on those actions to save energy.

When you’re done, you’ll find a trail leading towards the castle.

Unfortunately, Diego won’t go with you and will tell you that he has to practice his spellwork.
Diego seems to be bothered by Cedric’s popularity and will say that he won’t let a first-year student beat him in a duel. Luckily, Beatrice will be willing to accompany you.

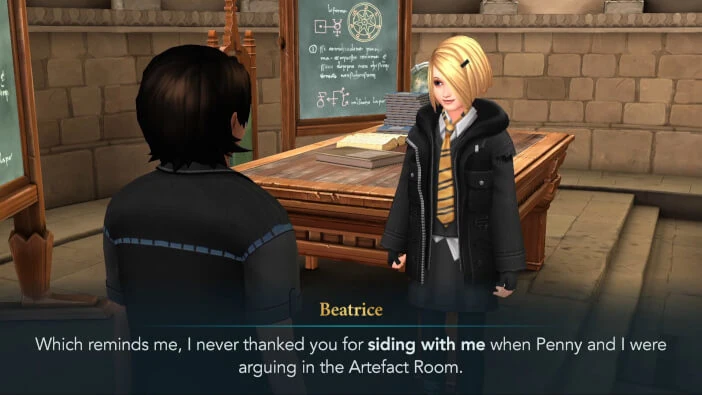
Proceed to the Transfiguration classroom when you are ready. Unfortunately, you won’t find Sickleworth in the classroom. If you took Beatrice’s side while she was arguing with Penny, you’ll get some additional lines of dialogue here.
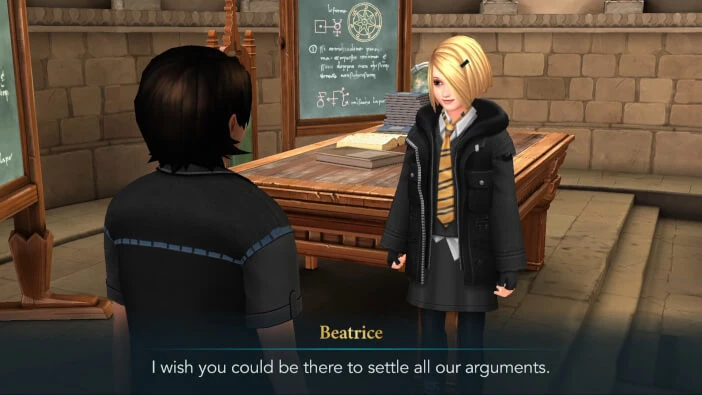
Shortly after, you’ll tell her about the mysterious assassin.
You’ll then get to discuss Jacob with her. Doing that requires earning five stars within an hour. Only one star is needed to pass.

It is recommended to fully complete this task since there is a waiting period afterward. It is also worth noting there are reward actions tied to Beatrice and your character.

Once you’re done, Beatrice will advise you to give Jacob some space. You can choose to agree with her or not. If you like Beatrice, it is recommended to pick the first option.
Soon after, you decide to visit the hospital wing in search of Sickleworth. Beatrice will oppose the idea because she is not comfortable with the presence of petrified students.
This means you’ll need someone brave and fearless to accompany you there. As mentioned before, there is a waiting period of three hours before you can continue. Simply let this timer run out and let your energy replenish in the meantime.
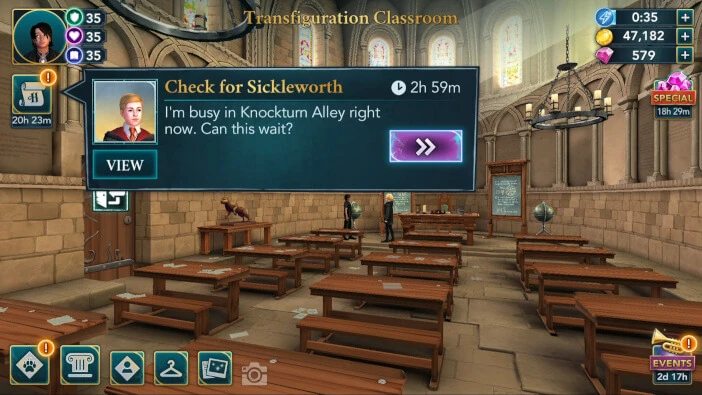
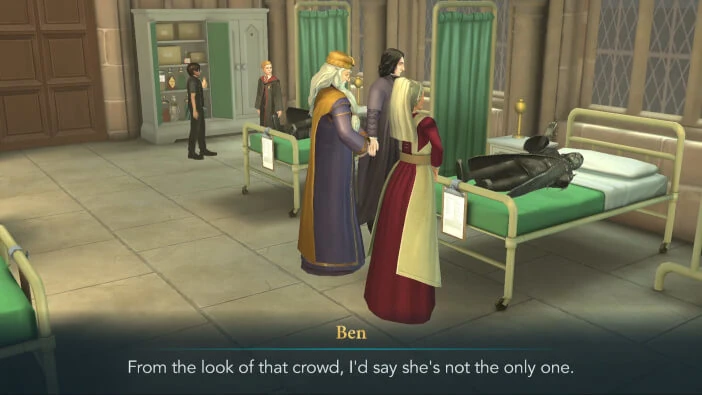
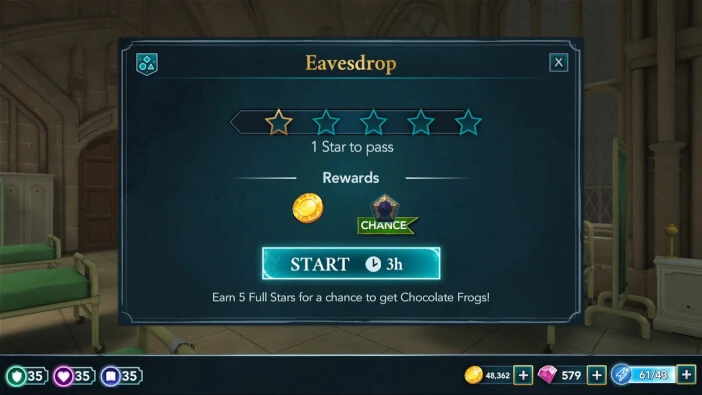
Once the waiting time is over, head to the Hospital Wing to meet Ben. He’ll tell you that he’s still interrogating the Dark wizards and witches in Knockturn Alley. You’ll also notice that the Headmaster and Professor Snape are talking about the Statue Curse and you’ll decide to eavesdrop on their conversation.

Ben will add that it’s best to listen to them and see what they say. Doing that requires earning five stars within three hours. One star is needed to pass.
There are bonus actions tied to your character and the petrified student, so focus on those actions to save energy.

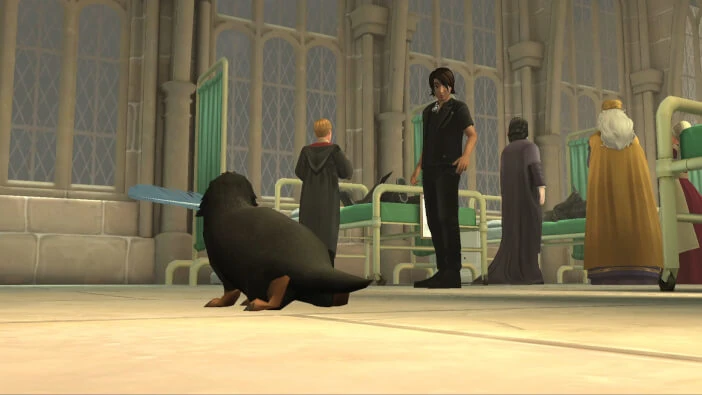
Upon finishing the task, the Professors will notice your presence.

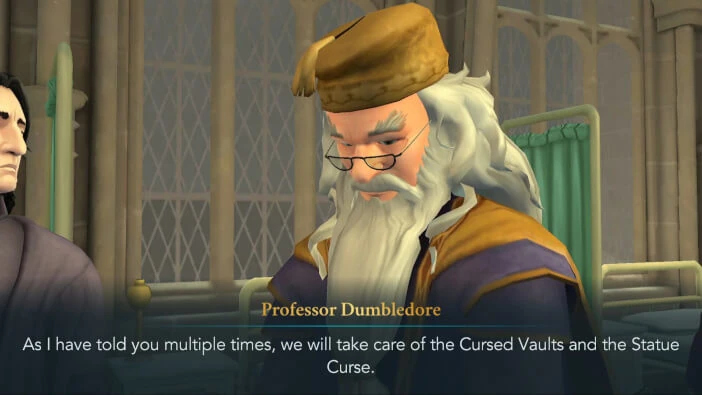
Professor Dumbledore will advise you not to investigate the statue curse or continue searching for the last vault. The headmaster will recommend that you dedicate your remaining two years at Hogwarts to focusing on becoming the finest wizard you can be.
Shortly after, Ben will ask you if he should become a Curse-Breaker. If you like Ben, it is recommended to pick the first option.
A short while later, you’ll spot Sickleworth passing by, prompting you to make the decision to trail after him.
There is a waiting period of four hours before you can continue. It is recommended to wait and let your energy recharge in the meantime.

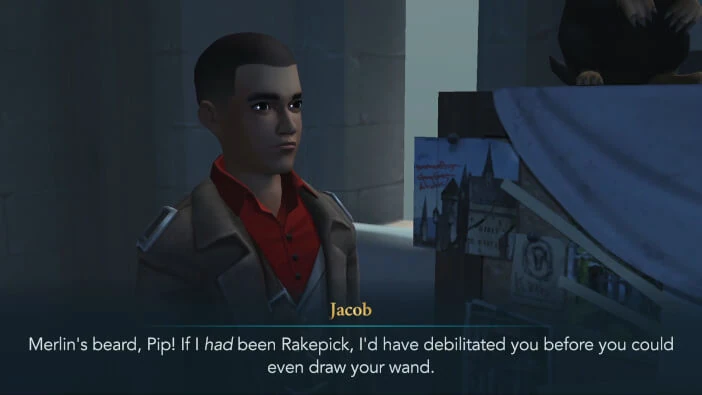
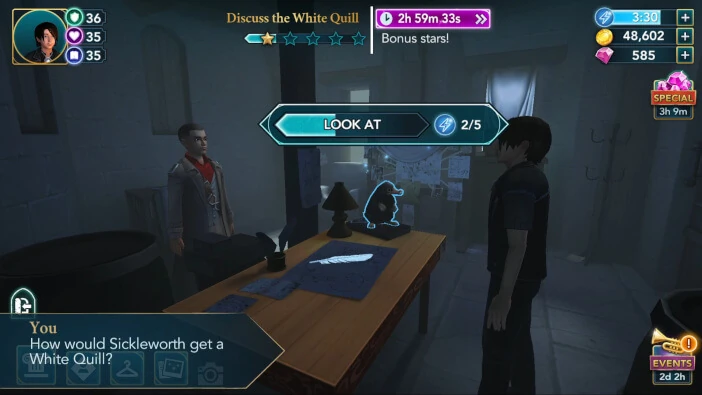
Once you’re able to continue, proceed to the Corridor to catch Sickleworth. This will lead you straight to your brother’s room, and surprisingly, you’ll find Jacob there, waiting for you.
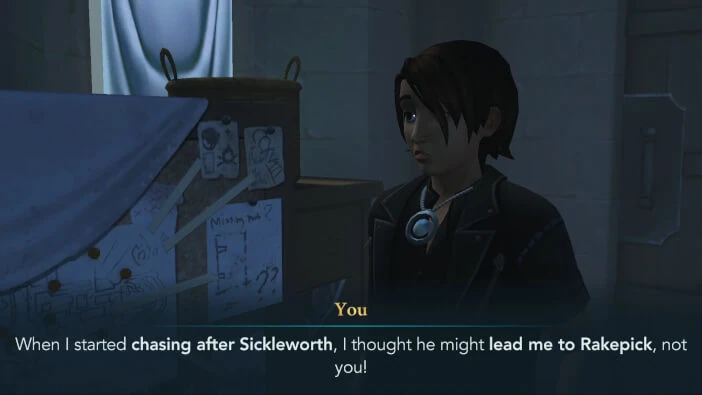
He will scold you for recklessly chasing after Rakepick.
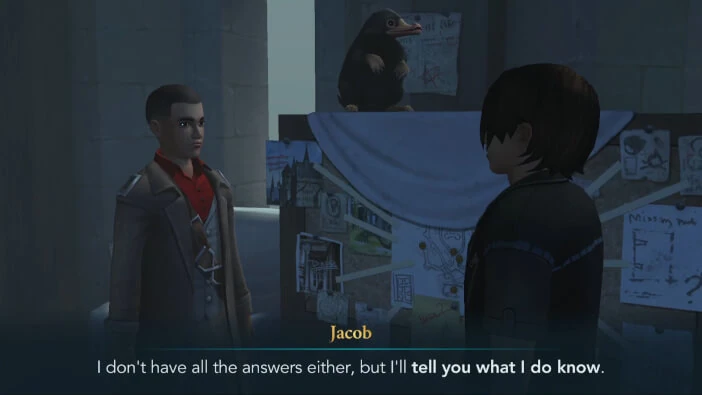
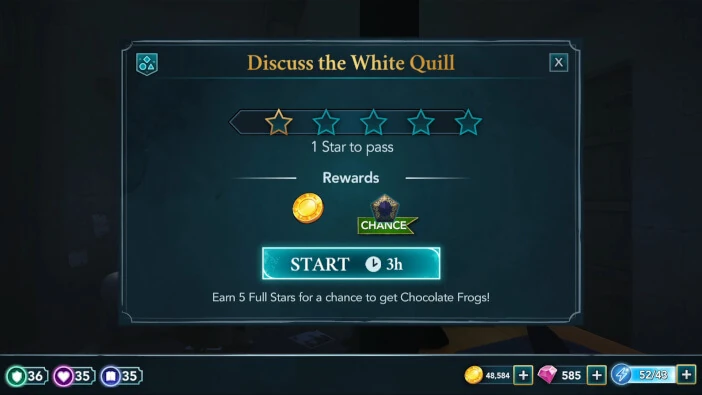
Soon after, you’ll get to discuss the White Quill with Jacob.
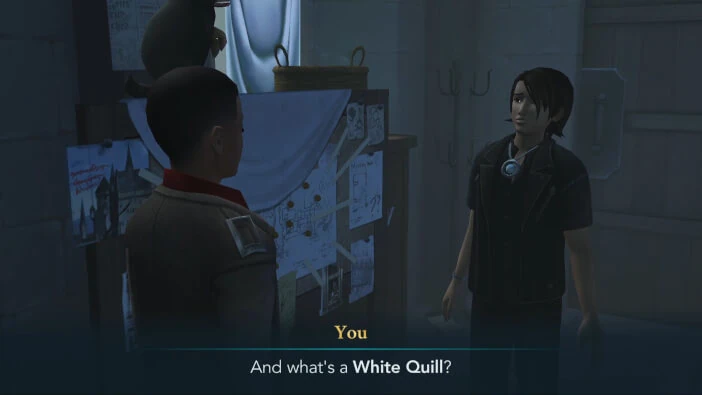
Doing that requires earning five stars within three hours. One star is needed to pass.
Both Sickleworth and your character have reward actions tied to them, so prioritize those if you want to save some energy.
Once you’re done, you’ll decide to try to Untransfigure the White Quill. Trace the wand movement on the screen to cast Reparifarge.
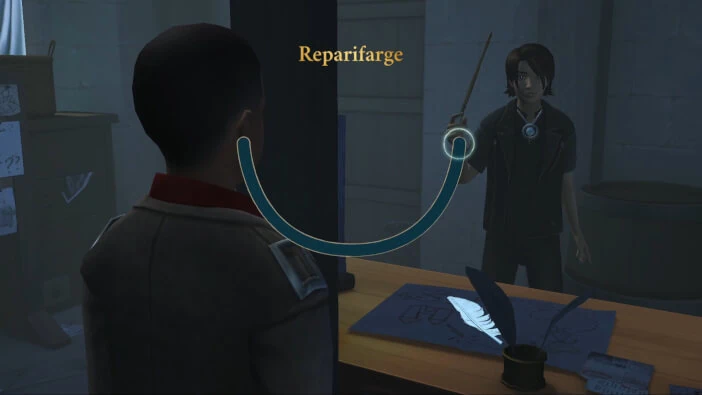
Upon finishing the cast, the white quill will turn into a piece of paper.
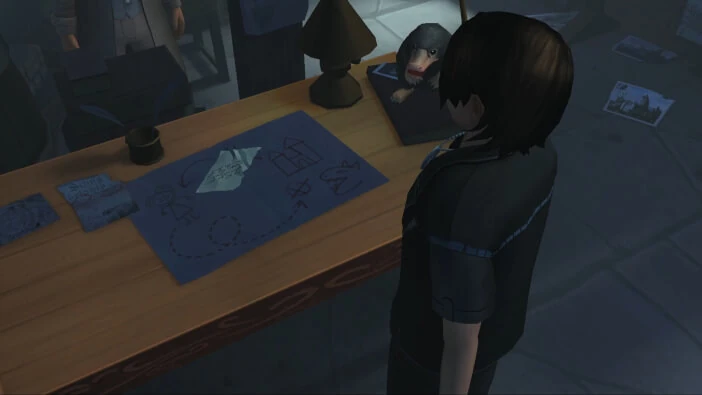
Apparently, this message is for you.

You’ll explain the situation to Jacob.
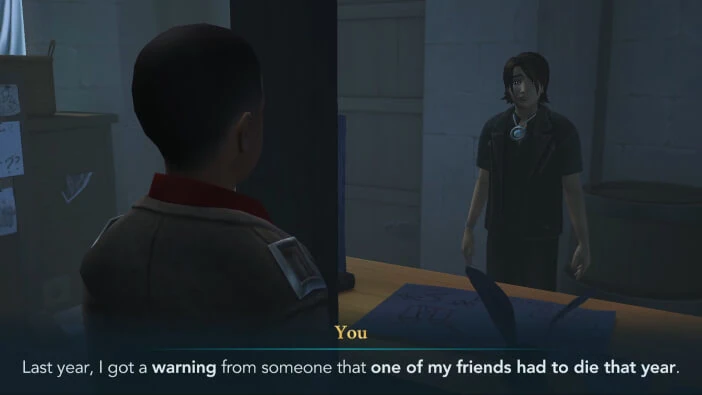
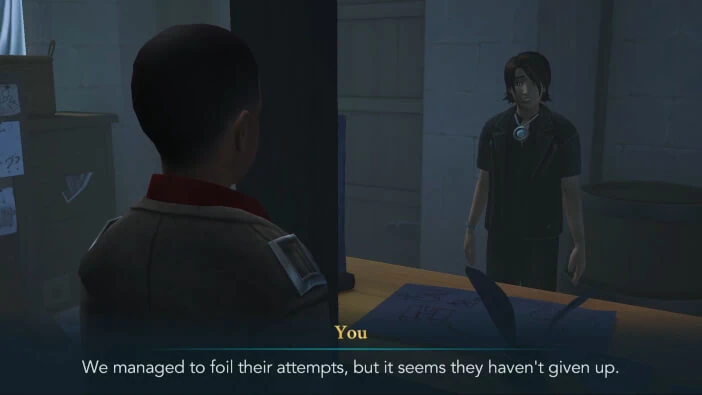
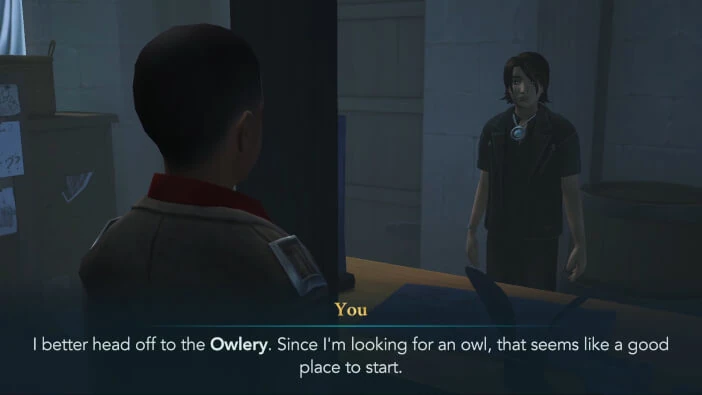
One thing that will be certain is that Sickleworth will deliver messages for ‘R’. Jacob will realize that tracking Sickleworth could eventually lead him to Rakepick, and even though you’ll offer your assistance, he’ll decline it. In the end, you will decide to track down the white owl.
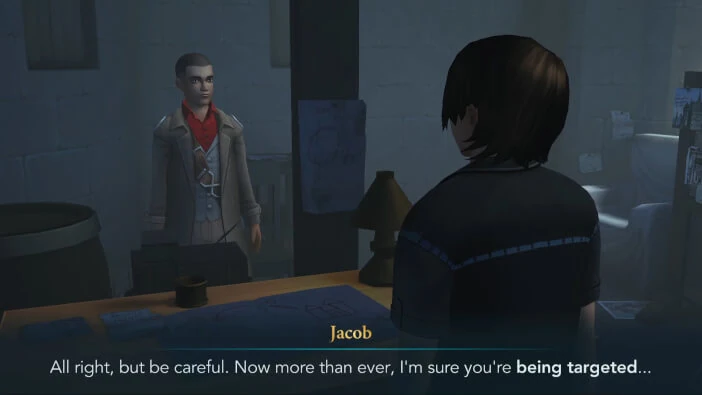
Once again, Jacob will advise you to be careful.
This will conclude Chapter 7 of Year 6. Hit the Collect button to claim your rewards. You will receive 250 Coins and 2000 Experience Points.
Will you find the mysterious white owl? Will you discover any more clues about ‘R’? Find out in the next chapter of Harry Potter Hogwarts Mystery.
Thank you for reading.
