
Chapter 24 – Dark pranks
Introduction
Hello everyone, welcome to our Walkthrough for Chapter Twenty-Four of Year Five of Harry Potter Hogwarts Mystery. Last time, you plotted grand mischief that would be good enough to satisfy Peeves so you could get the vault portrait from him. In the end, Badeea and you invented a spell perfect for that purpose – The Star Shower Spell.
Now you need to find a way to draw everyone outside so that the entire castle can witness your mischievous spectacle.
Summary
Chapter Summary:
- Lesson 1: Switch: Tortoise & Hare
- Location: Transfiguration Classroom
- Unlock: 9 Transfiguration Stars
- Requirements: 3 hours – 5/5 stars
- Lesson 2: Reductor Curse
- Location: Defence Against the Dark Arts Classroom
- Unlock: 9 Defence Against the Dark Arts Stars
- Requirements: 3 hours – 5/5 stars
- Task 1: Go to the Hog’s Head Inn
- Location: Hog’s Head Inn
- Requirements: 1 hour – 1/5 stars
- Choice: React to Bilton’s comment
- I wish!: +5 Empathy
- No way!: +5 Courage
- Task 2: Go to Detention
- Location: Kitchens
- Requirements: 3 hours – 1/5 stars
- Choice: Tell Jae how you feel about pulling off the forbidden prank
- Excited: +5 Courage
- Reluctant (26 Knowledge): +10 Knowledge
- Task 3: Meet Mundungus Fletcher
- Location: Three Broomsticks
- Requirements: 3 hours – 1/5 stars
- Choice: Tell Fletcher if you consider his deal fair
- It’s fair: +5 Empathy
- It’s not fair (26 Courage): +10 Courage
- Task 4: Go to Knockturn Alley
- Location: Knockturn Alley
- Requirements (Duel): 24 Courage, Empathy, and Knowledge; 350 Coins
- Choice: Explain your plan to Fletcher
- Negotiate with the Dark Wizard (26 Empathy): +10 Empathy
- Challenge the Dark Wizard: +5 Courage
- Sneak attack: +5 Knowledge
- Task 5: Meet Jae, Tonks, and Tulip
- Waiting Time: 3 hours
- Location: Artefact Room
- Requirements: 3 hours – 1/5 stars
- Chapter Rewards: 250 Coins and 2000 Experience Points
Walkthrough
Video guides are available at our YouTube channel. Use the button below.
But before that, you should get the lessons out of the way. Proceed to the Transfiguration classroom when you are ready.
Unlocking Switch: Tortoise & Hare lesson requires earning nine stars from transfiguration classes. Pick the class duration you prefer and hit Start to begin.

Prioritize actions with bonus progress whenever they are available. This will save you some energy.
Try succeeding at all of the mini-tasks to gain some additional Knowledge points.

Once you unlock the lesson, head back to the classroom to attend it.
To complete this lesson, you need to obtain five stars within three hours. All five stars are needed to pass, so you should avoid starting with an empty energy bar.

Do this lesson just like the previous classes and you’ll be done quickly and easily.
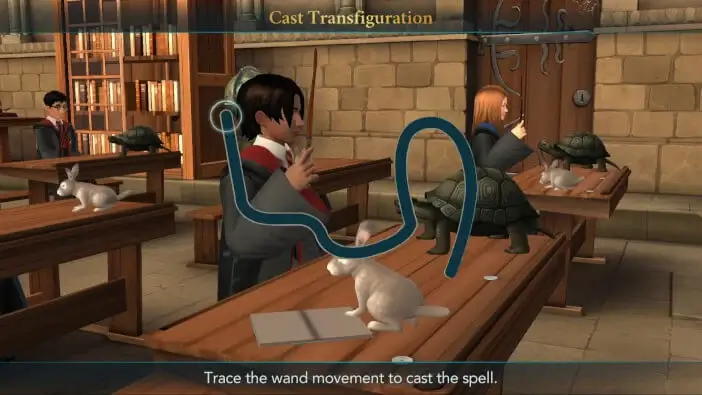
After obtaining the fifth star, you’ll be tasked with casting the Transfiguration.
When you are done, hit the Collect button to claim your rewards.
You’ll receive an additional reward for completing the lesson. You can collect it in the Transfiguration section of your Hogwarts Record.

For your second lesson of this chapter, you should proceed to the Defence Against the Dark Arts classroom.
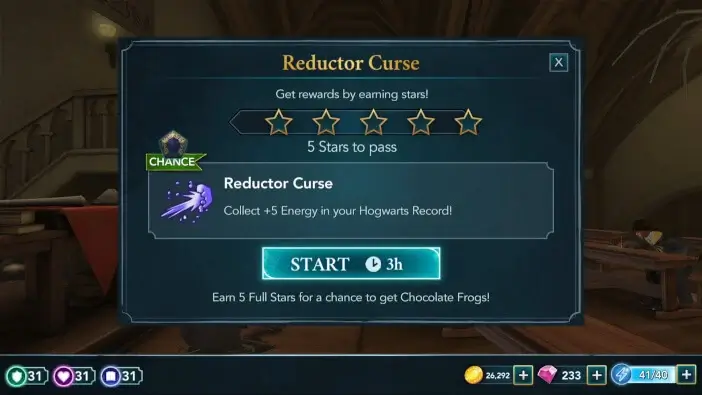
To unlock the Reductor Curse lesson, you need to earn nine stars from Defence Against the Dark Arts classes. As always, choose the class duration you prefer and hit Start to begin.

These classes usually have a decent number of bonus progress actions, which should save you some energy overall.
And as always, try completing all of the mini-tasks for some additional Courage points.

Return to the classroom once you acquire enough stars to unlock the lesson.
Learning the Reductor Curse requires earning five stars within three hours. All five stars are needed to pass. Because of this, avoid starting the lesson with an empty energy bar.
All in all, there isn’t much of a difference between this lesson and the regular classes.
Trace the wand movement on the screen to cast the spell once you obtain all five stars.

Hit the Collect button to claim your rewards.
You will earn an additional reward for completing the lesson. You can claim it in the Defence Against the Dark Arts section of your Hogwarts Record.

Now that the lessons are done, you can proceed to the Hog’s Head Inn to meet your friends.
Upon arriving, you’ll notice that some characters have speech bubbles above them. Tap on those if you are interested to see what they have to say.
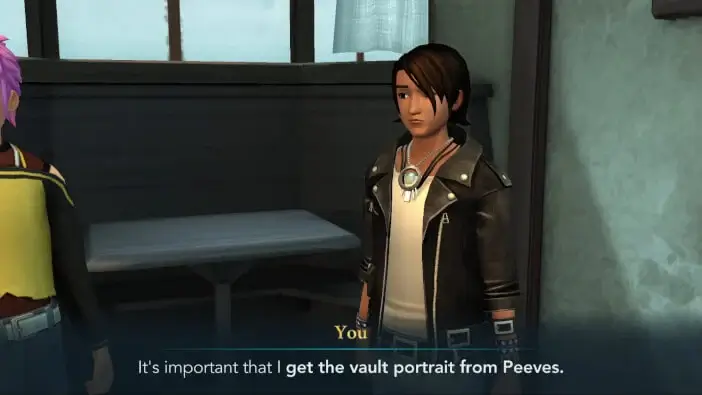
After greeting your friends, you’ll tell them why you wanted to meet with them.

You’ll tell them it is important to get the vault portrait from Peeves. If you completed Grand Pranksters adventure, it will be referenced here.
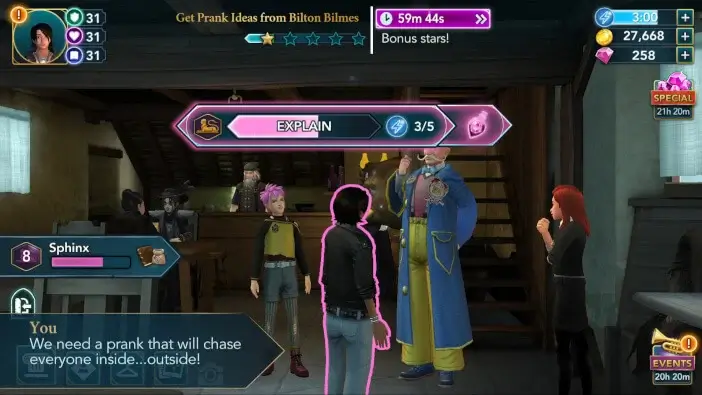
You’ll also say that you need to find a prank that will make everyone inside Hogwarts go outside.
After thinking about it for a moment, you’ll decide to seek Bilton’s advice.
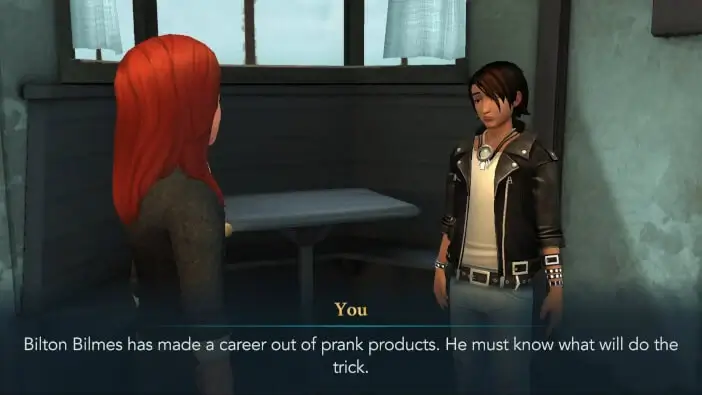
He’ll be surprised that you are hanging out so often at the Hog’s Head Inn. You have two options to respond with. This choice won’t impact the story much, so feel free to pick either option.

You’ll then ask him to help you plot a special prank, and he’ll be more than happy to do so.
Brainstorming a prank is an hour-long task with a passing requirement of one out of five stars.

There are actions with bonus progress tied to Tulip and your character. Focus on those if you want to save energy.
Once you’re done, Bilton will suggest using one of the banned pranks since those will surely impress Peeves.

And if someone knows a thing or two about banned items, it is Jae. Proceed to the Kitchens when you are ready to meet him.
Upon arriving, you can interact with some of the House-Elves by tapping on their speech bubbles.
After explaining the situation to Jae, he will be curious to know how you feel about pulling off a banned prank. You have two options to respond with. Each of those will lead to a similar outcome, so pick the one you prefer.

Talking to Jae about Banned Pranks is your next task. To complete it, you need to obtain five stars within three hours. To pass, however, you only need one star.

There are bonus progress actions linked to Jae, one of the house-elves, and pots and pans. Prioritize those actions to save energy.

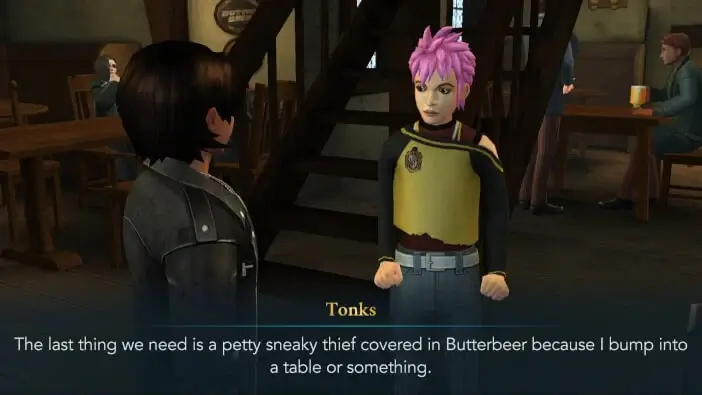
After you complete the task, Jae will suggest using the Jinxed Ever-Bashing Boomerangs.


And apparently, he knows a person that could procure those for you. Head to the Three Broomsticks when you are ready to meet Mundungus Fletcher.
Once you arrive, you can interact with some of the characters by tapping on their speech bubbles.
It appears that Tonks is not really eager to talk to Mundungus.

So, you’ll end up talking to Fletcher on your own. You’ll approach him and say that a friend told you he could get you Jinxed Ever-Bashing Boomerangs.
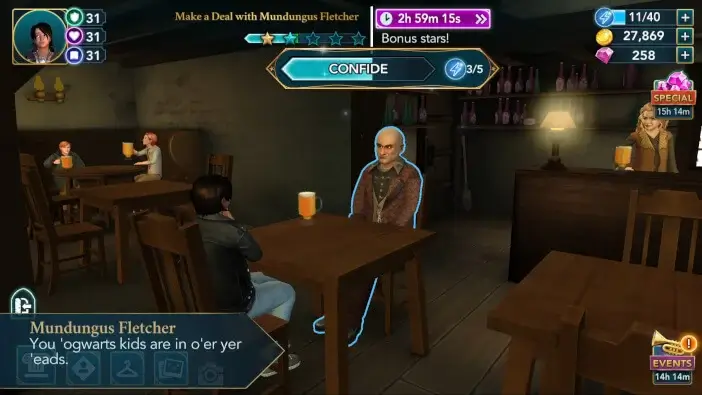
Sadly, Mundungus will want something in return, so your next task will involve striking a deal with him. To do that, you need to get at least one out of five stars within three hours.
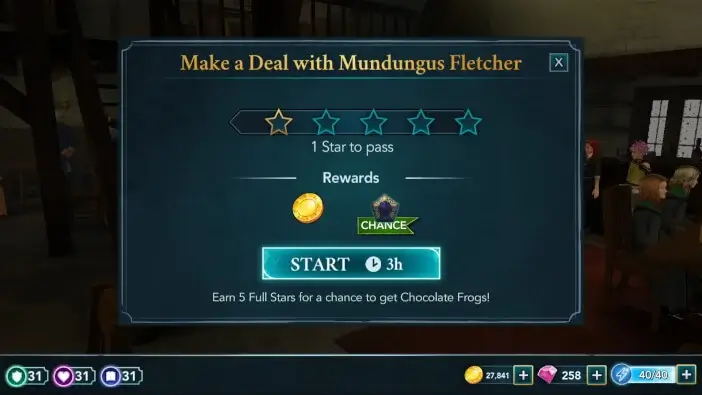
Make sure to slide the screen left and right to see all the available actions. There are bonus progress actions tied to Tulip, Mundungus, and your character. Prioritize those to save energy.
When you are done, you’ll learn that you can get the items you’re looking for if you agree to duel a Dark Wizard.
Fletcher will ask if you consider it a fair deal. You have two response options. Each will lead to the same outcome, so you can pick whichever one you want.

Proceed to Knockturn Alley when you are ready to duel this dark wizard. The following task doesn’t involve spending any energy, so you should go there immediately, even if your energy is low.
Once you get there, you can interact with some of the Knockturn Denizens by tapping on the speech bubbles above them.
Fletcher will point you to the Dark Wizard and ask how you are planning to approach the situation. You have three options to respond with. Each of those will end up with a duel, but there will be some dialogue differences, depending on the option you pick.

Shortly after, you’ll get to duel a Dark Wizard. The task window will display the recommended attribute levels and the cost of each attempt.
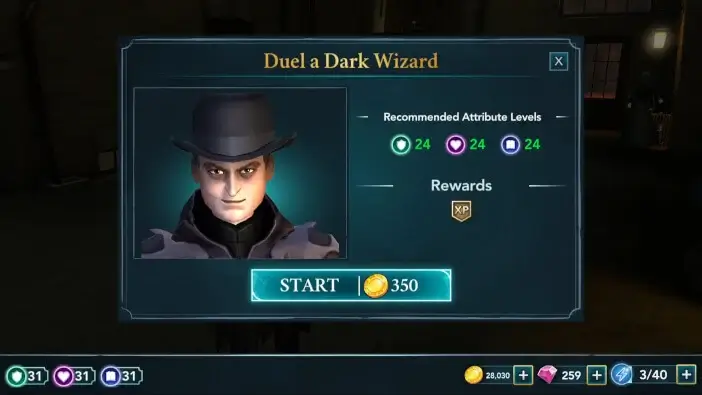
At this point, your attributes should be well above the recommended values, which should give you a significant advantage. An easy way to win this duel involves going Aggressive or Sneaky and using Depulso or Flipendo on every turn.

When you win, you’ll learn that Fletcher was actually stealing from this wizard.

Once he leaves, you’ll realize that you’ve been serving as a distraction. While you were dueling the Dark Wizard, Mundungus used the opportunity to loot his stash of magical ingredients.

But, despite all that, Fletcher will be willing to fulfill his end of the bargain.

Before you can continue, there is a waiting period of three hours. Since you will likely be low on energy at this point, it is recommended to wait until this timer runs out. That way, your energy will recharge in the meantime.

Once the waiting time is over, head to the Artefact Room to meet your mischievous friends.
As it turns out, Fletcher did deliver the Jinxed Ever-Bashing Boomerangs, as promised.

After talking for a while, you’ll decide to forge a plan for using those items.
To complete this task, you need to earn at least one out of five stars within three hours.
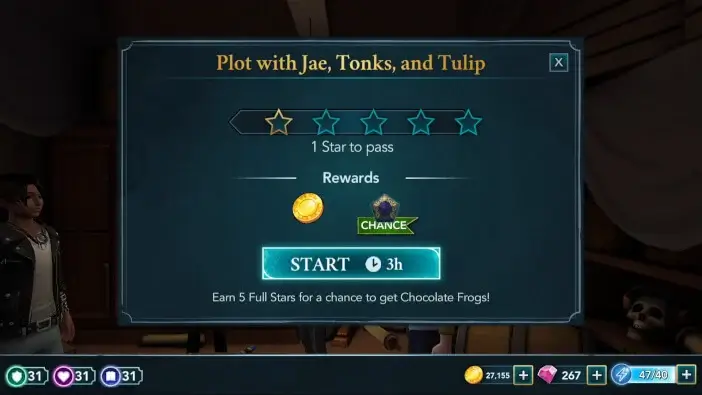
There are bonus progress actions tied to Jae and your character. Focus on those to save energy.

When you are done, you’ll almost be ready to pull off this prank. Almost, because there is one more thing you need to do.


With this, Chapter 24 of Year 5 will come to an end. Hit the Collect button to claim your rewards. You will receive 250 Coins and 2000 Experience points.
What kind of help do you need from Liz? Will she agree to lend her aid to you? Find out in the next chapter of Harry Potter Hogwarts Mystery!
Thank you for reading.
