
Unleash Your Patronus Part 3
Introduction
Hello everyone, welcome to Part 3 of our Walkthrough for Unleash Your Patronus Adventure of Harry Potter Hogwarts Mystery. Last time, you asked Tonks to teach you the Patronus Charm. While she was hesitant at the start, she eventually agreed to do so.
Later on, while she was teaching you, Merula appeared and said she also wants to learn the spell. Despite Tonks’ initial objection, you convinced her to teach Merula too.
Summary
Part 3 Summary:
- Task 1: Study the Patronus Charm
- Location: Library
- Requirements: 3 hours – 5/5 stars
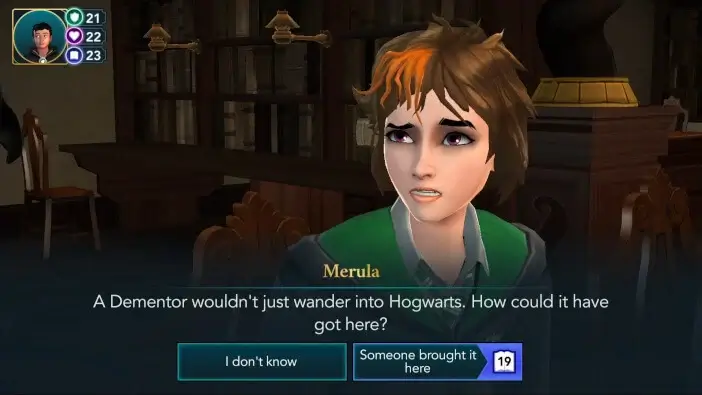
- Choice: Decide if you want to be honest with Merula about the Dementor
- I don’t know: +5 Courage
- Someone brought it here (19 Knowledge): +10 Knowledge
- Task 2: Prepare for the Patronus
- Location: The Great Hall
- Requirements: 3 hours – 5/5 stars
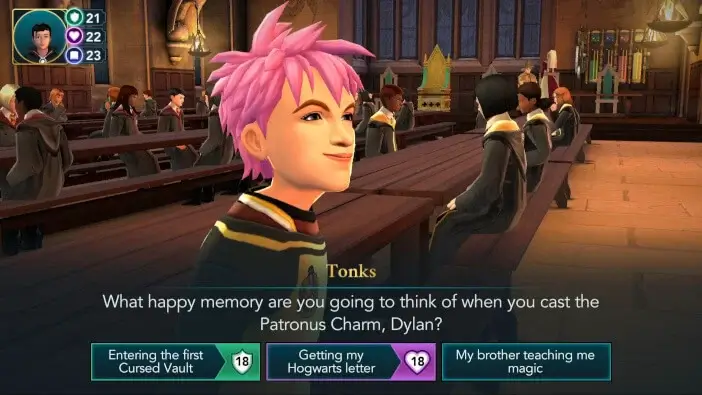
- Choice 1: Tell Tonks what happy memory you will think of
- Entering the first Cursed Vault (18 Courage): +10 Courage
- Getting my Hogwarts letter (18 Empathy): +10 Empathy
- My brother teaching me magic: +5 Knowledge
- Choice 2 (Only if you know Legilimency): Decide if you want to use Legilimency on Merula
- Use Legilimency to see Merula’s memory (26 Knowledge): +10 Knowledge
- Leave Merula’s memory a secret: +5 Empathy
- Task 3: Practice the Patronus Charm
- Location: Training Grounds
- Requirements: 3 hours – 5/5 stars
- Choice (IMPORTANT): Tell Tonks which animal form you would like for Patronus to take
- An equine: +5 Empathy, your Patronus will take the form of White Stallion, Unicorn, or Abraxan
- A big cat: +5 Empathy, your Patronus will take the form of Leopard, Cheetah, or Tiger
- A rabbit: +5 Empathy, your Patronus will take the form of Mountain Hare, Spotted Hare, or Lop-eared Rabbit
- Task 4: Consult with McGonagall
- Location: Transfiguration Classroom
- Requirements: 8 hours – 5/5 stars
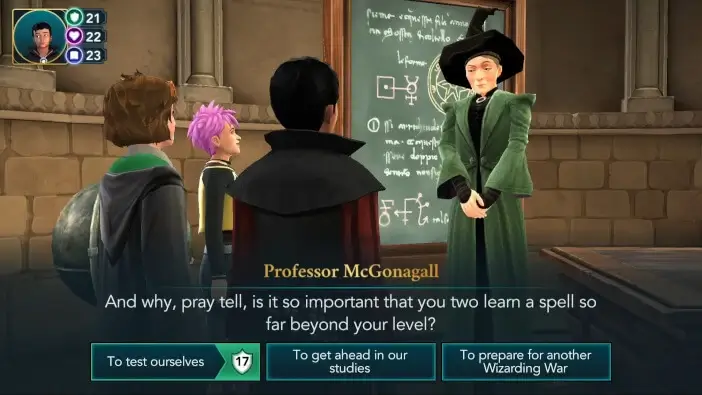
- Choice: Tell Professor McGonagall why you and Merula want to learn Patronus Charm
- To test ourselves (17 Courage): +10 Courage
- To get ahead in our studies: +5 Knowledge
- To prepare for another Wizarding War: +5 Courage
- Part 3 Rewards: 5 Gems
Walkthrough
Video guides are available at our YouTube channel. Use the button below.
(Disclaimer: This walkthrough will feature the gameplay from the perspective of a Year 4 student. Since the adventure is available for students of Year 4 and above, the star and attribute requirements for certain tasks might be different for you, depending on your current progress of the main story.)
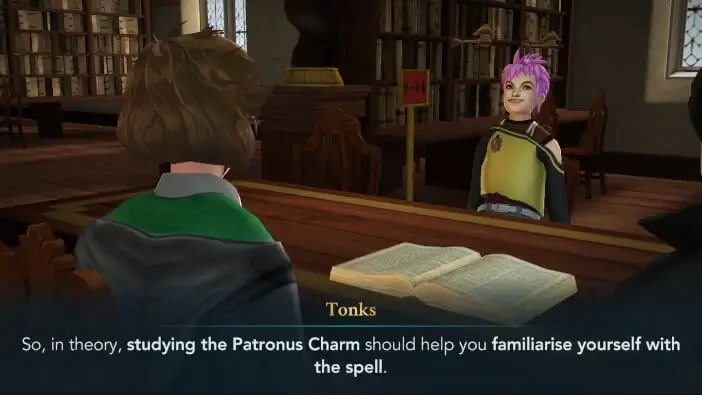
Now is the time to continue your Patronus lessons. Head to the Library when you are ready. Upon arriving, you’ll get the opportunity to check out what some of the characters have to say to you before proceeding to meet Tonks and Merula. Tonks’ idea is fairly simple, she wants to have both Merula and you study Patronus Charm for a while.
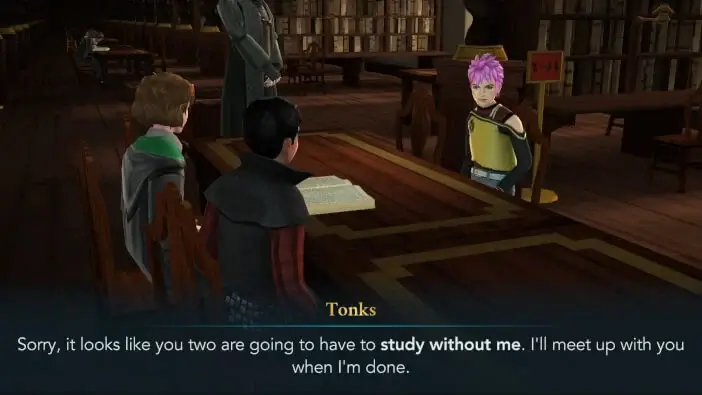
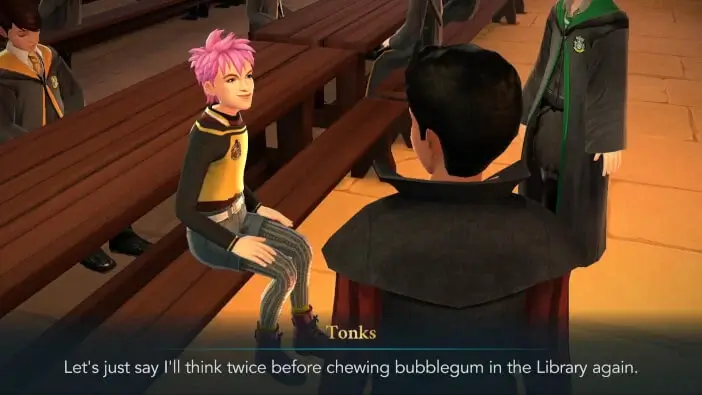
However, just as you’re about to start, Madam Pince will appear and drag Tonks away. Apparently, she found the bubblegum Tonks left underneath one of the study tables earlier, and she wasn’t happy about it. Because of that, she decided to have Tonks cast the Scouring Charm to clean the table. In other words, Merula and you will have to continue studying on your own.
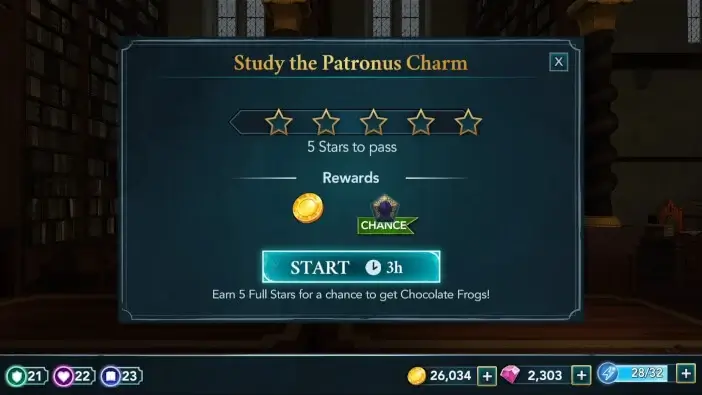
Studying the Patronus Charm requires earning five stars within three hours. All five stars are needed to pass. Because of that, it is recommended to have full energy before starting this task.
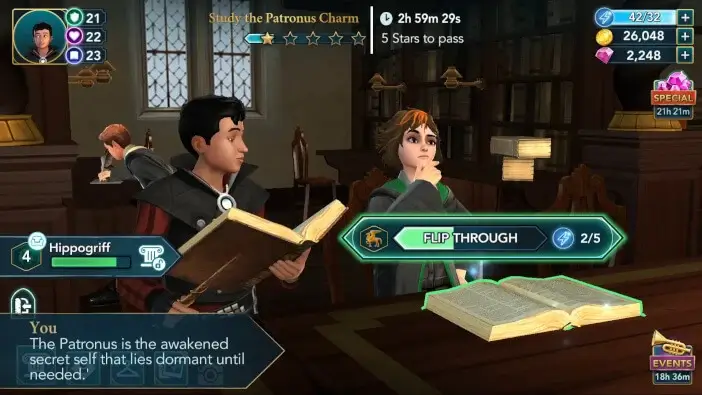
Most of the bonus progress actions here are tied to the book in front of Merula, so prioritize that one whenever its actions are available.
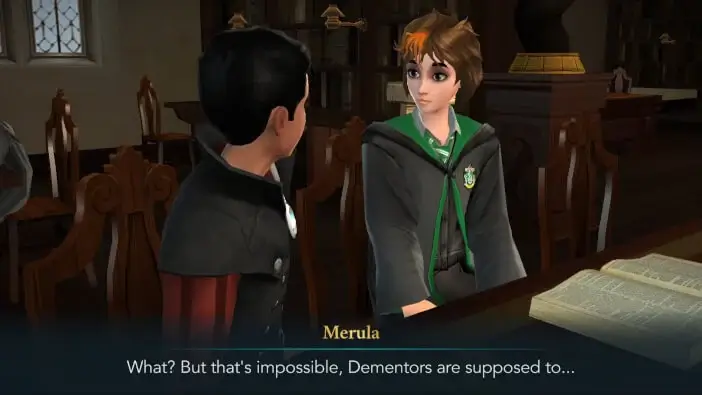
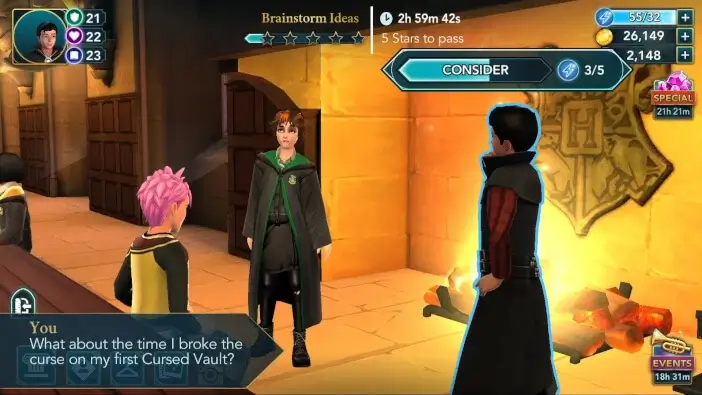
Once you are done, Merula will ask why you are suddenly interested in learning the Patronus Charm. You’ll decide to tell the truth… at least the part of it. You’ll say that you are preparing to face the Dementor that came to Hogwarts. However, you won’t mention anything about the message you found in the Artefact Room. Merula will be surprised to hear that since Dementors are not supposed to be at Hogwarts.
Still, she’ll be curious to know how a Dementor showed up at the school grounds. You have two options to reply with. You can choose to lie to her or tell her the truth. Bear in mind that eventually, she’ll find out, so it is highly recommended to tell her the truth now.
After talking to Merula for a bit longer, you’ll decide to go to the Great Hall to meet Tonks. When you arrive, you’ll get to interact with some of your classmates before continuing. It appears that Tonks had a “wonderful” time cleaning the Library.
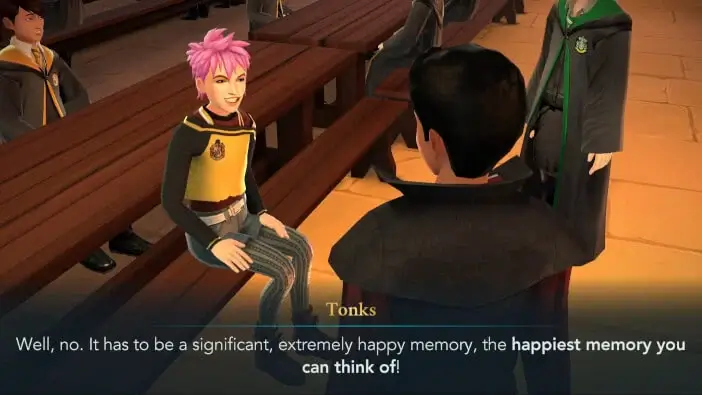
She’ll then explain there is another very important thing you need to do before you’re ready to attempt casting Patronus. You will need to think of a happy memory in order to cast the Patronus Charm. And not just any memory, you will need to come up with the happiest memory you can think of.
You’ll then get to brainstorm happy memory ideas. Doing so requires obtaining five stars within three hours. Like before, all five stars are needed to pass, so avoid starting this task if your energy is low.
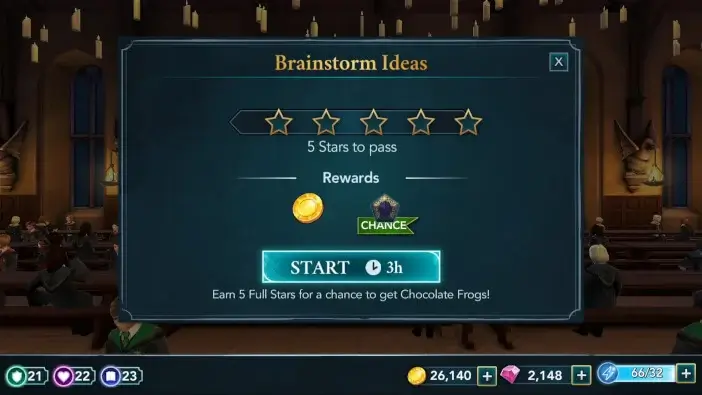
There are bonus progress actions tied to Tonks and your character. Focus on those if you want to save some energy.
Once you’re done, you’ll get to choose a happy memory to use for casting the Patronus Charm. There are three options to choose from. Each of these memories is powerful enough, so you needn’t worry about that. Pick the one you like the most and bear in mind that this choice will be referenced later on while casting the spell.
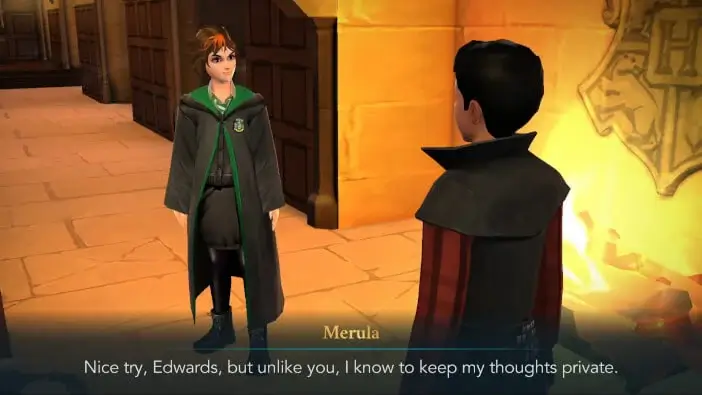
No matter which memory you choose, Merula will mock you. She will, however, refuse to share her happy memory with you.
If you’ve learned how to use Legilimency, you will have the option to read her mind and see her happy memory. If you choose to do so, you’ll be able to see her memory, but this will heavily upset Merula, so if you care about her and consider her your friend it is highly recommended to avoid doing that.
After that, Tonks will ask you to meet her at the Training Grounds. Proceed there when you are ready. After all the preparation and studying, Tonks will say that Merula and you are ready to start practicing the Patronus Charm.
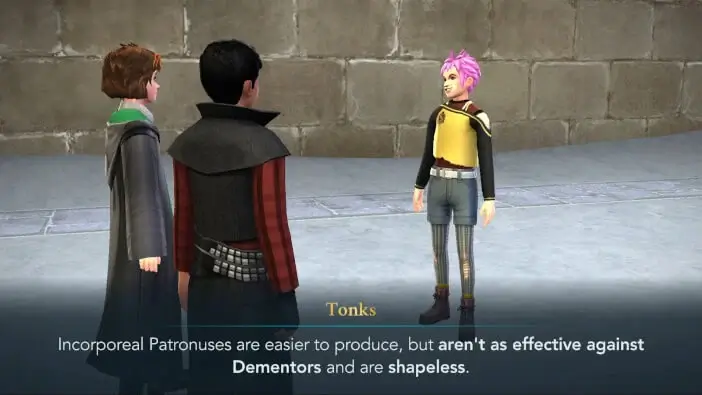
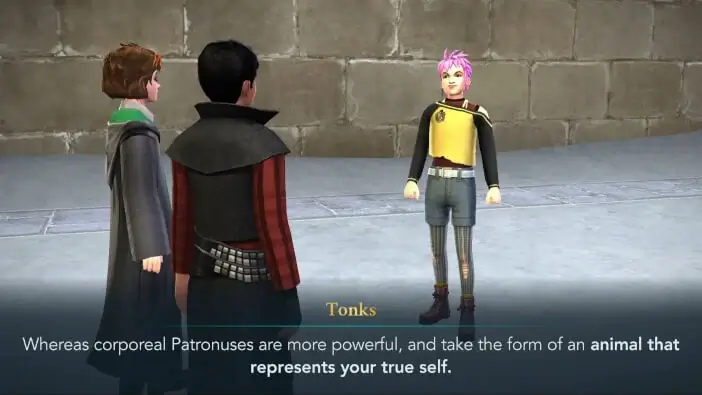
Before you begin, she’ll remind you of a few important things about Patronuses. She’ll tell you there are two different Patronus types: corporeal and incorporeal. She’ll then say a few words about those.
She’ll also mention one interesting detail. She’ll say that Patronus can change its form after falling in love. This is an Easter egg planted by the developers.
Tonks will then ask which animal form you would want your Patronus to take. You have three options to pick from. Together with the option you picked during Part 2, THIS CHOICE WILL DETERMINE THE CORPOREAL FORM OF YOUR PATRONUS!
- If you choose an equine, you’ll get a White Stallion, Abraxan, or Unicorn.
- If you go for a big cat, you’ll get Leopard, Tiger, or Cheetah.
- If you pick a rabbit, you’ll get Mountain-Hare, Lop-Eared Rabbit, or Spotted Hare.
Take your time to consider these options since this is one of the most important choices in this adventure.

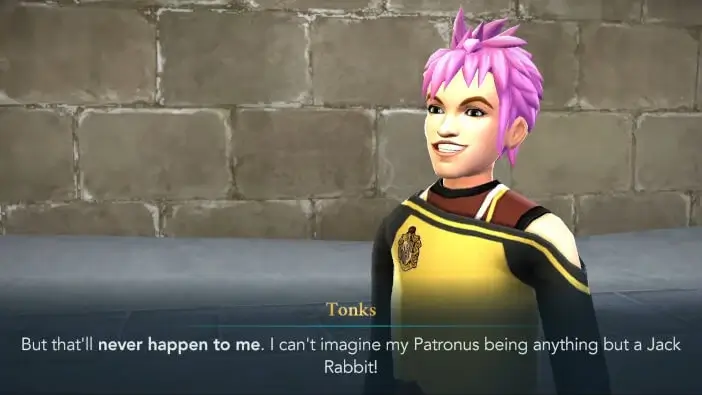
Merula, on the other hand, won’t be too concerned about the form of her Patronus. All she will care about is successfully casting the spell.
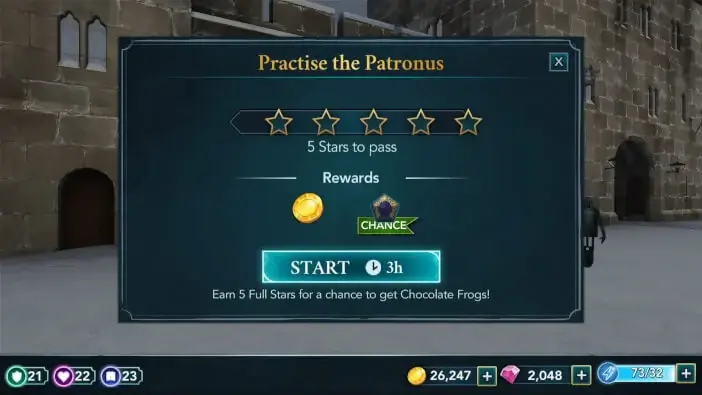
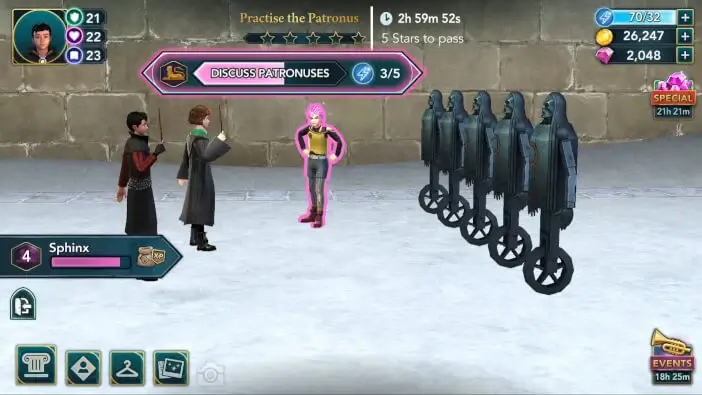
Shortly after, you’ll get to practice the Patronus Charm. To complete this task, you need to acquire five stars within three hours.
There are actions with bonus progress tied to Tonks and your character, so prioritize those actions if you are looking to save some energy.
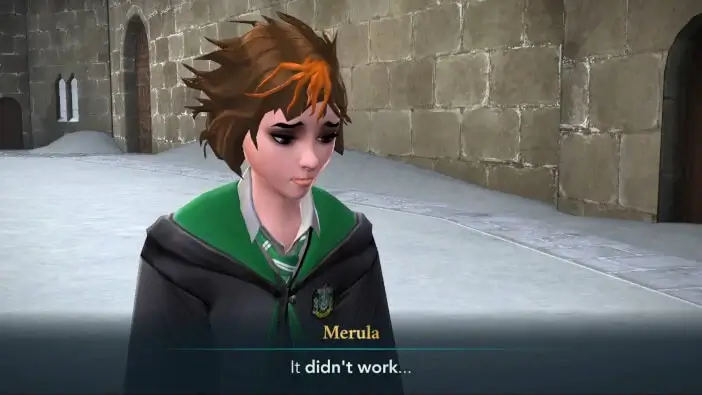
When you are done, Tonks will ask Merula to try casting the spell. Merula will be quite nervous about it, so you’ll give her a little push of “encouragement”.

Apparently, this will work, and she’ll quickly start waving her wand. Sadly, Merula won’t be able to conjure a Patronus, which will leave her saddened.
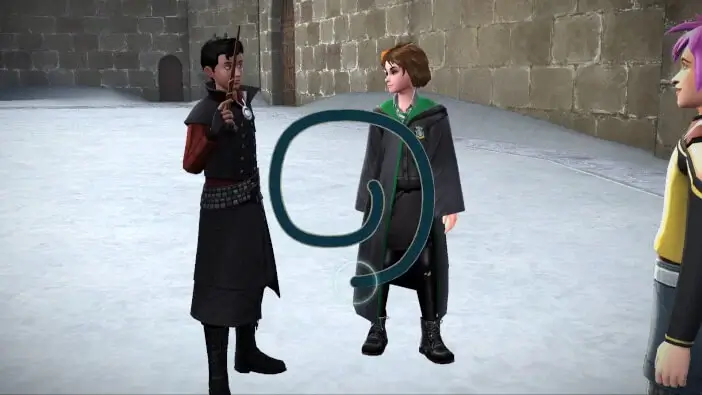
Next, it’s your turn to try. Trace the wand movement on the screen to attempt casting the Patronus Charm.
The spell will “sort of” work, and you’ll see a faint glowing trace emerging from your wand.
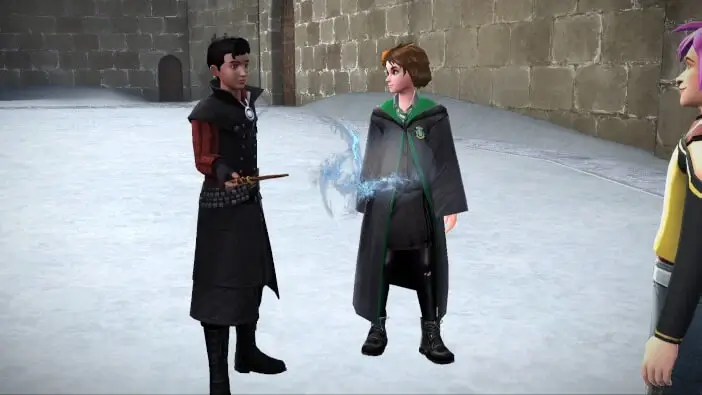
While your spell wasn’t as good as you hoped it would be, it’s still a decent start. You’ll suggest asking Professor McGonagall for help. Given the fact that she saved Penny from Dementor’s attack, she probably knows a lot about the Patronus Charm. Even Merula will like your idea.

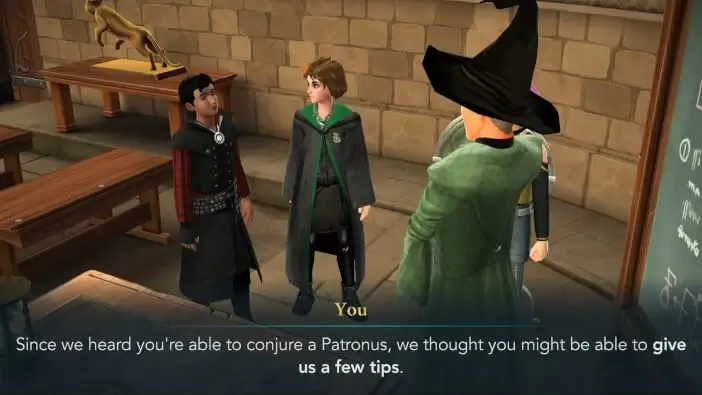
Proceed to the Transfiguration Classroom when you are ready. Once you arrive, the three of you will tell the Professor you need her help with the Patronus Charm. Tonks will say she tried teaching you and Merula, but neither of you was able to produce an actual Patronus. You will kindly ask the Professor to give you some tips.
Professor McGonagall will be curious to know why you are learning such an advanced spell at your age. You have three options to respond with. Each of these will lead to the same outcome with a couple of minor dialogue differences, so feel free to pick whichever option you prefer.
Still, regardless of your choice, the Professor will find it odd that you decided to learn the Patronus Charm now that the Dementor is roaming around the school grounds. But as usual, you’ll pretend that it’s all just a coincidence, so she’ll eventually agree to help you.

Listening to Professor McGonagall requires earning five stars within eight hours. All of the stars are needed to pass, so it is somewhat recommended to avoid starting the task if you’re out of energy.

There are bonus progress actions tied to Professor McGonagall and your character. Prioritize those if you want to save some energy.

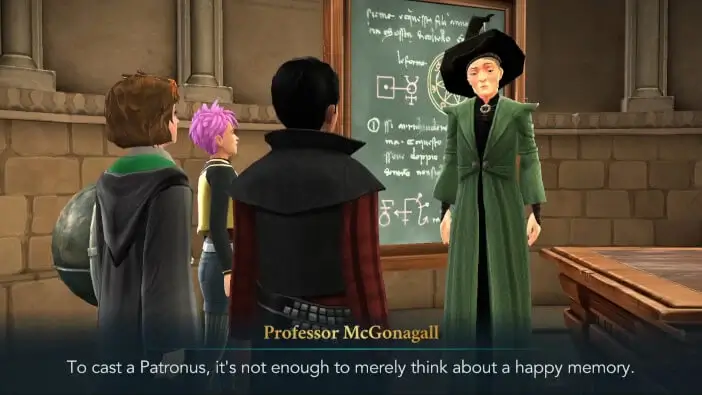
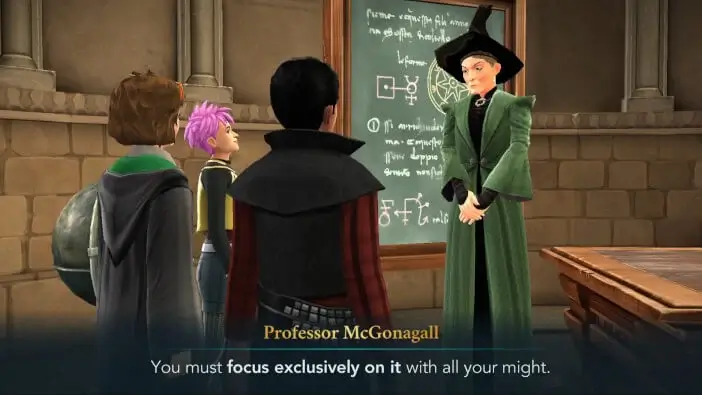
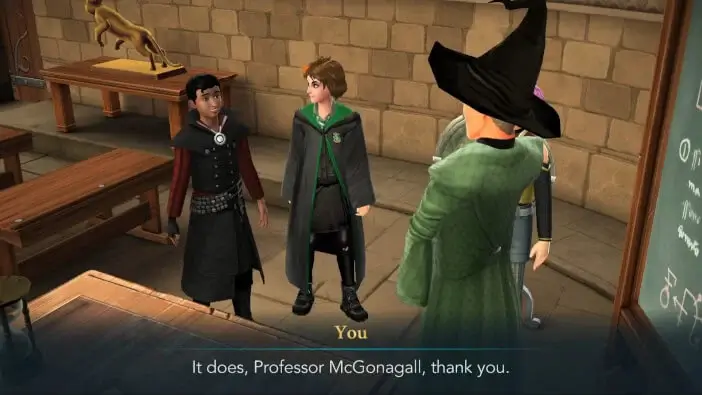
Once you complete the task, Professor McGonagall will summarize the most important things you should be aware of.
You’ll thank the Professor for helping you, and shortly after, Tonks, Merula, and you will leave the classroom.
With this, Part 3 of Unleash Your Patronus Adventure will come to an end. Hit the Collect button to claim your reward. You will receive 5 Gems.
You are nearly there! Will you finally be able to conjure a Patronus? And will it be powerful enough to drive the Dementor away? Find out in Part 4 of Unleash Your Patronus Adventure of Harry Potter Hogwarts Mystery!
Thank you for reading.
