
Chapter 26 – Brazil
Introduction
Welcome back, everyone, to our Walkthrough for Chapter Twenty-Six of Beyond Hogwarts: Volume Two of Harry Potter: Hogwarts Mystery. The events of Chapter 25 have shaken your world more deeply than ever before. What began as a simple visit to the Japanese Arcade quickly unraveled into a series of revelations that changed everything you thought you knew. Kenji finally confessed the secret he’d been hiding — a gravely injured wizard he’d been caring for in silence. That wizard turned out to be your father, alive yet barely conscious, repeating only one word: vault.
While searching for answers, Tonks revealed a grim truth: if your father ever returned to London, he would face a Wizengamot trial and almost certainly be sentenced to Azkaban. Meanwhile, Hogwarts itself was recovering from its own recent turmoil. Hagrid was released, Dumbledore reinstated, and the mysterious diary responsible for opening the Chamber of Secrets was secured… though its true nature remains hidden.
But just when it seemed the worst was behind you, a new mystery emerged. At St. Mungo’s, you discovered Lockhart had lost his memory, and Chiara confirmed Professor Lupin is set to replace him as the new Defense Against the Dark Arts teacher. Yet the biggest shock came from Corey — she revealed that during her trip to Brazil, she found a witch caring for magical creatures… a witch she believes is Ruby Honeysuckle.
If Ruby is truly alive, then who has been living in your home all this time?
Summary
Chapter Summary:
- Task 1: Confront Ruby
- Location: Flat
- Requirements: 3 hours – 5/5 stars
- Choice: Reply to Diego
- Lying this whole time (67 Empathy): +10 Empathy
- Leaving so abruptly: +5 Knowledge
- Something she is about to do: +5 Courage
- Task 2: Update Flump
- Waiting Time: 3 hours
- Location: Workspace
- Requirements: 3 hours – 5/5 stars
- Choice: Answer Flump
- I’m fine: +5 Knowledge
- I’m all over the place: +5 Empathy
- That’s none of your business: +5 Courage
- Task 3: Meet Diego
- Location: Flat
- Requirements: 8 hours – 5/5 stars
- Choice 1: Reply to Badeea
- Feels weird: +5 Knowledge
- Feels great: +5 Courage
- Feels lonely: +5 Empathy
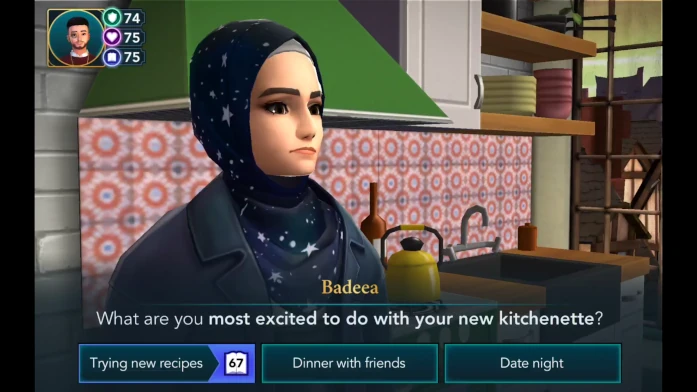
- Choice 2: Tell Badeea what are you most excited to do with your new kitchenette
- Trying new recipes (67 Knowledge): +10 Knowledge
- Dinner with friends: +5 Courage
- Date night: +5 Empathy
- Task 4: Find Ruby
- Location: Rio Escondido
- Requirements: 8 hours – 5/5 stars
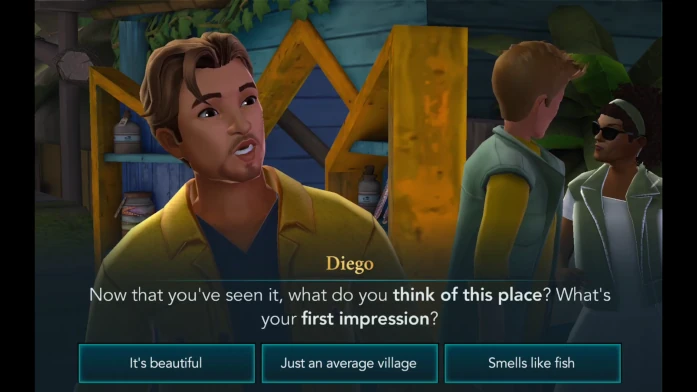
- Choice 1: Tell Diego your first impression about Rio Escondido
- It’s beautiful: +5 Empathy
- Just an average village: +5 Knowledge
- Smells like fish: +5 Courage
- Choice 2: Choose to embrace Ruby or to dodge her
- Embrace her: +5 Empathy
- Dodge her: +5 Courage
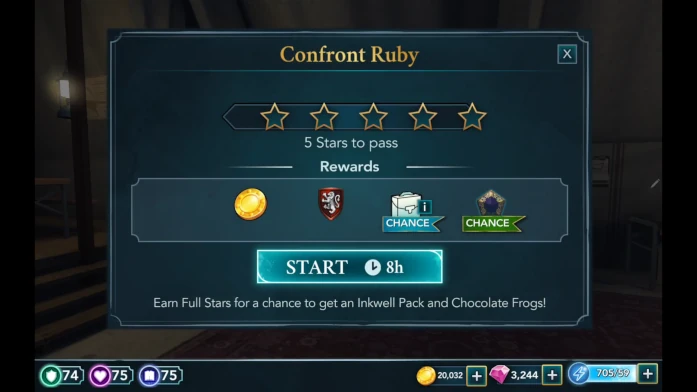
- Task 5: Confront Ruby
- Waiting Time: 4 hours
- Location: Hospital Ward
- Requirements: 8 hours – 5/5 stars
- Choice: Reply to Ruby
- I’m not planning to tell him: +5 Empathy
- I’m planning to tell him: +5 Knowledge
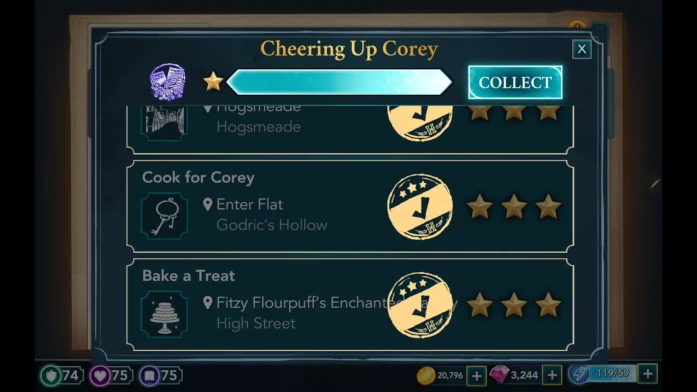
- Mandatory Chapter Task: Cheering Up Corey
- Unlock: None
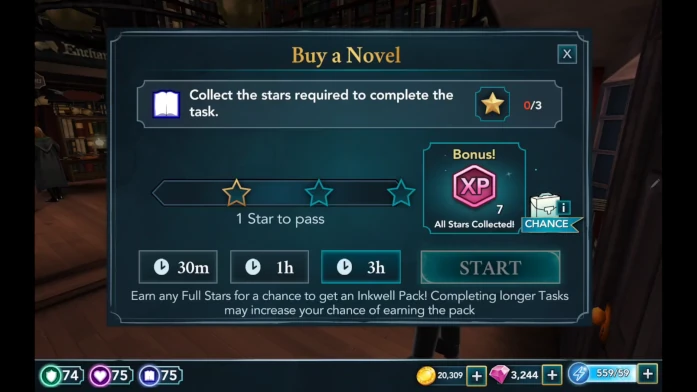
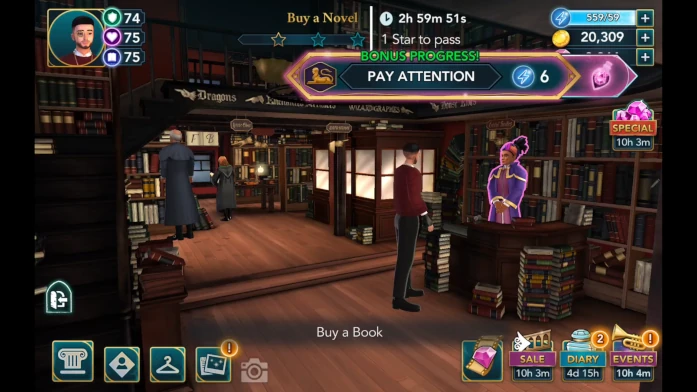
- Buy a Novel:
- Location: Flourish & Blotts
- Requirements: 3 hours – 3 stars
- Buy Corey a Gift:
- Location: Diagon Alley
- Requirements: 3 hours – 3 stars
- Read the News
- Location: Hogsmeade
- Requirements: 3 hours – 3 stars
- Cook for Corey
- Location: Flat
- Requirements: 3 hours – 3 stars
- Bake a Treat`
- Location: Flourpuff Bakery
- Requirements: 3 hours – 3 stars
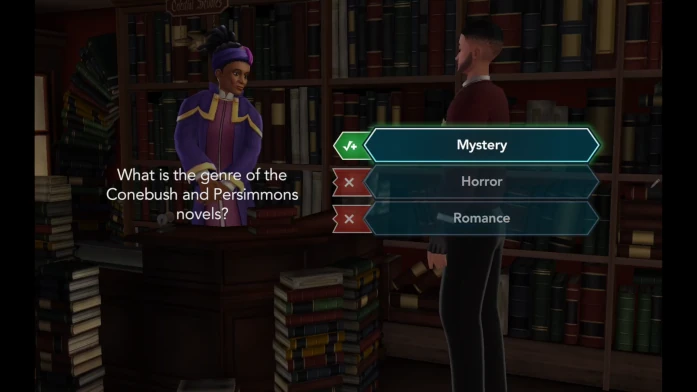
- Quiz Answers:
- What is the genre of the Conebush and Persimmons novels?- Mystery
- What is Corey’s favourite garment?- Socks
- Buy a Novel:
- Unlock: None
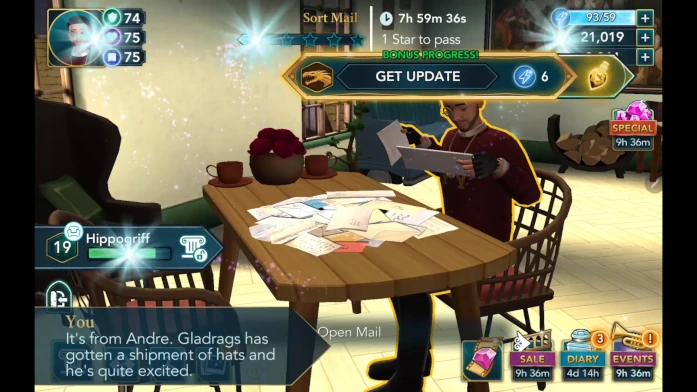
- Optional Chapter Task 1: Sort Mail
- Location: Flat
- Requirements: 8 hours – 5 stars
- Optional Chapter Task 2: Covert Operations OR Ministry Case Analysis
- Location: Knocturn Alley or DMLE
- Requirements: 8 hours – 5 stars
- Optional Chapter Task 3: Wrangle Books
- Location: Research Lab
- Requirements: 8 hours – 5 stars
- Chapter Rewards: 400 Coins and 2500 Experience Points
Walkthrough
Video guides are available on our YouTube channel. Use the button below.
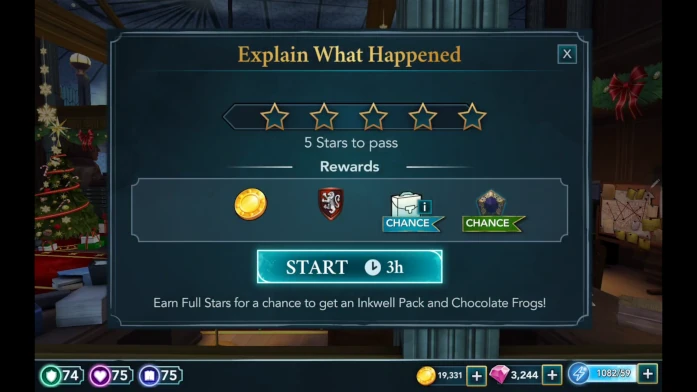
Proceed to your Flat when you are ready. You will run into Diego there, and together you will notice a note left for you on the table that says I’m sorry. It will immediately feel like something Ruby would write. Diego will ask you to explain what happened so he can actually help, and you will gladly agree, knowing that two perspectives are better than one.
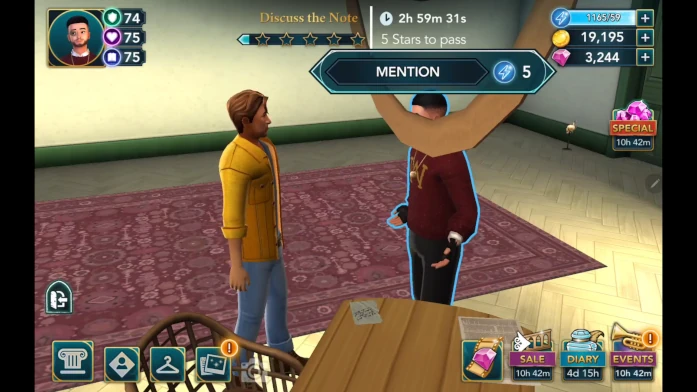
To discuss the note, you need to earn five stars within three hours. The five stars are required to pass. Since this task requires a lot of energy, it is recommended to start it with a full energy bar.
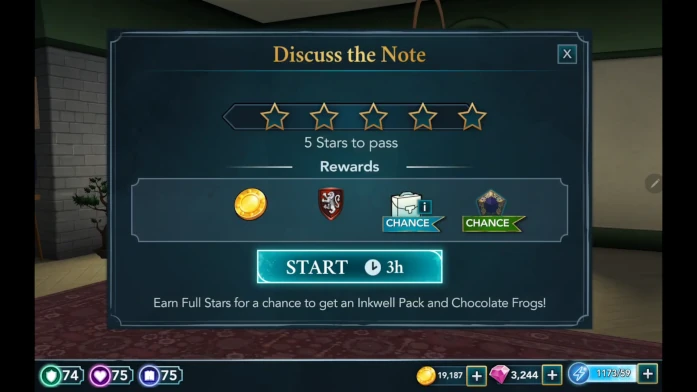
The bonus progress actions are tied to your character. Prioritize these actions to save some energy.
Diego will be stunned when he hears that your flatmate was actually your supposedly dead friend, Ruby Honeysuckle, in disguise — and that she might not have even been Ruby at all, but a witch named Eris.
He’ll admit he’s trying to understand the whole story, because there are so many different things she should apologise for. Then he’ll add that you’ve been living with her, so you’re the one who knows her best. What do you think is most likely? What is she so sorry for?
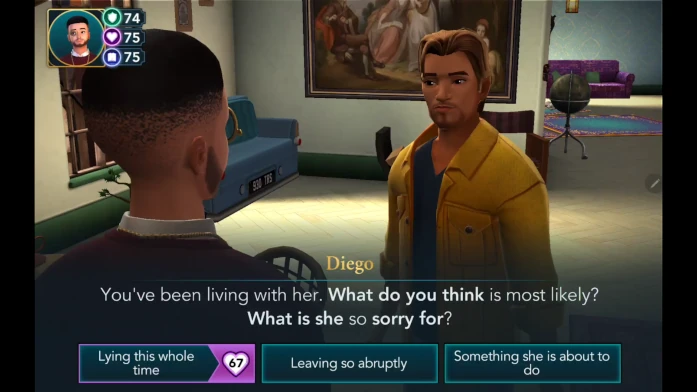
There are three different options to choose from. These options will influence some dialogue that will follow, but they won’t impact the story.
You still don’t know for certain if everything Merula said is true, but something isn’t adding up. You’ll ask Diego if it’s possible that he and Corey saw Ruby in Brazil after you confronted her and she left your flat. He’ll reply that there’s no way — the witch they saw had clearly been there for a while, and the villagers all knew her.
That’s when it will hit you. It seems the Ruby in your flat and the Ruby in Brazil are two different people. And if Merula is right, it would explain why Ruby never found Eris. It was because she was Eris. And that would mean the witch they saw in Brazil was Ruby.
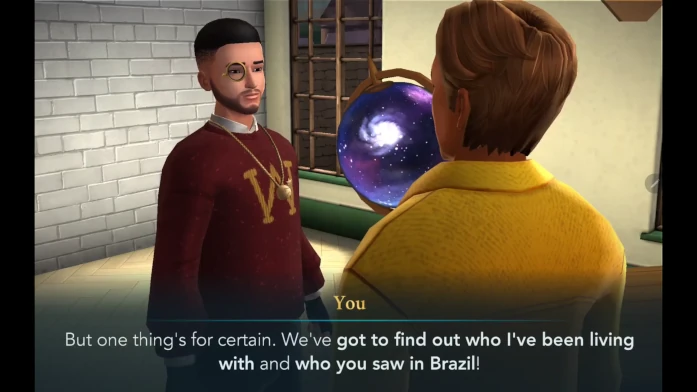
You’ll thank Diego for helping you piece it together and decide to go update your boss immediately.
You’ll need to wait three hours before you can continue. Since this chapter is not time-limited, it is recommended to wait until this timer runs out.

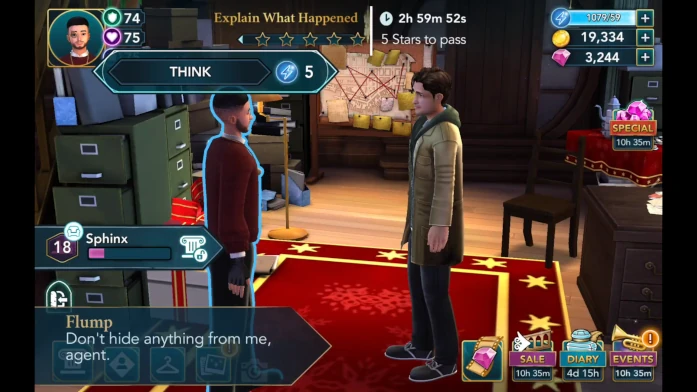
Head to the Workspace once the waiting time is over. When you arrive at your boss’s office, you’ll tell him about the note you found and add that Ruby is gone. He’ll remind you that you were supposed to keep your eyes on her, but you’ll insist that you did — it’s just that too many things are happening at once, and none of it makes sense anymore.
He’ll then ask you to tell him everything that has happened so far, from the very beginning…
To explain what happened, you need to earn five stars within three hours. The five stars are required to pass. Since this task requires a lot of energy, it is recommended to start it with a full energy bar.
The bonus progress actions are tied to your character. Prioritize these actions to save some energy. Slide the screen left and right to check all available actions.
He’ll advise you that first and foremost, you need to follow up on the Brazil lead and confirm whether your friends truly saw Miss Honeysuckle. After that, you can focus on clearing up the question of who has been living in your flat.
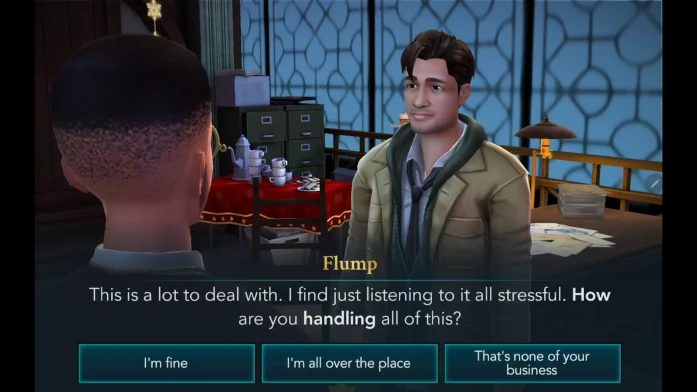
He’ll admit that it’s a lot to take in and that just listening to it is stressful, then he’ll ask you how you’re handling all of this.
There are three different options to choose from. All of them will eventually lead to the same outcome, so feel free to take your pick.
Following that, you’ll tell him you need your friend Diego to accompany you to Brazil because he has a Portkey. Flump will say that’s fine, as long as you don’t uncover too much at once and that you update him immediately the moment you learn anything new.
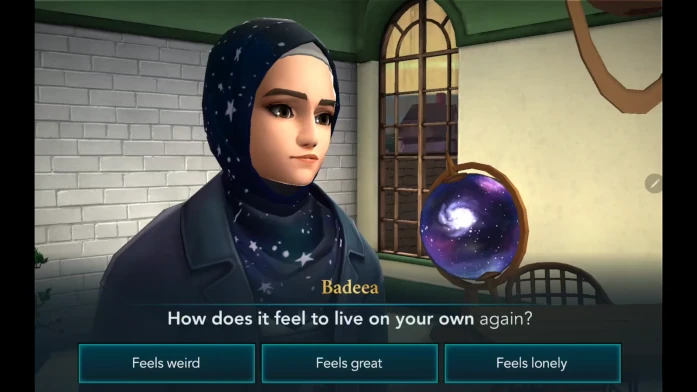
Go to your Flat to continue the story. While waiting for Diego, you’ll run into Badeea in your flat. She’ll say that she met Diego and he told her about your flatmate who left. Apparently, he mentioned that Ruby got a new job in Norway and simply left. She will then ask you how you feel now that you’re alone in the flat again.
There are two different options to choose from. These options will influence some dialogue that will follow, but they won’t impact the story.
Badeea led you to a corner of your flat as a surprise, first asking you to close your eyes. She then revealed that she wanted to surprise you with your new kitchen.
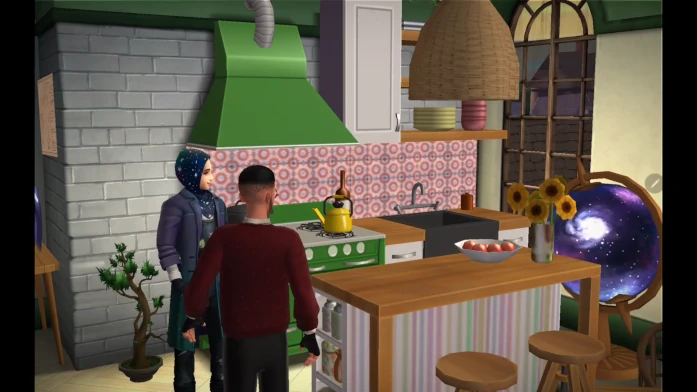
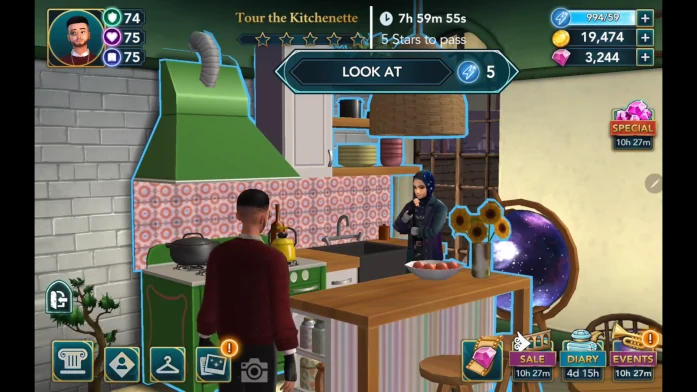
To tour the kitchenette, you need to earn five stars within eight hours. The five stars are required to pass. Since this task requires a lot of energy, it is recommended to start it with a full energy bar.
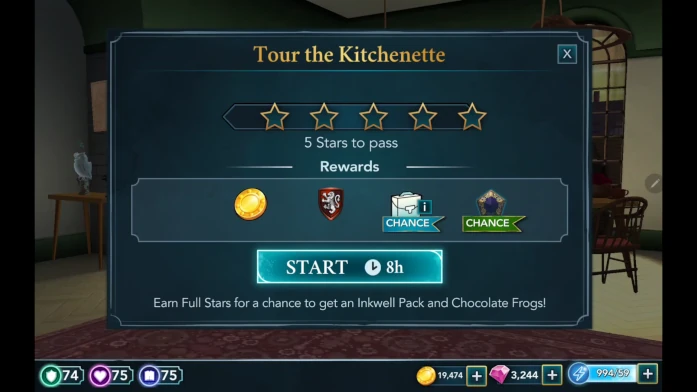
Bonus progress actions are tied to the kitchen and Badeea. Prioritize these actions to save some energy. Slide the screen left and right to check all available actions.
Shortly after, she will ask you what you are most excited to do with your new kitchenette. There are three different options to choose from. These options will influence some dialogue that will follow, but they won’t impact the story.
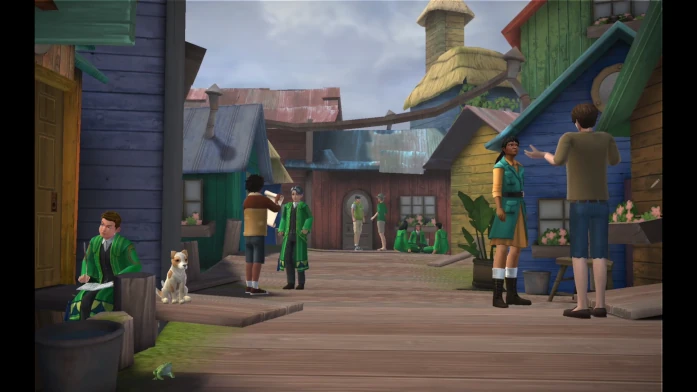
After a few moments, Diego will appear and you will thank Badeea for the gift, deciding to head straight to Brazil using the portkey. Once the portkey teleports you to Rio Escondido, after taking a brief look around, Diego will ask you what you think and what your first impression is.
There are three different options to choose from. These options will influence some dialogue that will follow, but they won’t impact the story.
After that, you and Diego will begin your search for Ruby, carefully scanning the streets and corners of Rio Escondido.
To search for Ruby, you need to earn five stars within eight hours. The five stars are required to pass. Since this task requires a lot of energy, it is recommended to start it with a full energy bar.
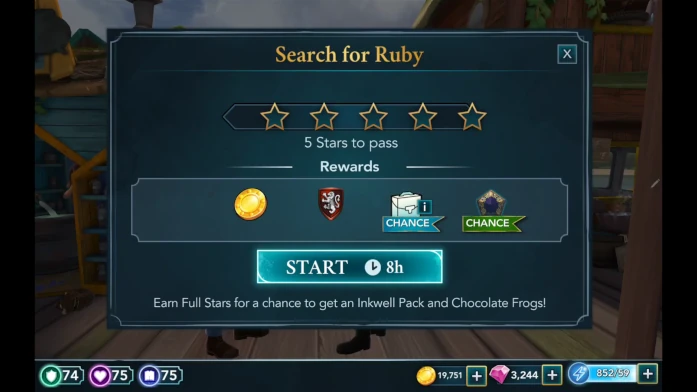
Bonus progress actions are tied to Diego and Fish Monger. Prioritize these actions to save some energy. Slide the screen left and right to check all available actions.
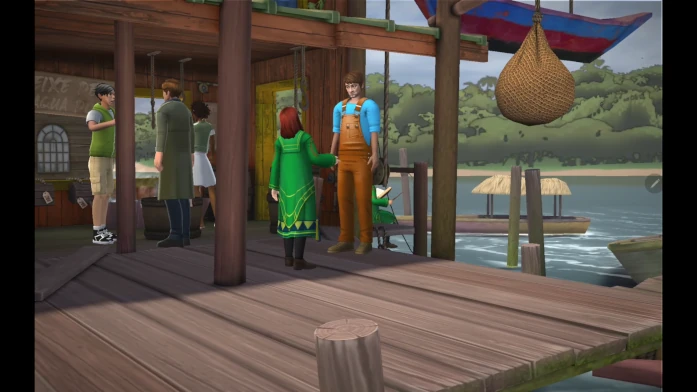
People have heard that there is a red-haired American witch here who has been helping care for injured magical creatures. That description fits Ruby perfectly, as she is a trained Healer with extensive experience in handling magical creatures. While you and Diego are discussing this, a man arrives carrying his injured kneazle, calling out for Ruby, and she appears immediately to assist.
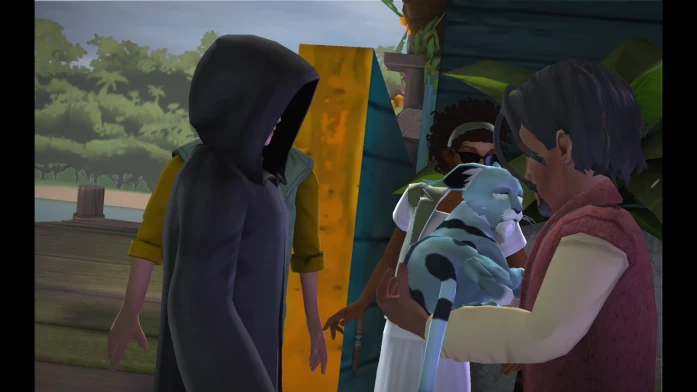
However, when she sees you, she will be visibly shocked and taken aback.
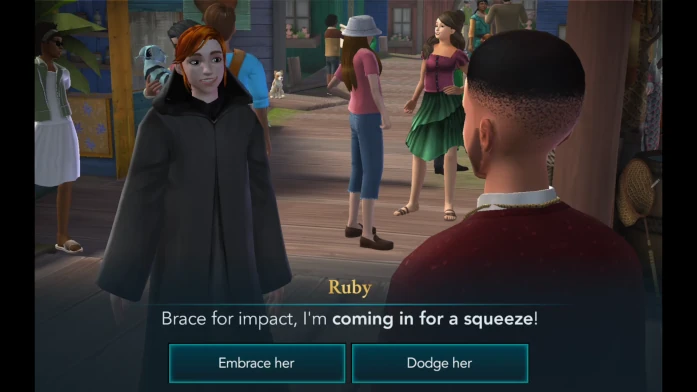
She will want to come over and hug you, and it’s up to you whether you let her or not. These options will influence some dialogue that will follow, but they won’t impact the story.
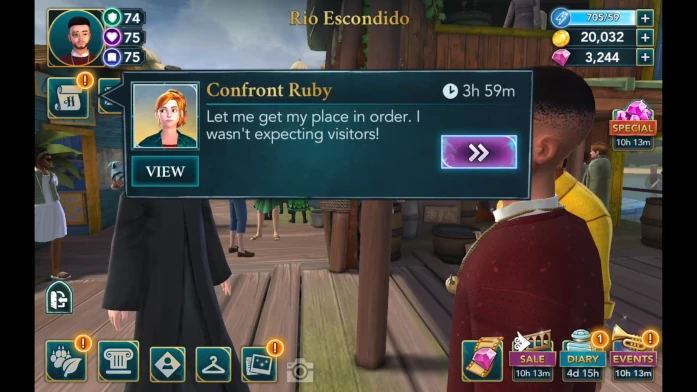
Naturally, you’ll want her to explain everything right away, and she will suggest going to her place so you can talk privately.
You’ll need to wait three hours before you can continue. Since this chapter is not time-limited, it is recommended to wait until this timer runs out.
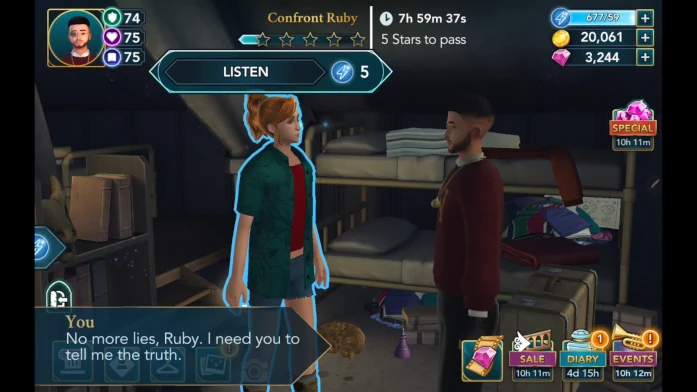
Go to Ruby’s Tent once the waiting time is over. Ruby will greet you warmly, but you won’t have time to waste, and you’ll immediately ask her who has been living with you in your flat. She’ll admit that she truly doesn’t know, so you’ll then ask her to explain everything that has happened up until this point.
To confront Ruby, you need to earn five stars within eight hours. The five stars are required to pass. Since this task requires a lot of energy, it is recommended to start it with a full energy bar.
The bonus progress actions are tied to Ruby. Prioritize these actions to save some energy. Slide the screen left and right to check all available actions.
You’ll tell her that you already know about the art gallery fire and about Eris. What you didn’t know is that she’s been living here in this village ever since. Ruby will say you can ask anyone in the village to confirm she’s been here for an entire year.
She’ll then ask how you even learned about her setting the fire, and you’ll explain that someone claiming to be her has been living in your flat for months. They admitted to starting the fire. Now that you’ve found the real Ruby, you have every reason to believe your flatmate was Eris — and she recently vanished.
Everything begins to fall into place. All the strange behaviour, the secrets, the inconsistencies… Eris had been impersonating Ruby for months using advanced transfiguration, which makes sense given that Ruby confirmed Eris is an expert in that field.
When Ruby asks whether Flump knows about any of this and whether you plan to tell him where she is, the choice is entirely yours. Whatever you decide won’t affect the story, so choose freely.
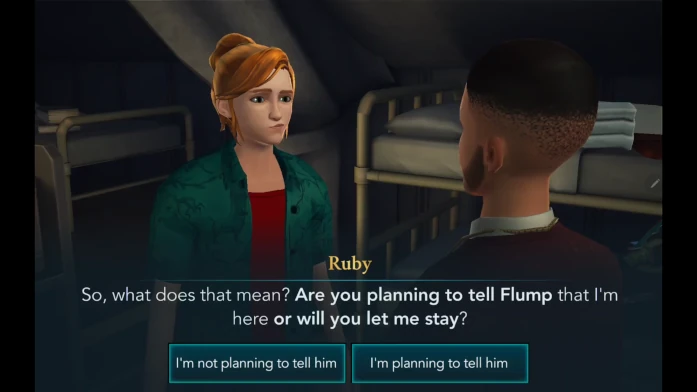
In any case, she’ll ask you not to tell Flump anything for now and add that she’s more than willing to help you track down Eris. You’ll tell her you’ll consider it, but you still need to return to Flump and update him on something, at the very least. Before you leave, Ruby will remind you once more that her life is now in your hands.
Proceed to your Hospital Ward to start the mandatory chapter task. Corey needs your help urgently. She is growing extremely restless in the hospital, and her recovery is progressing very slowly.

You’ll need to complete several objectives to finish this mandatory chapter task. Feel free to do them in any order you prefer.

While doing these objectives, it is recommended to select the duration that matches their star requirements.
Prioritize actions with bonus progress whenever they are available.
Try your best to complete all of the mini-tasks to earn some additional attribute points.
Once you complete all of the tasks, hit the Collect button and return to Hospital Ward.
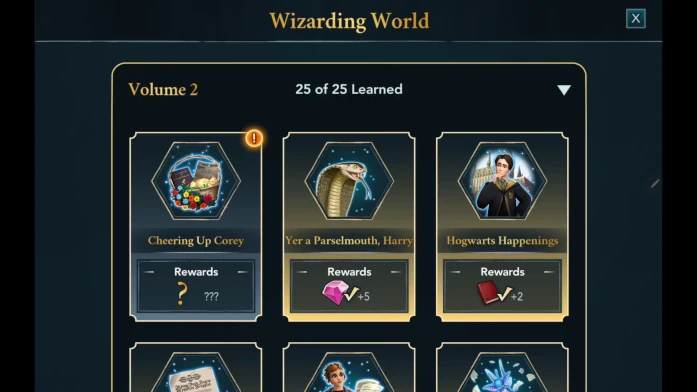
After you complete all the objectives, you can claim the reward in the Wizarding World section of the Wizarding Life tab.
Choose the optional tasks you like. Also, prioritize actions with bonus progress whenever they are available.
Try your best to complete all of the mini-tasks to earn some additional attribute points.

This will conclude Chapter 26 of Beyond Hogwarts: Volume 2. You will receive 400 Coins and 2500 Experience Points.
This chapter concludes with the truth about your mysterious flatmate finally beginning to come into focus. You’ve discovered that the person you’ve been living with was likely not Ruby Honeysuckle, but a cunning witch named Eris, skilled in transfiguration magic and masquerading for months.
With Ruby now found and fully aware of the situation, you are armed with the knowledge and support needed to track Eris down. The stakes are higher than ever, and the choices you make next—what to reveal, whom to trust, and how to act—will determine not only your path forward but also the safety of those caught in this web of deception. The hunt for answers continues, and the story grows ever more intense.
Thank you for reading.
