
Chapter 29 – Mind Of A Diva
Introduction
Hello everyone, welcome to our Walkthrough for Chapter Twenty-Nine of Year Seven of Harry Potter Hogwarts Mystery. During the previous chapter, you asked Professor Sikander to help you destroy the cursed CD.
We Broke The Laughing Curse
After considering some options, you used the microwave to get rid of the CD. The plan worked, and the laughing curse was broken. After that, you and Corey met with Merula in the Artefact Room to discuss the plan. You decided to have Corey pass the information since the members of ‘R’ are probably not aware she is helping you.
Alastor Mad-Eye Moody Joins The Hunt
Later, you went to St. Mungo’s to see if the laughing curse was truly broken. Thankfully, after the cursed CD was destroyed, Jacob, Penny, and Madam Strout were free of the curse. After talking to your brother for a while, you went to meet with Mad-Eye Moody and see if he could help you figure out who was responsible for the curse. After filling him in, he told you he would talk to his contacts. In the meantime, you went to meet Corey in the courtyard. You told her to ask Merula about the person responsible for the laughing curse.
Summary
Chapter Summary:
- Task 1: Talk to Zenith Xeep
- Location: Janus Thickey Ward
- Requirements: 3 hours – 3/5 stars
- Choice: Tell Chiara what you think the word Burke means
- It’s a person: +5 Knowledge
- It’s a place: +5 Courage
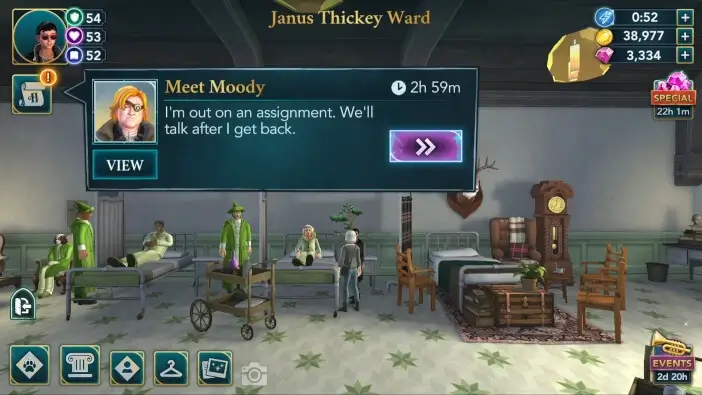
- Task 2: Meet Moody
- Waiting Time: 3 hours
- Location: Department of Magical Law Enforcement
- Requirements: 3 hours – 3/5 stars
- Choice: Reply to Mad-Eye
- Object (45 Courage): +10 Courage
- Relent: +5 Empathy
- Task 3: Go to St Mungo’s
- Location: Reception
- Requirements: 3 hours – 5/5 stars
- Task 4: Talk to Madam Strout
- Waiting Time: 4 hours
- Location: Alchemy Room
- Requirements: 8 hours – 5/5 stars
- Choice: Answer Chiara if Mad-Eye told you about healer Burke
- Go along with her assumption: +5 Knowledge
- Say it was someone else: +5 Empathy
- Task 5: Track Down Burke
- Location: Hospital Ward
- Requirements: 49 Courage, 47 Empathy, and 48 Knowledge; 450 Coins
- Choice: Choose how to approach Burke
- Aggressive: +5 Courage
- Diplomatic: +5 Knowledge
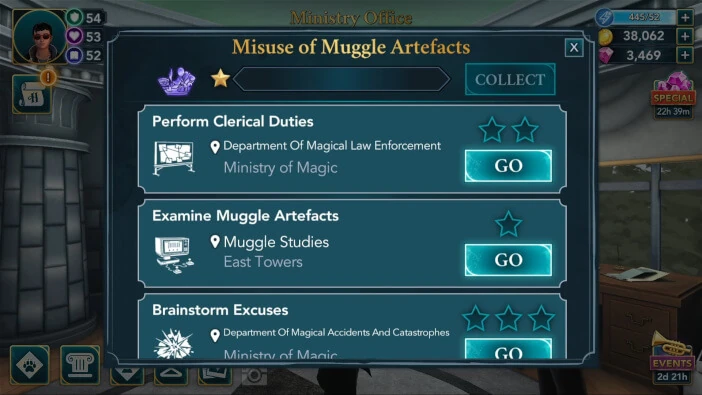
- Ministry Assignment: Misuse of Muggle Artefacts
- Unlock: None
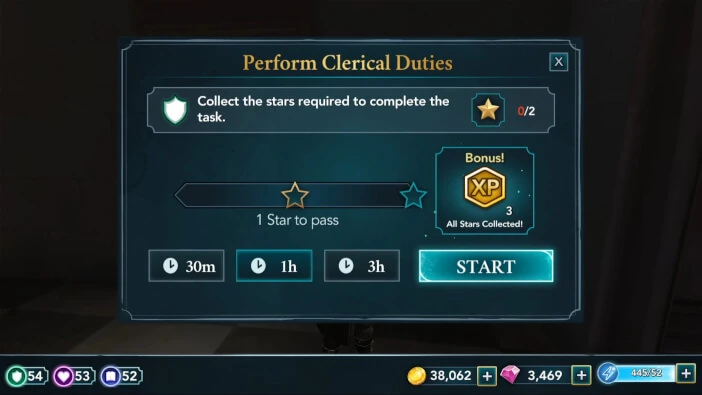
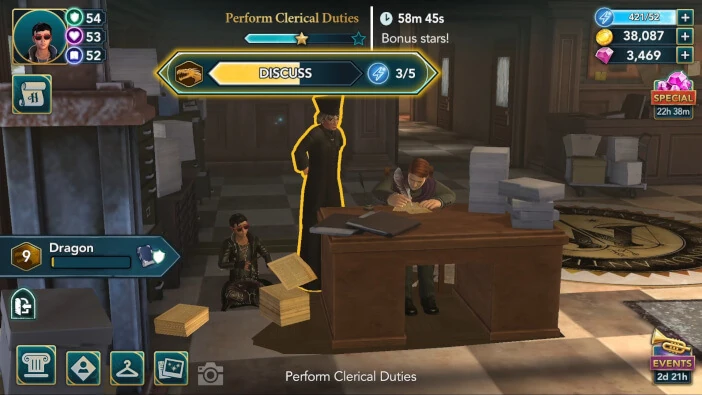
- Perform Clerical Duties:
- Location: Department of Magical Law Enforcement
- Requirements: 1 hour – 2 stars
- Examine Muggle Artefacts:
- Location: Muggle Studies Classroom
- Requirements: 30 minutes – 1 star
- Brainstorm Excuses:
- Location: Department of Magical Accidents and Catastrophes
- Requirements: 3 hours – 3 stars
- Research Bewitched Muggle Artefacts:
- Location: Library
- Requirements: 1 hour – 2 stars
- Discuss Muggle Protection:
- Location: Dumbledore’s Office
- Requirements: 1 hour – 2 stars
- Quiz Answers
- Who is in charge of the Misuse of Muggle Artefacts Office? – Arthur Weasely
- What did we use to destroy a cursed CD a little while ago? – Microwave
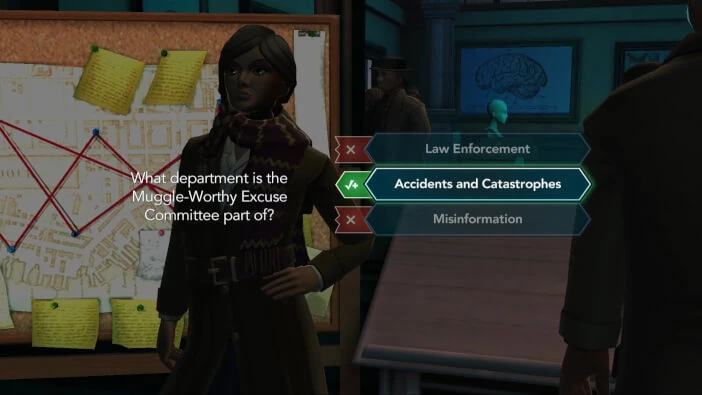
- What department is the Muggle-Worthy Excuse Committee part of? – Accidents and Catastrophes
- Why do we keep magic secret from the Muggle world? – To protect everyone.
- Rewards: 5 Gems
- Perform Clerical Duties:
- Unlock: None
- Ministry Assignment: Poisoned Potions
- Unlock: None
- Review the Evidence:
- Location: Department of Magical Law Enforcement
- Requirements: 1 hour – 2 stars
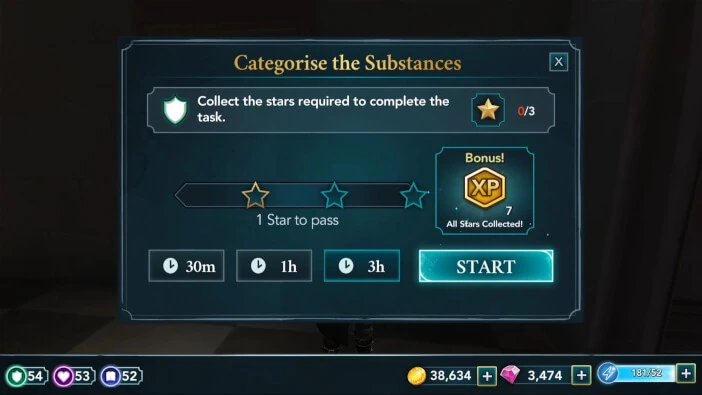
- Categorize the Substances:
- Location: Department of Magical Law Enforcement
- Requirements: 3 hours – 3 stars
- Interview Patient:
- Location: Hospital Ward
- Requirements: 30 minutes – 1 star
- Gather Elixir Ingredients:
- Location: Forbidden Grove
- Requirements: 1 hour – 2 stars
- Brew Elixir to Induce Euphoria:
- Location: Alchemy Room
- Requirements: 1 hour – 2 stars
- Quiz Answers
- What can too much Peppermint oil in a Calming Draught cause? – Uncontrollable sobbing.
- Which is an ingredient to the Calming Draught? – Peppermint oil
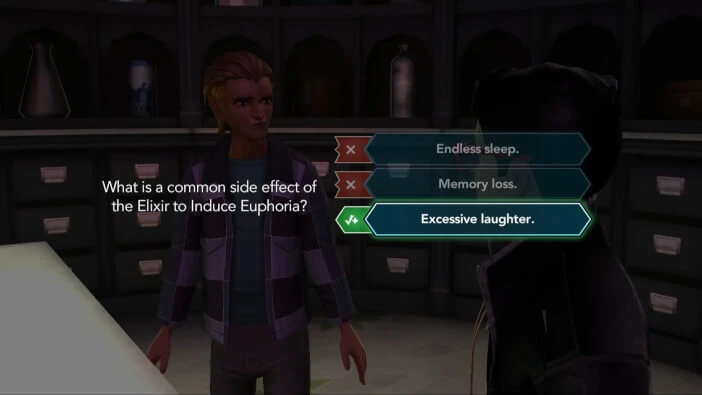
- What is a common side effect of the Elixir to Induce Euphoria? – Excessive laughter.
- Which is not an ingredient in the Elixir to Induce Euphoria? – Wolfsbane.
- Rewards: 2 Red Notebooks
- Review the Evidence:
- Unlock: None
- Chapter Rewards: 350 Coins and 2000 Experience Points
Walkthrough
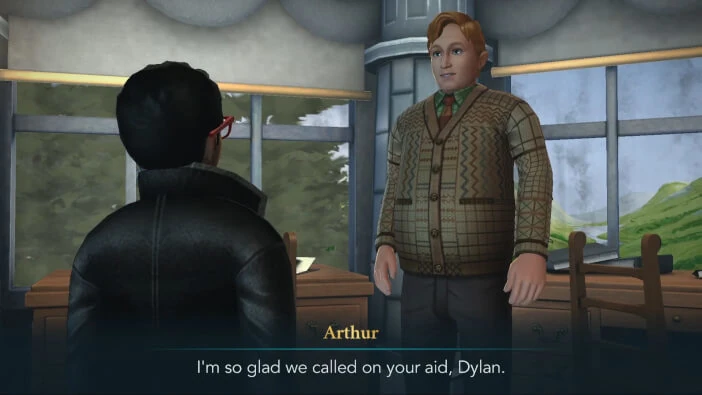
Now is the time to continue where you left off. Proceed to the Ministry Office once you are ready to start the first assignment of the chapter. Arthur Weasley will thank you for coming and say that he needs your help.
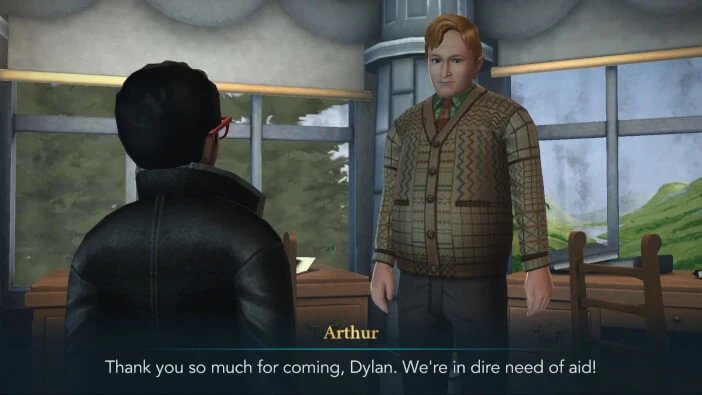
He’ll explain that his assistant went on a camping trip, so he needs someone to help him while he’s away, and you will gladly agree to help. You will need to finish several tasks to complete the assignment. As usual, you can do them in any order you prefer.
While doing these, it is recommended to choose the task duration that matches the star requirements.
Prioritize the bonus progress actions if you are looking to save as much energy as possible.
Try to successfully complete all of the mini-tasks to earn some additional attribute points.
Return to the Ministry office once you finish all of the tasks. Mr. Weasley will be glad that he asked you for help.
He will praise you for doing a good job and say that you might want to consider working in their office one day, and you’ll definitely decide to think about his offer. Thankfully, his assistant came back earlier than expected, which should make things easier for Mr. Weasley. You will earn a reward for completing the assignment.

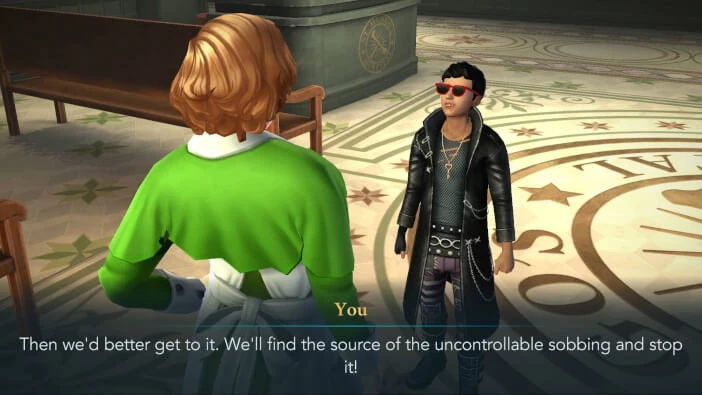
Head to the reception area of St. Mungo’s once you are ready to start the second assignment. Madam Strout will thank you for coming so quickly.

You’ll ask her to tell you what happened, and suddenly, you will hear someone weeping. She will tell you they have a lot of patients stricken with uncontrollable sobbing, but luckily, the Elixir to Induce Euphoria should help those people. Madam Strout will say that they still have to figure out what caused the sobbing, and you will gladly offer your help.
You will need to finish several tasks to complete the assignments. Feel free to do them in any order you prefer.

Like before, it is recommended to select the duration that matches the star requirements while doing these tasks.
Prioritize doing bonus progress actions whenever they are available to save as much energy as possible.

Also, completing each of the mini-tasks will award you with some attribute points.
Head back to the reception area of St. Mungo’s once you finish all of the tasks. Madam Strout will congratulate you on a job well done.

Apparently, the uncontrollable sobbing was the result of a faulty batch of Calming Draughts.
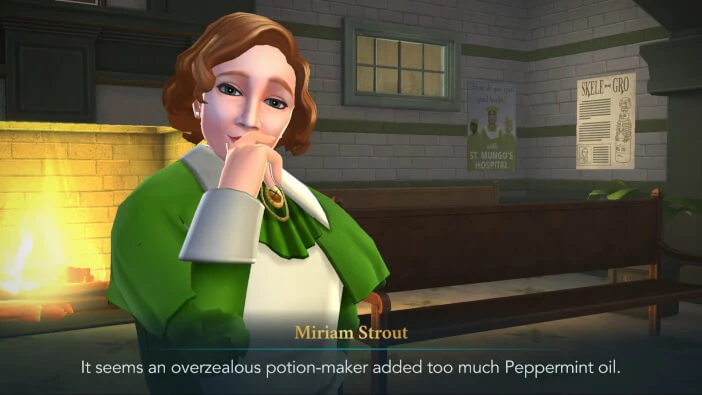
As it seems, it was all just an accident. Shortly after, you will learn that the patients are recovering from the effects of the potions, and luckily, the Elixir to Induce Euphoria helped with that. You will earn a reward for completing the assignment.

Now that you’re done with the assignments, you can continue the story. Proceed to the Upper Floors of St. Mungo’s when you are ready. Upon arriving, you will notice the speech bubbles above some of the characters. Tap on those if you are curious to see what they have to say. Chiara will ask if you think that Madam Xeep might remember anyone from ‘R’.
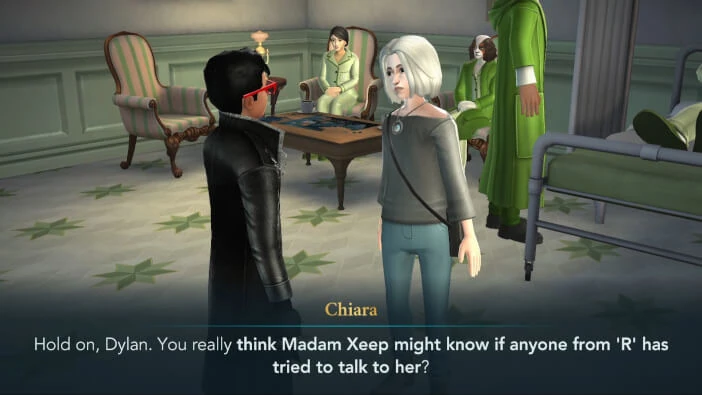
Unfortunately, she has had a lot of problems remembering things lately, and you’ll admit you had no idea it was that bad. However, there is still a chance she might be able to help you.

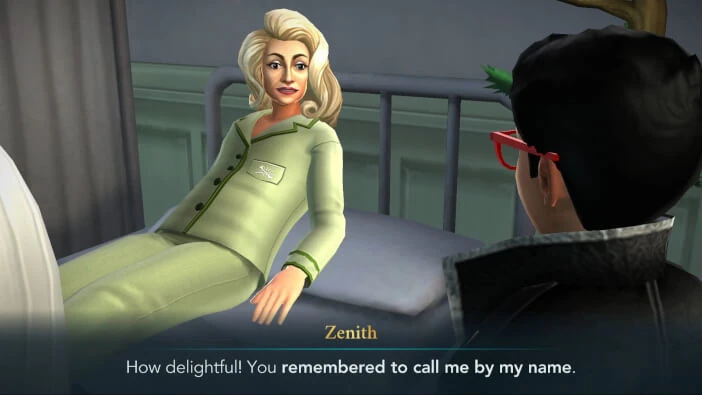
You’ll approach Madam Xeep, and she will happily greet you. She will have a bit of trouble remembering who you are, but eventually, she will be able to recall your name.
You’ll say that you want to ask her some questions. The choice that you made while talking to her earlier will take effect here.

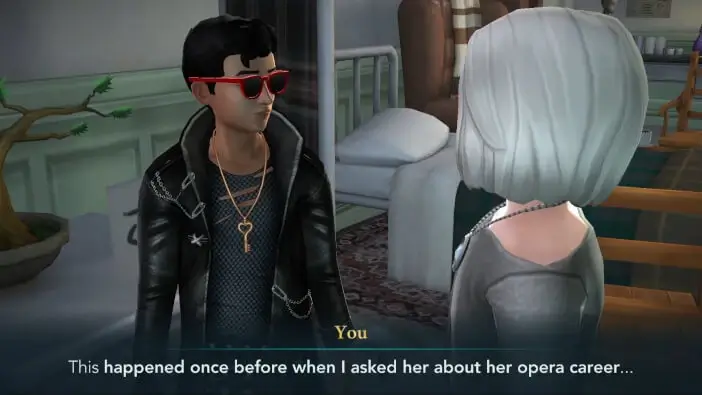
Madam Xeep will be happy to answer all of your questions, and you’ll ask if anyone has come to visit her recently. She will say that, other than the Healers, you were the only person to visit her. Getting straight to the point, you’ll ask if anyone from ‘R’ came to visit her, and Zenith will be upset upon hearing that.

Chiara will ask you what happened, and you’ll explain that it’s not the first time something like this has happened. These lines will differ, based on the choice you made while talking to Madam Xeep earlier.

In any case, Zenith definitely knows something about ‘R’, but you won’t get much information by listening to her ramblings. Luckily, there is a way for you to find out what she knows.

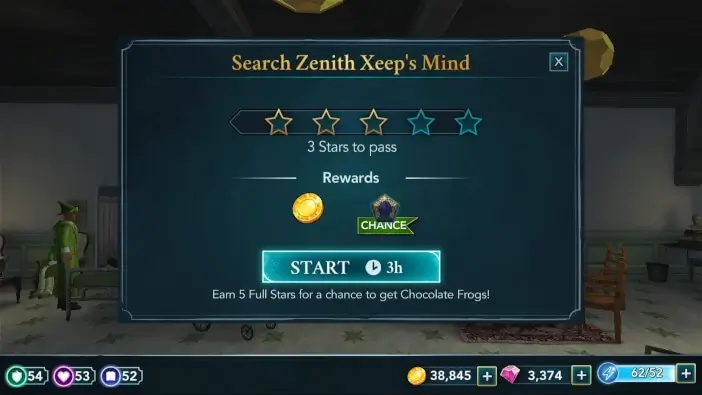
Moments later, you will use your power of Legilimency to read Madam Xeep’s mind. Trace the wand movement on the screen to cast the spell.

Searching Zenith Xeep’s mind requires earning five stars within three hours. Three stars are needed to pass.
Be sure to slide the screen left and right to see all the available actions. There are bonus progress actions tied to Madam Xeep, Chiara, and your character. Prioritize those if you want to save some energy.
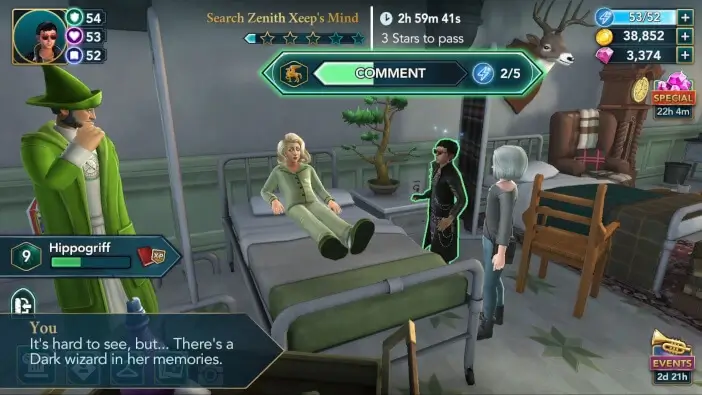
When you finish, Chiara will be curious to know if you managed to find anything. Unfortunately, searching Zenith’s mind wasn’t easy.

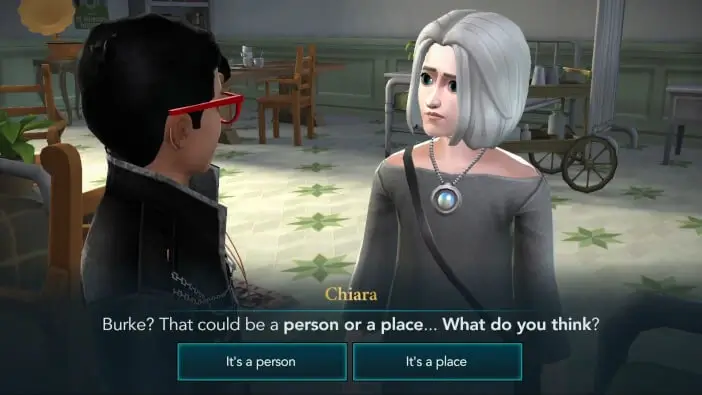
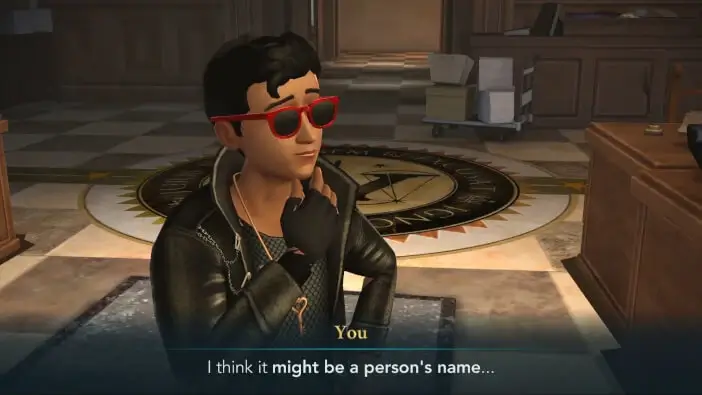
However, you saw a Dark wizard in her memories and heard the word ‘Burke’. Chiara will say that the word could be a person or a place. She’ll ask for your opinion. There are two options to reply with. Both of these will eventually end up with the same outcome, so feel free to pick either one.
Your Hufflepuff friend will suggest you talk to someone who knows about Dark wizards, and luckily, you know a person who might be able to help.

Shortly after, you will leave the hospital. You will need to wait three hours before Mad-Eye is ready to see you. Since you will likely be low on energy at this point, it is recommended to wait and let your energy recharge in the meantime.
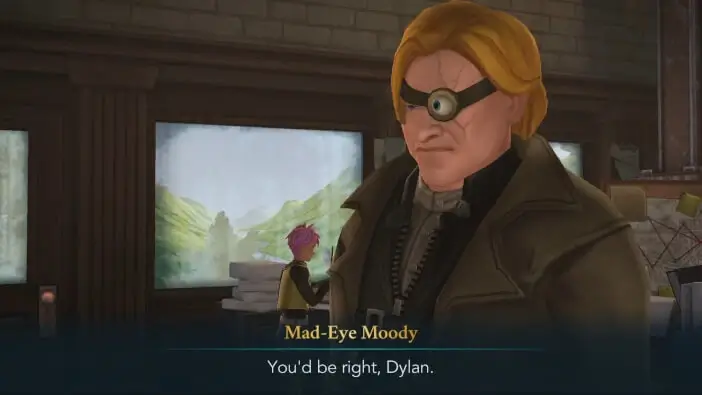
Proceed to the Department of Magical Law Enforcement once the waiting time is over. When you arrive, you will be able to interact with some of the characters and see what they have to say. Upon greeting you, Mad-Eye will ask if there’s any trouble at St. Mungo’s.

You’ll tell him that the laughing curse has been broken; however, you are still trying to figure out who caused it. Moody will ask if you have any clues, and you’ll nod and say that you need his help deciphering it. Asking about Burke requires earning five stars within three hours. Three stars are needed to pass.
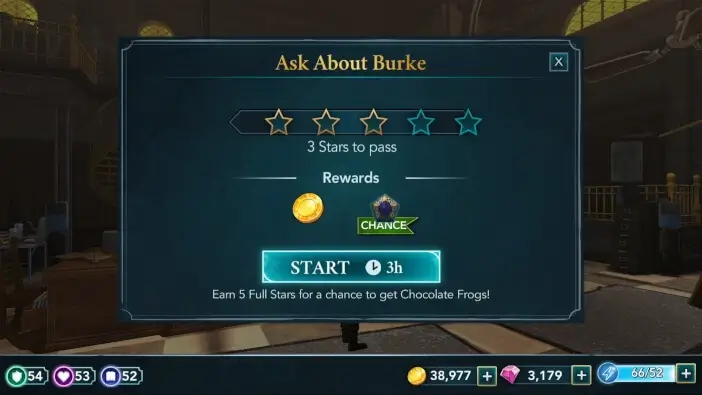
Make sure to slide the screen left and right to see all the available actions. There are bonus progress actions tied to Mad-Eye and your character. Prioritize those if you want to save some energy.

As it seems, Moody will recognize the name ‘Burke’.
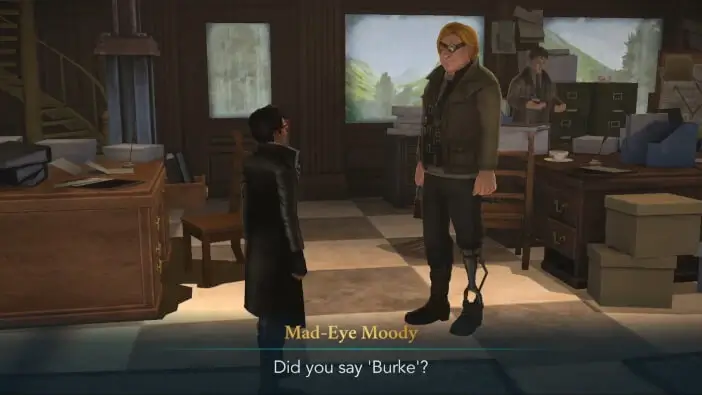
Your previous choice will take effect here.
Mad-Eye will tell you that Caractacus Burke was one of the original founders of the shop, Borgin and Burkes.
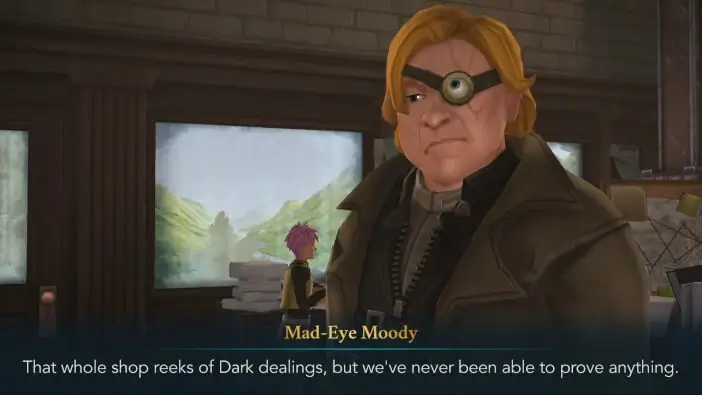
You’ll tell him you saw Rakepick outside of Borgin and Burkes during the previous year, and following that, Mad-Eye will decide to go to Knockturn Alley to investigate. You’ll immediately offer your help, but sadly, Moody won’t allow you to accompany him. There are two options to reply with. No matter which option you choose, Mad-Eye won’t let you go with him, so feel free to pick the option you prefer.
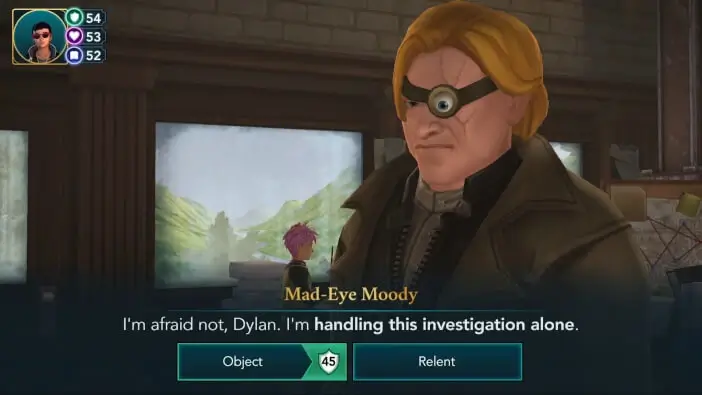
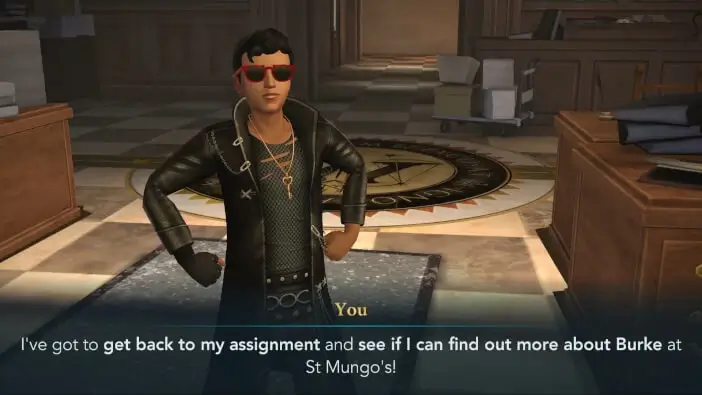
Moody will tell you to focus on your assignment at St. Mungo’s, and you’ll nod, saying that you might be able to find more clues there. Mad-Eye will tell you to stay out of trouble, and moments later, he will apparate away. Shortly after, you will leave the place.
Head to the reception area of St. Mungo’s when you are ready to continue. Once you arrive, you will notice the speech bubbles above some of the characters. Tap on those if you want to see what they have to say. You’ll be surprised to see Merula and Corey.
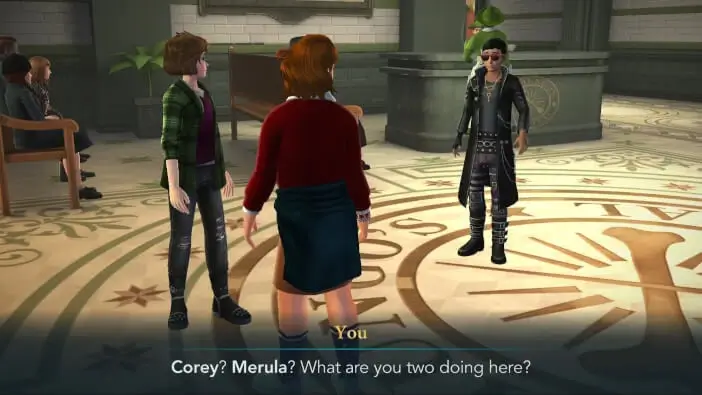
In a very unconvincing way, Corey will explain why they came to the hospital.

Merula will quickly tell you the real reason.

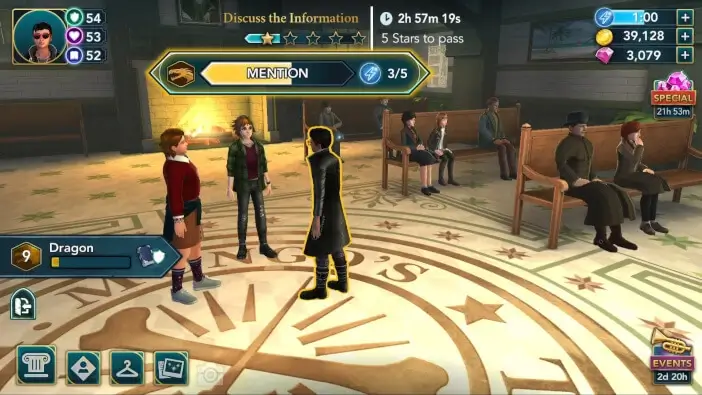
She’ll say that Corey only wanted to avoid drawing any unwanted attention, and you’ll thank Corey for delivering your message. The Most Powerful Witch at Hogwarts will remind you that time is of the essence and suggest discussing the information together.
Discussing the information requires earning five stars within three hours. Since all five stars are needed to pass, avoid starting this task if you are out of energy.

Be sure to slide the screen left and right to see all the available actions. There are bonus progress actions tied to Corey, Merula, and your character. Focus on those if you want to save some energy.
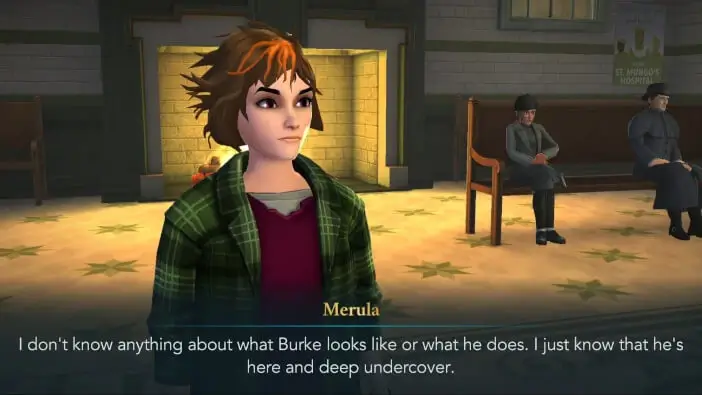
You’ll learn that a member of ‘R’ has infiltrated St. Mungo’s, and you’ll quickly realize that your brother and the others might be in danger. You will ask Merula if there’s anything else she can tell you about Burke, but unfortunately, she couldn’t risk asking any further questions.
However, the information you got is a good start, and hopefully you will be able to find Burke before he harms anyone. Corey will have faith in you and wonder if there’s anyone at St. Mungo’s who might know Burke.
You’ll be convinced that Madam Strout knows every member of the hospital’s staff, so you’ll thank Merula for the information. Moments later, she and Corey will leave the hospital, and you’ll decide to find Madam Strout and see if there’s anything she can tell you about Burke.
You will need to wait four hours before you can continue. Since you will probably be low on energy at this point, it is recommended to wait and let your energy recharge in the meantime.
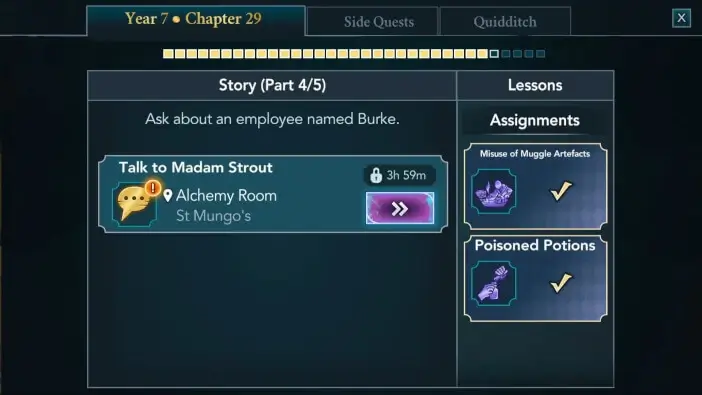
Go to the Alchemy Room once the waiting time is over. You will approach Madam Strout and tell her that you want to ask her something.
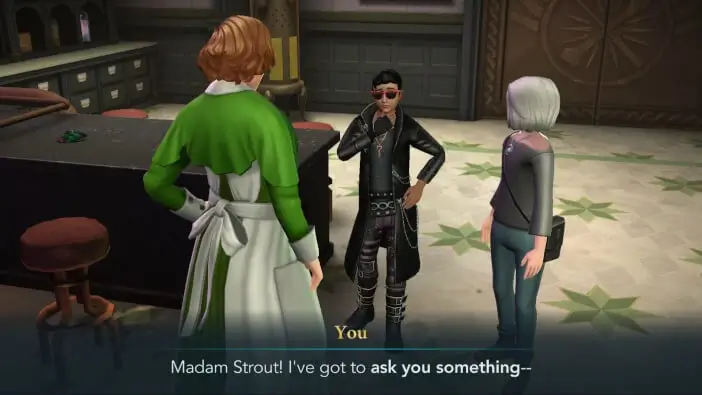
She’ll be glad to see you, and before you get to ask her a question, she’ll say that she and Chiara could use help brewing some Wiggenweld Potion. Thankfully, Madam Strout will agree to answer your questions while the three of you brew the potion. Brewing Wiggenweld Potion requires earning five stars within eight hours. All five stars are needed to pass.
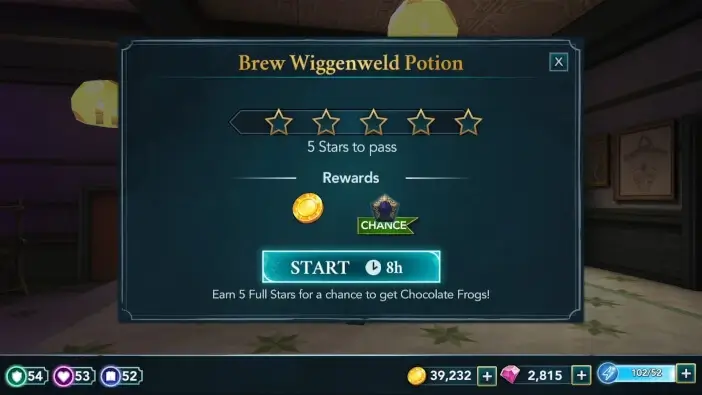
There is a bonus progress action tied to your character. Prioritizing it should save you a bit of energy.

Madam Strout will look quite shocked after hearing about ‘R’’s member infiltrating St. Mungo’s, and she will ask if you are absolutely sure about it. Chiara will say that you wouldn’t simply make an accusation without proof.
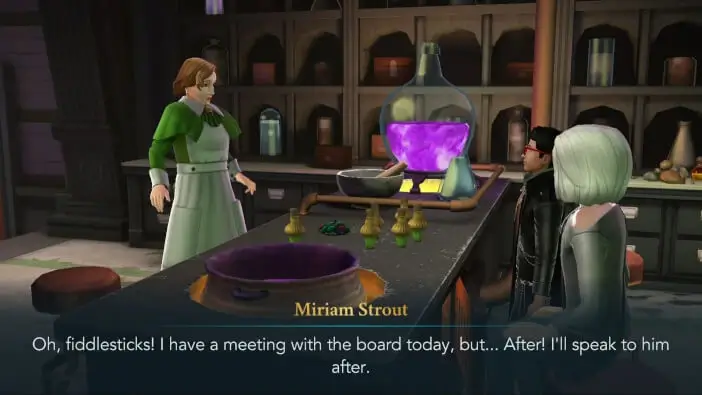
Madam Strout will tell you that Healer Burke has been working in the hospital for over fifteen years, finding it hard to believe that someone who worked at St. Mungo for such a long time could be responsible for the laughing curse. She’ll decide to talk to Burke and clear things up. Suddenly, she will remember that she has a board meeting, and she will quickly leave the Alchemy Room.
You’ll be surprised by this turn of events, and Chiara will figure out that someone told you about Burke. You’ll nod and say that she is right about that, and she will assume it was Mad-Eye who told you about Healer Burke.
There are two options for you to reply with. Regardless of your choice, you won’t reveal the details to her, so feel free to pick the option you prefer. However, if you like Chiara, it is recommended to pick the second option.

Chiara will be curious to know what you are planning to do next, and you’ll tell her that you need to confront Burke before he hurts anyone.
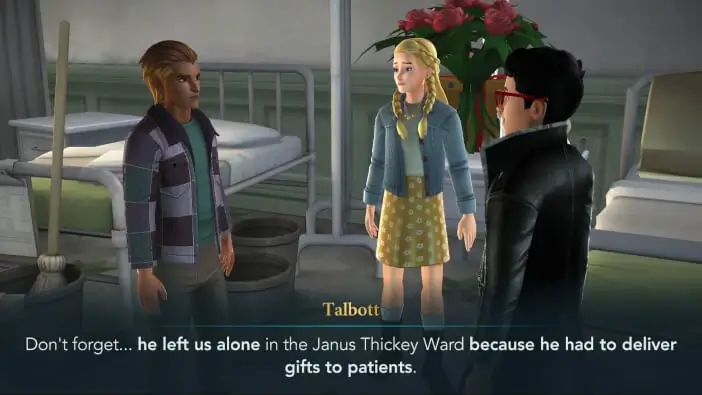
The following task doesn’t involve spending any energy, so you can proceed to the Hospital Ward as soon as possible. When you arrive, you will notice the speech bubbles above some of the characters. Tap on those if you are curious to see what they have to say. You’ll be glad to see Penny and Talbott.

They will tell you that Jacob recently left the Hospital Ward.

You’ll ask Penny and Talbott if any of them knows a Healer named Burke, and you will also tell them that he might be one of ‘R’’s agents. Both of them will just look at each other in shock. After a brief moment of silence, Penny will point at a Healer standing in the corner of the room.
Once you take a look at him, you will realize he’s the same Healer that Talbott and you saw with Madam Xeep. Talbott will point out one interesting detail.
You’ll quickly decide to confront Burke, and your friends will offer their support. You’ll then get to choose how to approach Burke.
There are two options to choose from. While both options will end up with the same outcome, Penny will prefer if you choose the diplomatic approach, so if you like her, it is recommended to pick that option. On the other hand, Talbott will support you if you decide to be aggressive, so if you like him, you should go with that option.

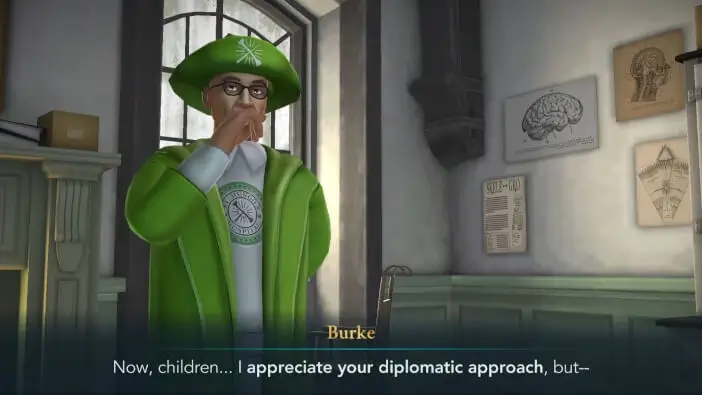
Shortly after, you will approach Healer Burke and ask him for a moment of his time. He’ll ask if there’s anything he can help you with.

You will quickly get to the point and say that you want to talk about the cursed CD he gave to Jacob. The following lines will differ based on your previous choice. However, the outcome of the conversation will be the same – Burke will take out his wand, and you will have no other option but to duel him.


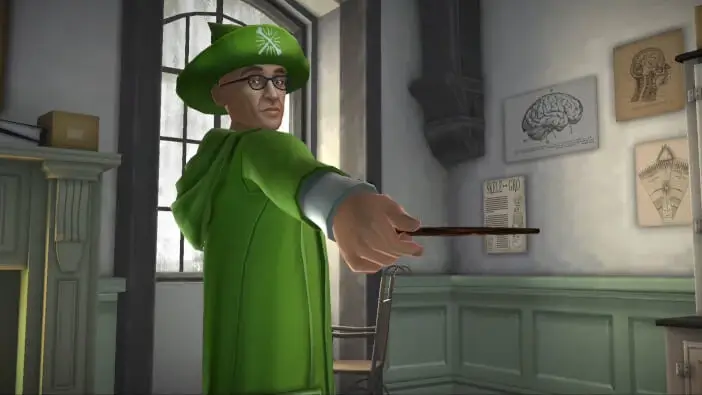
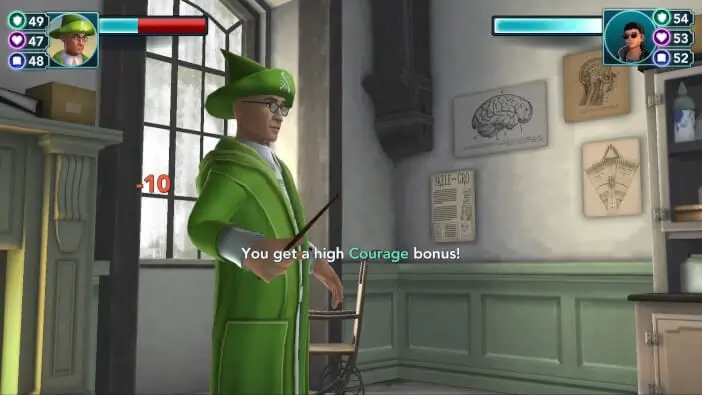
You will quickly tell Penny and Talbott to take care of the patients and make sure they don’t get caught in the crossfire. The task window will display the recommended attribute levels and the cost of the duel. Hit Start when you are ready to begin.

There are several ways to approach this duel. If either your Courage or Empathy is at least three levels higher than the recommended value, you can simply go Sneaky (in case of Courage) and use Flipendo, or Aggressive (in case of Empathy) and use Depulso. This way, you should be able to win the duel in two turns, as long as you don’t get stunned.
If your attribute levels are close to the recommended ones, you can go Aggressive during the first turn and use Incendio. If you get the burn effect, you can go Aggressive or Sneaky in the second turn and use Depulso or Flipendo. This way, you can also win relatively easily. However, if you get stunned or if you don’t get the burn effect from Incendio, you might end up losing the duel. Lastly, you can simply go Aggressive or Sneaky repeatedly and use Depulso or Flipendo. With some luck, you should be able to win the duel using that strategy.
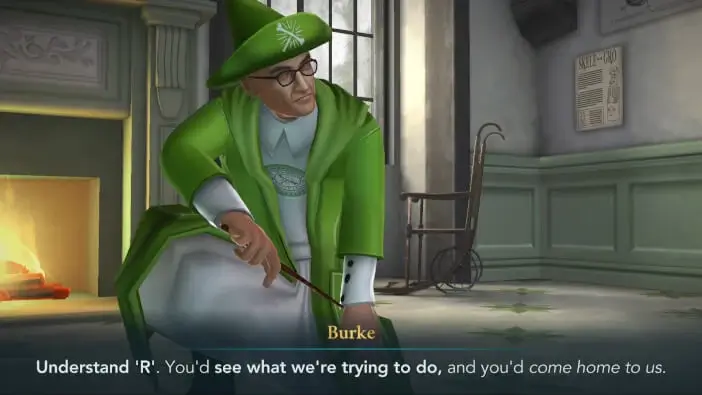
Once you defeat Burke, he will say that you don’t understand what ‘R’ is trying to do.
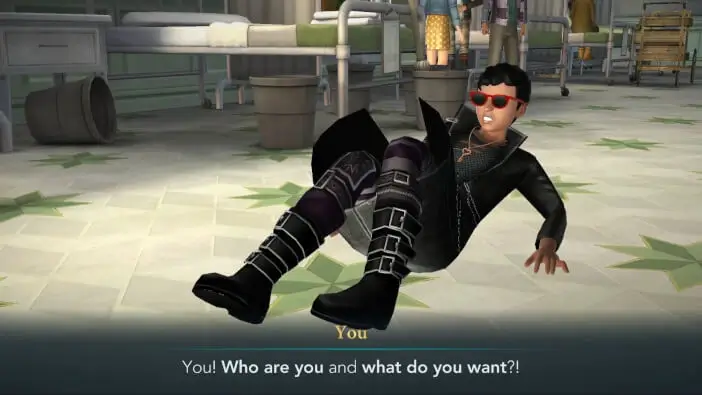
Sadly, before he gets to say anything else, the Dark witch you saw in Knockturn Alley will apparate next to him. She will immediately take out her wand and cast the Knockback Jinx at you.

You’ll try to get some answers, but she won’t be willing to talk to you.
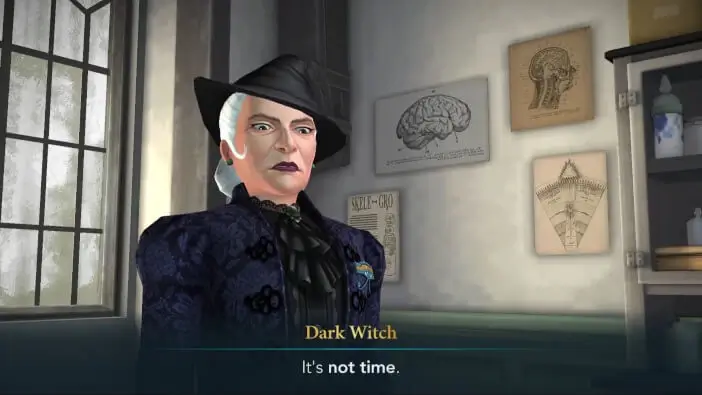
Moments later, she will grab Burke and apparate away.

Needless to say, you won’t be too happy with the way things played out.

This will conclude Chapter 29 of Year 7. Hit the Collect button to claim your rewards. You will receive 350 Coins and 2000 Experience Points.
Now, that was an interesting turn of events. You were very close to getting some answers, but thanks to Dark witch’s interference, Burke was able to escape. Who is this mysterious Dark witch? Will you be able to learn more about her? Find out in the next chapter of Harry Potter Hogwarts Mystery!
Thank you for reading.
