
Pumpkin Johnny Rises Part 4
Introduction
Hello everyone, welcome to Part 4 of our Walkthrough for Pumpkin Johnny Rises Adventure of Harry Potter Hogwarts Mystery. In the previous part of the story, you and Tonks went to Godric’s Hollow to confront a charmed skeleton. Upon arrival, you encountered two skeletons, which you froze using the Immobulus charm. However, you soon realize that two more charmed skeletons are nearby, prompting you to decide to regroup in a safer location to devise a better plan.
You both met at the Lakeshore and discussed your plan, suspecting that Ismelda might be hiding something and hadn’t shared all the information. Tonks and you split up to search for Ismelda. Shortly after your search at the Boathouse, you found Ismelda. After some convincing, Ismelda confessed that she had attempted to summon Pumpkin Johnny but failed, so she charmed the skeletons to make Halloween scarier and frighten the students.
You agreed to help Ismelda get rid of the charmed skeletons that had unfortunately already left Godric’s Hollow, but you needed assistance from your friends. Later, you, Tonks, Ben, and Ismelda met to create a plan to defeat the skeletons.
Summary
Part 4 Summary:
- Task 1: Search for Skeletons
- Location: Hogsmeade
- Requirements: 8 hours – 5/5 stars
- Task 2: Survive the Skeletons
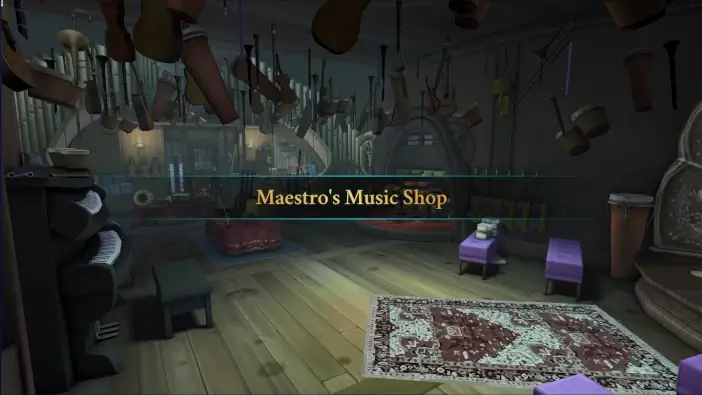
- Location: Maestro’s Music Shop.
- Requirements: 3 hours – 5/5 stars
- Choice 1: Tell Ismelda which spell is effective against skeletons
- Episkey: +5 Empathy
- Riddikulus: +5 Courage
- Rictusempra: +10 Knowledge
- Choice 2: Answer Ismelda
- Pumpkin Johnny saved us: +5 Empathy
- Someone dressed as Pumpkin Johnny: +5 Knowledge
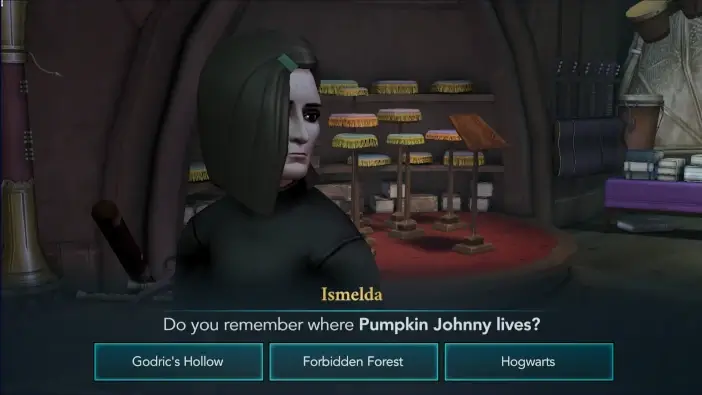
- Choice 3: Tell Ismelda where does Pumpkin Johnny live
- Godric’s Hollow: +5 Empathy
- Forbidden Forest: +10 Knowledge
- Hogwarts: +5 Courage
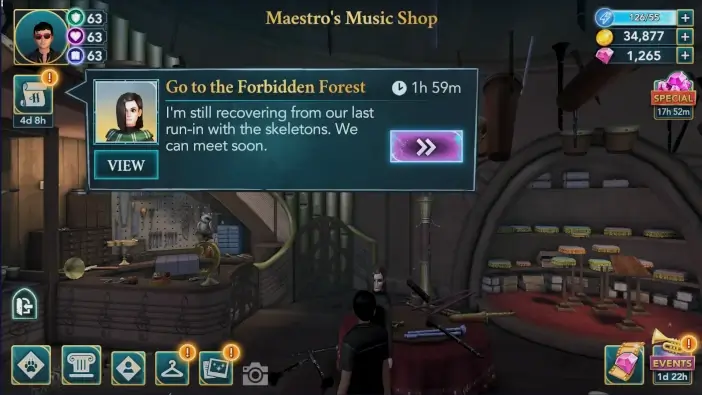
- Task 3: Go to the Forbidden Forest
- Waiting Time: 2 hours
- Location: Forest Grove
- Requirements: 8 hours – 5/5 stars
- Choice: Reply to Ismelda
- Mission accomplished: +5 Empathy
- You failed: +5 Knowledge
- Task 4: Enjoy the Hallowe’en Feast
- Location: The Great Hall
- Requirements: 8 hours – 5/5 stars
- Part 4 Rewards: 4 Gems, 1000 Experience Points, and 3 Chocolate Frogs
Walkthrough
Video guides are available at our YouTube channel. Use the button below.
(Disclaimer: this walkthrough will feature the gameplay from the perspective of a graduate student. Since the adventure is available for students of Year 3 and above, the star and attribute requirements for certain tasks might be different for you, depending on your current progress with the main story.)
Proceed to the Hogsmeade when you are ready. Upon arrival, you’ll ask Ismelda if there are any indications of the skeletons.


You’ll mention that it’s possible but you need to be certain and continue searching. Ismelda will remark on how Hogsmeade is quite unsettling when it’s empty. You’ll respond, suggesting that since it’s empty, the skeletons are likely not there, and propose moving on to search elsewhere. After a while, you’ll hear loud noises.
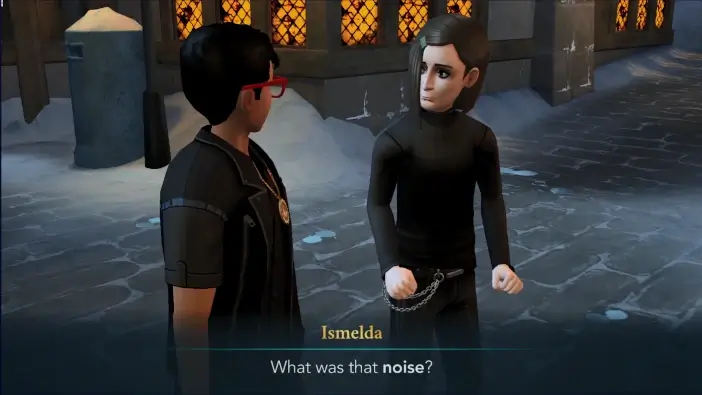
You’ll raise your wands as a precaution, and right at that moment, you’ll notice skeletons behind you.


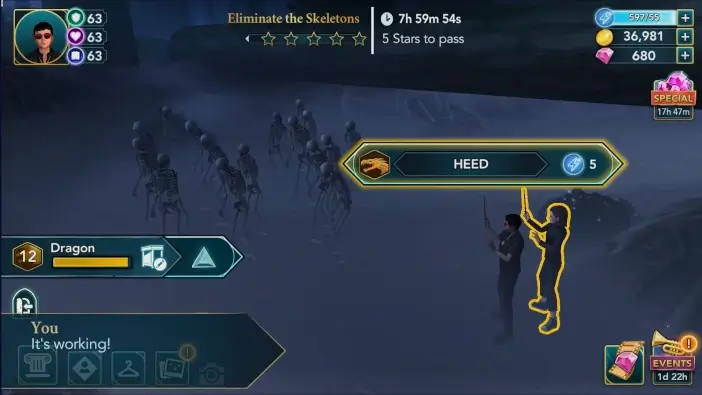
You will quickly realize that there are many more of them and that they have surrounded you. Recognizing that you cannot defeat them on your own, you will suggest making an escape plan. To complete the next task, you need to earn five stars within eight hours. All five stars are required to pass. Since this task requires a lot of energy, it is recommended to start it with a full energy bar.

In the first phase, bonus progress action is tied to skeletons.

In the second phase, bonus progress action is tied to Ismelda. Prioritize these actions to save some energy. Slide the screen left and right to check all available actions.

After discussing, you’ll both agree that going to Maestro’s Music Shop is the best choice. You’ll propose going inside to figure out your next move. Ismelda will mention that the shop might be locked.

Trace the wand movement to cast Alohomora.

The door will open and you will rush to enter.

You’ll find yourself in a new exclusive location which is Maestro’s Music Shop.

Ismelda will remark that if you had stayed out there any longer, you might have become a snack for the skeletons.

You’ll hope that the door will keep the skeletons out.


As you explore the place, you’ll be surprised by its appearance. You’ll also mention that, under different circumstances, it could be a fun place to enjoy.

You’ll reassure her that no one will meet their demise.

She’ll add that the instruments are everywhere and that one wrong step can expose you to the skeletons. That’s why you will suggest that you stand perfectly still until they leave. To complete the next task, you need to earn five stars within three hours. All five stars are required to pass. Since this task requires a lot of energy, it is recommended to start it with a full energy bar.

Bonus progress actions are tied to Ismelda and your character. Prioritize these actions to save some energy. Slide the screen left and right to check all available actions.

Not long after, Ismelda accidentally knocks the instruments off the table.


She’ll hope that perhaps the skeletons didn’t hear her, but unfortunately, the skeletons will enter and approach you.

You’ll realize that you’re trapped, and Ismelda will want to apologize. But you’ll tell her there’s no time for apologies, and you need to deal with the skeletons. She’ll then ask if you remember which spell is effective against skeletons. There are three options to choose from. The correct answer is “Rictusempra”.

Trace the wand movement to cast Rictusempra.

Your spell will work and they will begin to disintegrate.


Then you’ll see someone moving around outside and he’ll drag all the skeletons away. You’ll wonder if it might be Pumpkin Johnny.

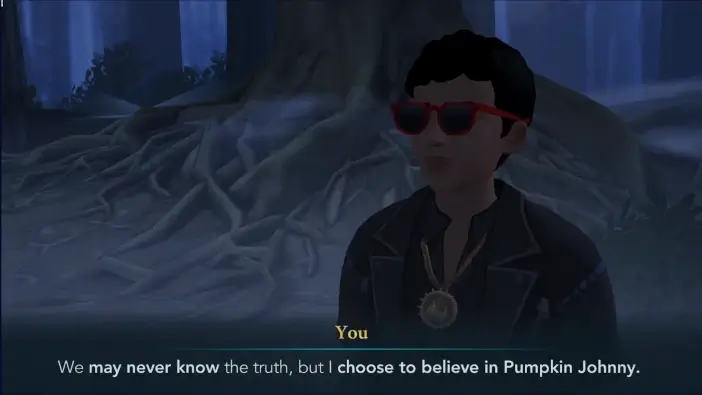
You’ll see that all the skeletons followed that person, and you’ll be surprised by what happened. Then Ismelda will ask you who you think rescued you. There are two different options to choose from. Both of them will eventually lead to the same outcome, so feel free to take your pick.

You will wonder where the skeletons are headed now.

This line will differ based on your previous choice.

Then she’ll ask you if you remember where Pumpkin Johnny lives. There are three different options to choose from. The correct answer is “Forbidden Forest”.
Following that, you’ll recommend exploring the Forbidden Forest. There’s a waiting period of two hours before you can go to the Forest Grove. Since your energy is likely low following the previous task, it is somewhat recommended to wait until this timer expires. That will be enough time for your energy to regenerate fully.
Once the waiting time is over, head to the Forest Grove. After you get there, you will see a lot of charmed skeletons.

This line will differ based on your choice of whether you said it was Pumpkin Johnny or someone disguised as him.

You’ll suggest taking the opportunity to use the offensive charms you practiced with Professor Flitwick while the skeletons can’t see you.

This line will differ based on your choice in the previous part.
She’ll clarify that she’s joking, and you’ll propose swiftly dealing with the skeletons before they spot you. To complete the next task, you need to earn five stars within eight hours. All five stars are required to pass. Since this task requires a lot of energy, it is recommended to start it with a full energy bar.

Bonus progress actions are tied to Ismelda and your character. Prioritize these actions to save some energy. Slide the screen left and right to check all available actions.
Later, you’ll manage to defeat all the skeletons. Ismelda will thank you and suggest that Pumpkin Johnny might have helped, but she couldn’t see him clearly, so she’s unsure. This line will differ based on your previous choice.
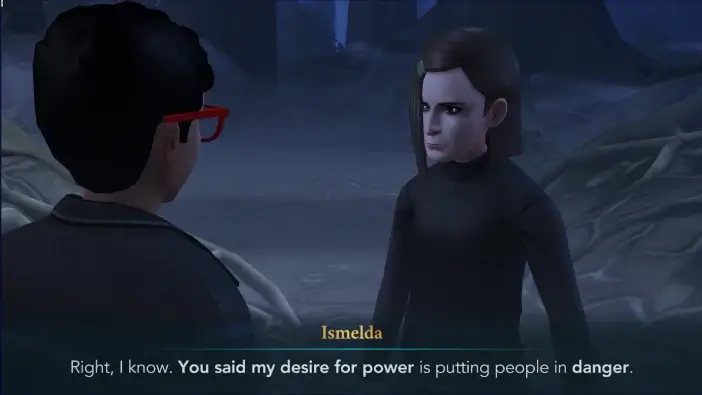
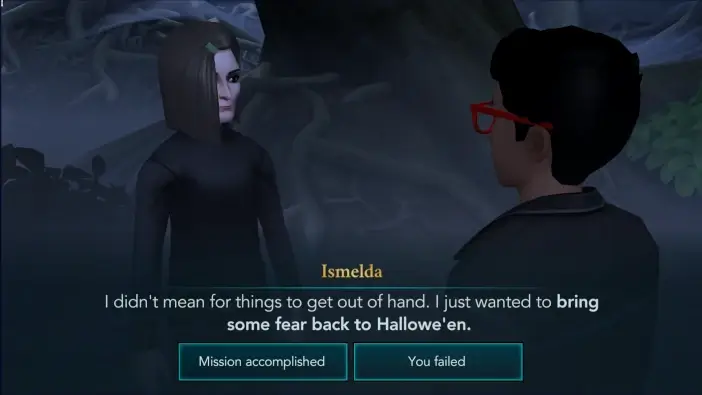
After that, Ismelda will apologize to you and explain that she just wanted to bring some fear back to Halloween. There are two options to choose from. If you like Ismelda, it is recommended to pick the first option.
Later, she’ll mention that a regular Halloween celebration seems like a good plan. This will remind you that the Halloween feast is starting soon.

After that, you will head to the Halloween celebration. Proceed to the Great Hall when you are ready. Upon arriving, you’ll notice the speech bubbles above some of the characters. Tap on those if you’re curious to see what they have to say. When you arrive, you will wish everyone a happy Halloween.

Tonks will inform you that Ismelda is going to share a spooky story about what occurred in Hogsmeade. This line will differ based on your previous choice.

Tonks will mention that they’ll be the judges of that, and you’ll propose that you should tell them the entire story. To complete the next task, you need to earn five stars within eight hours. All five stars are required to pass. Since this task requires a lot of energy, it is recommended to start it with a full energy bar.

Bonus progress actions are tied to Merula and your character. Prioritize these actions to save some energy. Slide the screen left and right to check all available actions.

After you’ve finished, Tonks will be surprised to hear that you fought a whole group of skeletons. You’ll mention that you might have even seen Pumpkin Johnny. Tonks will comment that it sounds incredibly frightening, although she’s skeptical about Pumpkin Johnny being real. This line will differ based on the previous choice.


After that, Tonks will thank you for sharing your scary story with them, and then she and Ben will go enjoy the party. This line will differ based on whether you told everyone that the charmed skeletons are Ismelda’s fault in the previous part.

You will say that, luckily, no one was hurt, and she will say that she was able to make Halloween scary for everyone in society. These lines will differ based on your previous choice.


You’ll tell her she hasn’t learned her lesson, and then you’ll notice something familiar and strange behind her back.


Ismelda will be terrified when she sees the skeletons.

You’ll be very confused, and shortly after that, the Headmaster will begin speaking.
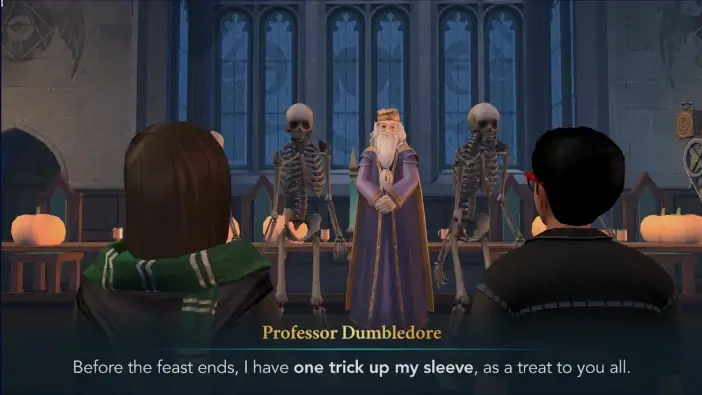
Professor Dumbledore will wave his wand, and hats will appear on the skeleton’s heads, causing them to start dancing. You’ll happily add that this is the right way to use charmed skeletons.

Ismelda will admit that she’s learned her lesson and wish you a happy Halloween.


This will mark the end of Part 4 of the Pumpkin Johnny Rises Adventure. Hit the Collect button to claim your reward. You will receive 4 Gems, 1000 Experience Points, and 3 Chocolate Frogs. You’ll earn the achievement for completing the adventure.

You’ll unlock a new location, Maestro’s Music Shop.
As our thrilling Halloween adventure came to an end, we uncovered a valuable lesson about the importance of selflessness and considering the well-being of others, in contrast to Ismelda’s selfishness. We’ve learned that moderation in all things is key and that Halloween is not just about our enjoyment but also about sharing the joy with those around us. Ismelda has come to understand this vital lesson, and we’ve had a fantastic time celebrating Halloween as we braved those spooky skeletons.
Happy Halloween!
Thank you for reading.
