
Sickleworth’s Cursed Treasure Part 4
Introduction
Hello everyone, welcome to Part 4 of the Sickleworth’s Cursed Treasure Adventure of Harry Potter Hogwarts Mystery!
In the previous part, with the help of Hagrid and Leprechaun gold, you’ve managed to lure the original Sickleworth and cast Finite Incantatem on him to vanish all the duplicates of him. Merula stole the cursed coin and went to the Artefact Room. Once you and Merula fought for the coin, the coin fell to the ground and started constantly duplicating. You and Merula managed to stop the curse.
Lastly, you gave the coin to Archer in Hogsmeade. Madam Rakepick appeared, and Archer continued to blame her for bringing the coin to Hogwarts. Madam Rakepick calmly denied such claims, and she agreed to show you the proof both of her innocence and who the real culprit is.
Summary
Part 4 Summary:
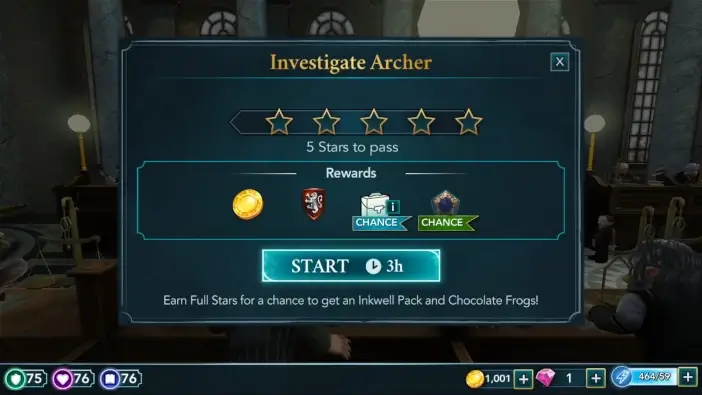
- Task 1: Hear out Rakepick
- Waiting Time: 6 hours
- Location: Diagon Alley
- Requirements: 8 hours – 5/5 stars
- Choice: Come to Gringotts with Madam Rakepick
- Let’s go: +10 Courage
- Do I have a choice?: +5 Knowledge
- Task 2: Go to Gringotts
- Location: Gringotts
- Requirements: 3 hours – 5/5 stars
- Choice: Answer Madam Rakepick’s question
- He lied: +5 Knowledge
- He was just wrong: +5 Empathy
- Task 3: Confront Archer
- Location: Lakeshore
- Requirements: 3 hours – 5/5 stars
- Choice: Choose how to reassure Bill
- Archer has gone too far: +5 Empathy
- Rakepick had it coming: +5 Courage
- Task 4: Catch up with Archer
- Location: Hogsmeade
- Requirements: 8 hours – 5/5 stars
- Choice: Attack Archer or try to negotiate first
- Negotiate: +5 Empathy
- Attack (Your Courage level): +10 Courage
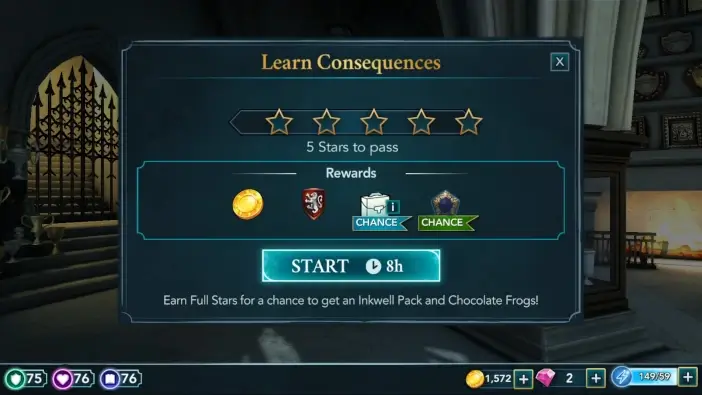
- Task 5: Report to Dumbledore
- Location: Trophy Room
- Requirements: 8 hours – 5/5 stars
- Choice: Tell Bill if you think he will be a good Curse-Breaker after what happened
- The best (Friendship level 8 with Bill Weasley): +10 Empathy
- Better than Archer: +5 Knowledge
- Not really: +5 Courage
- Part 4 Rewards: 4 Gems, 3 Chocolate Frogs, 1000 Experience Points, and the Niffler Trophy tappie in the Trophy Room (Coins or Gold Notebook every 26 hours)
Walkthrough
Before starting the next task, you’ll have a waiting time of 6 hours. After the waiting time is over, go to Diagon Alley.
Madam Rakepick will apologize for dragging you into this unpleasant situation. She will first tell you the reasons why she doesn’t trust Archer Dubbins.

To complete the next task, you’ll need to earn all five stars within eight hours. Start this task when your energy bar is full.

There is only one bonus progress action tied to Madam Rakepick. Prioritize actions tied to her to save some energy.
You’ll find out that Madam Rakepick reported Archer to the authorities, and he was removed from the Curse-Breaker team at Gringotts. Archer’s obsession with cursed objects was becoming a liability to Gringotts. Madam Rakepick doesn’t know how he got back into a job. She suspects that Archer brought the cursed coin to Hogwarts to frame her.

You will ask her how to prove Archer’s actions. She will invite you to Gringotts to learn the truth. This choice won’t impact the overall story, but the first option will bring you +10 Courage points, and Madam Rakepick will appreciate it.
Go to Gringotts to continue the story. Once there, you and Madam Rakepick will start asking questions.
To complete the next task, earn all five stars within three hours. Start this task when your energy bar is full.
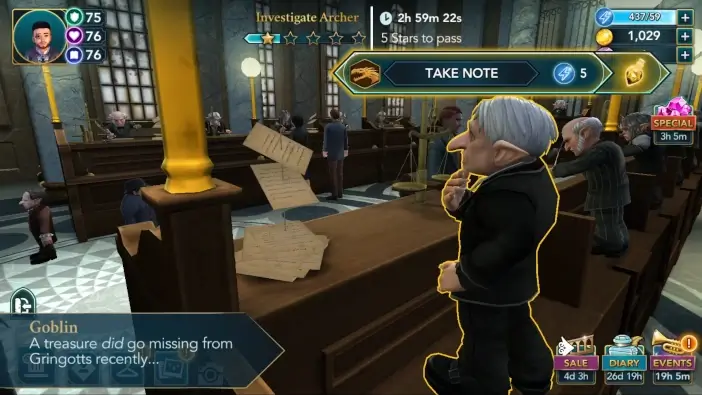
Bonus progress actions will be tied to two goblin bankers. Prioritize actions tied to them to save some energy. Swipe the screen left and right to see all available actions.
You will learn that Archer’s strange behaviour coincided with the disappearance of a Gringotts treasure. Madam Rakepick will suggest asking banker Griphook for more information.
Griphook will explain that the treasure had disappeared recently, but not from a client’s vault. It was the creation of Gringotts itself. This treasure, a cursed coin, is ensuring the honesty of employees. If an employee grasps this coin in greed, with the intent to take the treasure for themselves, the person holding the coin and the coin itself will duplicate, which will reveal their greed to everyone.
Everything will make more sense now. Tonks didn’t duplicate because she intended to give it back, while Merula wanted to take the coin, which caused her to duplicate. This doesn’t match what Archer told you about the cursed coin before. He told you that the cursed coin came from the outside world, which would add to the suspicion.

Madam Rakepick will ask you what the reason is for Archer to misinform you that way. You can reply in two different ways, which will not influence the overall story.
Madam Rakepick will explain that Archer was lying so he could frame her with false reports about the coin’s location matching hers. You will decide to confront Archer, but without Rakepick, because she has lots of personal history with him, and you want to confront him in a non-threatening environment.
Go to the Lakeshore to continue the story. Once there, you will meet with Archer and Bill. You will ask Archer why he lied about the cursed coin. Archer will admit that he had some liberties with the truth, but he had very good reason to do so. He will start explaining.

To complete the next task, you’ll need to collect all five stars within three hours. Start this task when your energy bar is full.
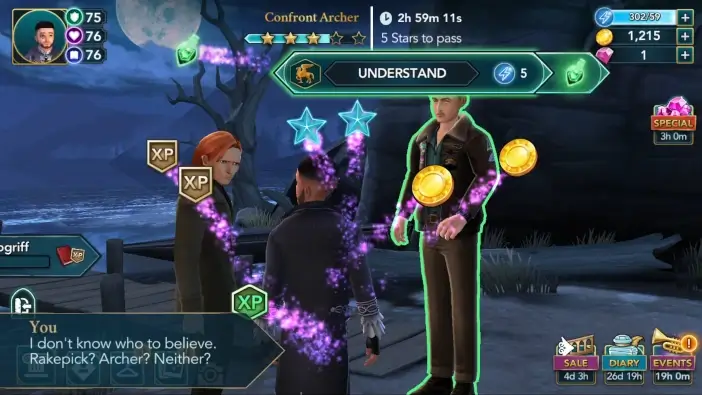
There is only one bonus progress action, and it’s tied to Archer. Prioritize actions tied to him to save some energy.
You will learn that Archer seeks vengeance because Madam Rakepick falsified evidence and got him fired from Gringotts before. He managed to return to Gringotts, but his career is set back by years. You will point out that he didn’t explain why he lied about the coin, and you will point out that Madam Rakepick informed you that he was obsessed with cursed objects and that he became a liability. Archer will respond that Rakepick is the one obsessed with cursed objects. Afterwards, he will admit that he brought the cursed coin to Hogwarts and accused her intentionally out of vengeance, to ruin her career, and he will not see anything wrong with it. Then, he will Apparate away.

Bill will be conflicted. On one side, he will think that what Archer’s doing is wrong, but he will also feel bad for what happened between him and Rakepick. Pick your opinion on this.
You will decide to go to Hogsmeade to intercept Archer before he can retrieve his possessions and escape for real.
Go to Hogsmeade to continue the story. Once there, you will encounter Archer on the street.

You can try to negotiate, but it will fail and lead to a fight, so it is better to attack immediately.

When the fight starts, cast Flipendo on Archer. Unfortunately, he will counter it with Finite Incantatem.

Archer will then use the cursed coin to duplicate himself. Bill will point out that, just like with Merula, the copies are not perfect, and you can dispel them.

To defeat Archer, you’ll need to earn all five stars within eight hours. Start this task when your energy bar is full.
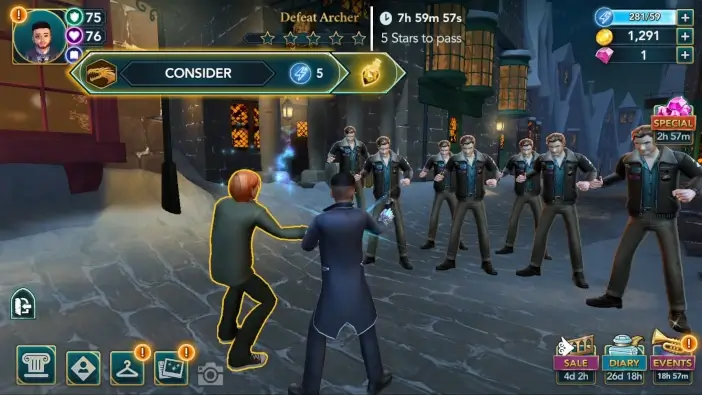
Bonus progress action is tied to Bill. Prioritize actions tied to him to save some energy.
After the task is completed, there will be fewer copies of Archer. You and Bill will try to cast Finite Incantatem on the real one to dispel the rest of the copies.

Cast Finite Incantatem.

Together with Bill, cast the Incarcerous spell on Archer.

At last, you will capture him. Bill will be excited that you two managed to defeat the actual Gringotts Curse-Breaker. You will tell Bill to apparate Archer to the Ministry and turn him over to the authorities. He will rejoin you at Hogwarts later.
Go to the Trophy Room on the Third Floor to inform Dubledore of what happened so far. Once there with Bill, Dumbledore will tell you that the Ministry informed him of the events, and Madam Rakepick, who will also be present, filled him in on the remaining details. He would like to hear your version of the story, and after that, he will inform you what happened to Archer.
To complete the next task, earn all five stars within eight hours. Start this task when your energy bar is full.
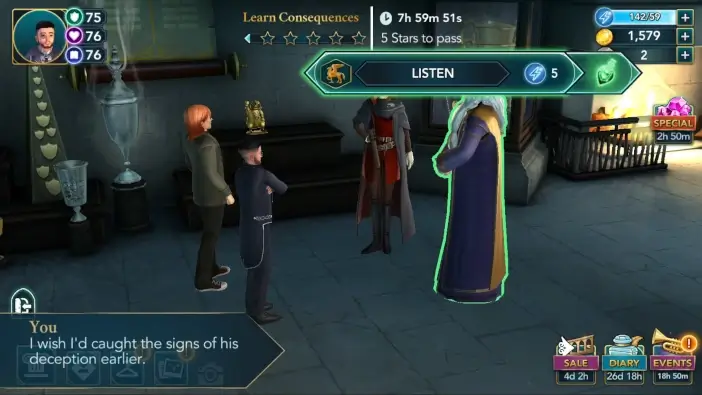
Bonus progress actions are tied to all except your character.
You will learn that Archer’s been taken into custody for fabricating false accusations against Rakepick and putting Hogwarts students in grave danger. Dumbledore will criticize you and Bill for trying to find the cursed treasure on your own, rather than immediately informing the faculty. On the other hand, you’ve shown great courage and capability. If not for your actions, Hogwarts might still be rife with Sickleworths or worse. In the end, he will not blame you for choosing to take immediate action, and your quick thinking deserves recognition.
He will give you a trophy that will stay in the Trophy Room. It will be a commemoration of your service to the school and a warning to those who stray too far into the temptation of Dark Magic. After all that happened, Bill will think that the curse-breaking group may be too advanced for most Hogwarts students, but he will be even more determined to be a Curse-Breaker.

Bill will ask you if he would be a good Curse-Breaker after what happened. Feel free to choose the option you like. It won’t influence his future decisions, but it is best to motivate your friend by choosing the first option. If you don’t have a level 8 Friendship with Bill, pick the second option.
This will mark the end of Part 4 of the Sickleworth’s Cursed Treasure Adventure. Hit the Collect button to claim your reward. You will receive 4 Gems, 3 Chocolate Frogs, 1000 Experience Points, and the Niffler Trophy tappie in the Trophy Room that gives Coins or a Gold Notebook every 26 hours.

You’ll earn the achievement for completing the adventure.
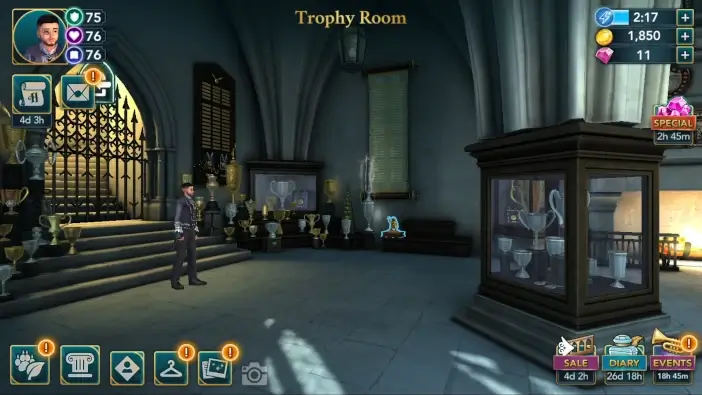
The Niffler Trophy tappie will be in the Trophy Room. It will give you Coins or a Gold Notebook every 26 hours.
Thank you for reading.
