
Sickleworth’s Cursed Treasure Part 3
Introduction
Hello everyone, welcome to Part 3 of the Sickleworth’s Cursed Treasure Adventure of Harry Potter Hogwarts Mystery!
In the previous part, you and Tonks failed to catch Sickleworth, who duplicated again. Later, Merula duplicated when she wanted to take the cursed coin, so you were puzzled about what was triggering the duplication curse. Archer suggested you should use the Wingardium Leviosa spell to move the cursed coin, to avoid touching it.
Lastly, you and Hagrid devised the plan to gather all Sickleworth copies, including the original version. You will use Leprechaun gold to lure the Nifflers, and then you will try to cast Finite Incantatem on the original Sickleworth, which would cause all copies to vanish.
Summary
Part 3 Summary:
- Task 1: Set Niffler trap
- Waiting Time: 1 hour
- Location: Clocktower Courtyard
- Requirements: 8 hours – 5/5 stars
- Choice: Prove to Hagrid that you remember the plan
- Use gold as lure: +10 Knowledge
- Set traps around the castle: +5 Courage
- Buy cursed coin off owner: +5 Empathy
- Task 2: Go after Merula
- Location: Artefact Room
- Requirements: 3 hours – 5/5 stars
- Choice: Reply to Merula
- You’re the trouble: +5 Courage
- It sure is: +5 Knowledge
- Thank you, Merula: +5 Empathy
- Task 3: Report to Archer
- Location: Hogsmeade
- Requirements: 3 hours – 5/5 stars
- Choices:
- Choice 1: Tell Archer if you are convinced by his evidence
- It’s not convincing: +5 Knowledge
- It’s convincing: +5 Courage
- Choice 2: Tell Archer if you believe what Madam Rakepick said
- No, but I have to hear her side: +5 Knowledge
- Yes, I do: +5 Empathy
- Choice 1: Tell Archer if you are convinced by his evidence
- Part 3 Rewards: 3 Gems
Walkthrough
Before starting the next task, you will have a waiting time of one hour. After the waiting time is over, go to the Clocktower Courtyard.
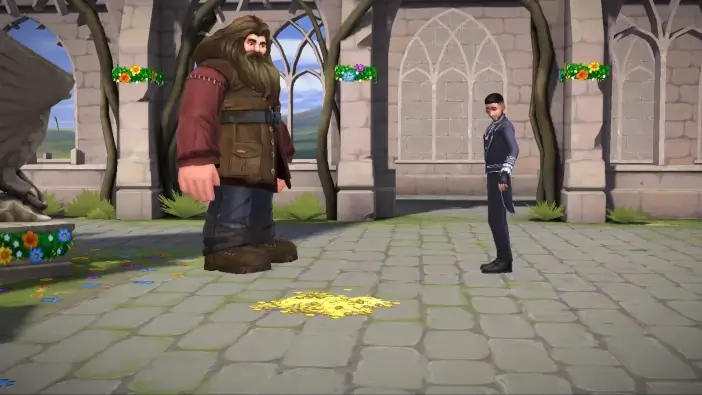
Once there, you will already see that Hagrid placed the Leprechaun gold as bait for Nifflers.

He will ask you if you remember the plan. The correct answer is “Use gold as lure”. You will remind yourself that you’ll need to cast Finite Incantatem on each Niffler as they arrive, and hopefully you will hit the original one, which would cause all duplicates to disappear at once. You and Hagrid will now hide behind the fountain and wait patiently while more and more Nifflers are gathering around the pile of Leprechaun gold.
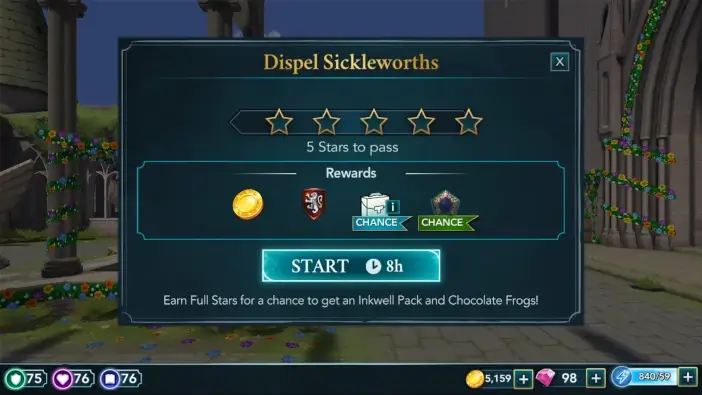
To complete the next task, you’ll need to earn all five stars within eight hours. Start this task when your energy bar is full.
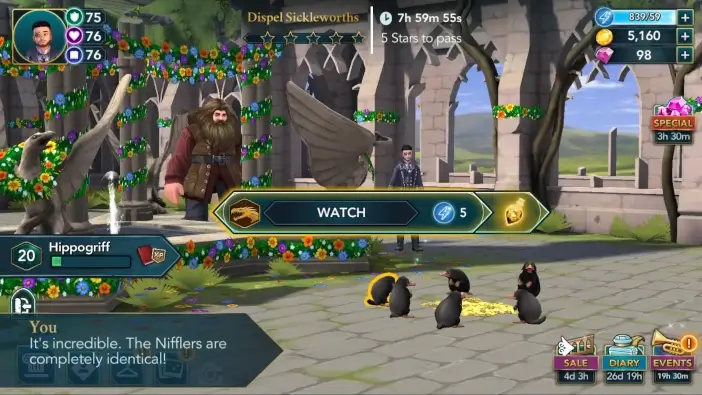
Bonus progress action will be tied to one of the Nifflers. When one Niffler vanishes, this action will tie to another one. Prioritize Nifflers to save some energy.

After the task, you will cast one final Finite Incantatem on the original Sickleworth, and all the copies will vanish. After this problem is solved, the next objective is to take the cursed coin. Unfortunately, Merula will appear, who will cast Flipendo on you again, and she will flee with the coin. She was following you since you met her in the dungeon and was practising the spells you were using to prepare herself for the coin. Hagrid will advise you to go after her while he looks after Sickleworth.
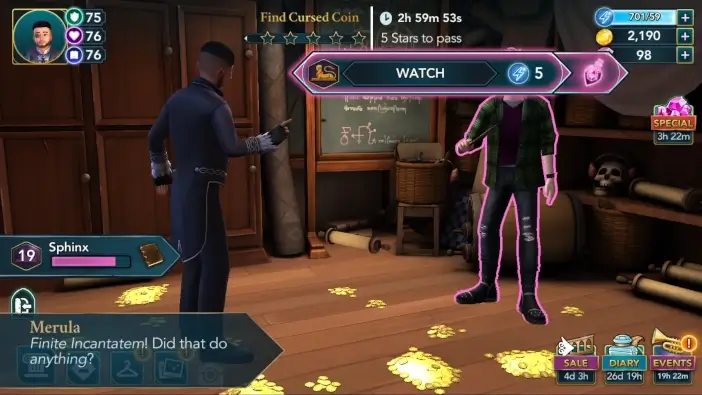
Go to the Artefact Room to talk with Merula. She will have the cursed coin under the Wingardium Leviosa spell. You will demand the coin back, but you will realize she will not listen.

Use Expelliarmus to disrupt her Wingardium Leviosa.

The coin will fall to the ground. Merula will try to cast Bat-Bogey Hex when suddenly the cursed coin will start uncontrollably and infinitely duplicating itself. You’ll both need to try finding the original coin to cast Finite Incantatem and stop the curse.
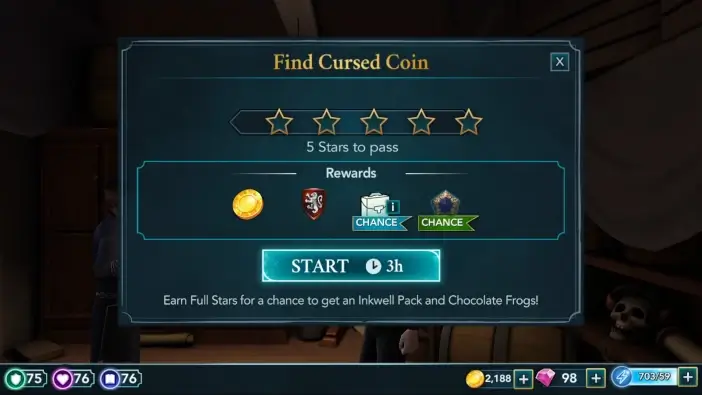
To complete the next task, collect all five stars within three hours. Start this task when your energy bar is full.
Bonus progress actions are tied to both Merula and your character.
You and Merula will be able to hold off the duplication of coins, but only for a short time. You will cast the Appare Vestigium to reveal traces of magical activity. This will cause the original coin to glow. Once you see it, you’ll need to cast Finite Incantatem on it, and all copies of the coin will vanish, and duplication will stop, for now.
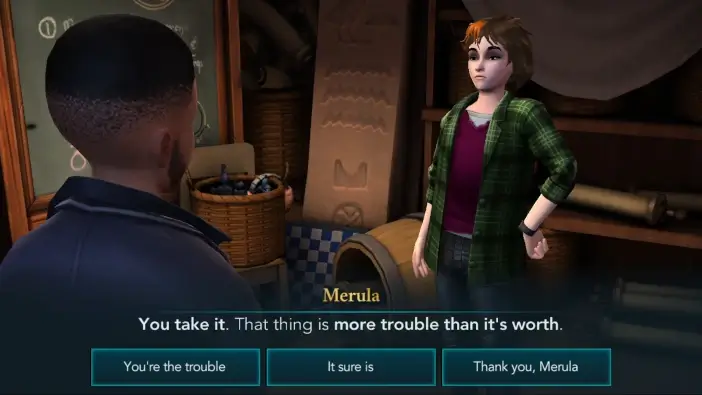
Merula will give up on getting the coin because it’s more trouble than it’s worth. You can respond to this in three different ways.
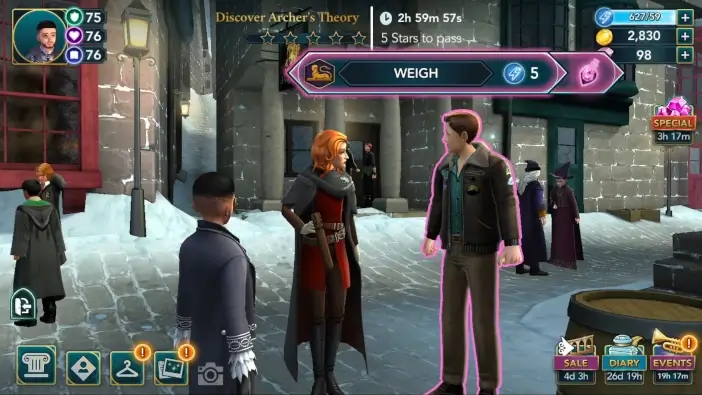
Shortly after, you will decide to meet Archer, bring him the coin, and put an end to this crisis once and for all. Go to Hogsmeade to speak with Archer.
You will update Archer on how you acquired the coin, and you will place the coin on the barrel next to Archer, using Wingardium Leviosa, to avoid touching it. Suddenly, Madam Rakepick will appear. Hagrid told her about the cursed coin, and she was shocked to find out that her Niffler, Sickleworth, had been used to find it and had been cursed along the way. You will apologize and explain that he was the obvious choice for you, and once Sickleworth got cursed, you were focused on trying to fix things that you didn’t have time to tell her what happened.
Madam Rakepick will mention that she wasn’t bothered by the things you mentioned. She was more upset that, when you found a cursed object, you didn’t report to her. Instead, you worked with Archer. Archer will accuse Rakepick of being the one who brought the coin to Hogwarts in the first place, and she should not pretend that she wants to help. You will ask Archer about the reasons why he suspects Madam Rakepick.

To learn Archer’s theory, you’ll need to earn all five stars within three hours.
There is one bonus progress action tied to Archer and multiple tied to your character. Prioritize actions tied to Archer and your character to save some energy.
You will summarize that Archer’s only evidence is that the coin was found near Rakepick.
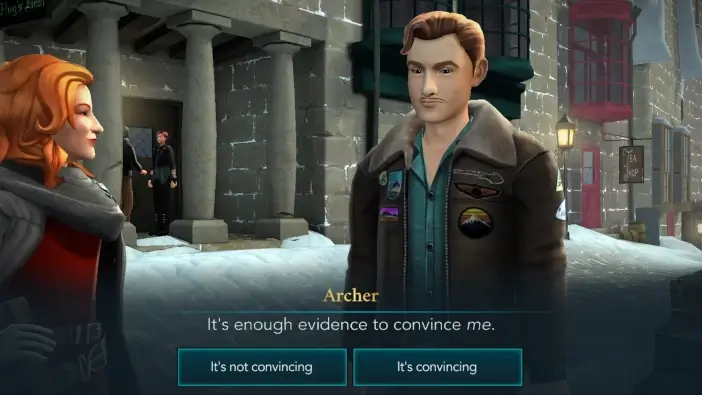
You can say if you are convinced or not.
Archer will further explain that he was following the coin’s location across the globe, and its location overlapped with Rakepick’s numerous times. You’ll ask Madam Rakepick if she can prove her innocence, and she will confirm she can, and also, she has proof of who the real culprit is. This will anger Archer.
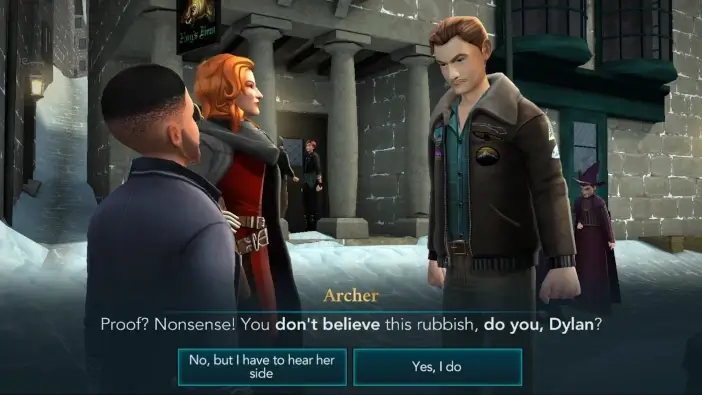
Choose if you believe Madam Rakepick or not. This choice will only have a small impact on the dialogue later, but it will not influence the overall story.
Madam Rakepick will reveal her proof and what she knows if you two are alone, without Archer.
This will mark the end of Part 3 of the Sickleworth’s Cursed Treasure Adventure. Hit the Collect button to claim your reward. You will receive 3 Gems.
Who brought the cursed coin into Hogwarts, and what will Madam Rakepick reveal? Is Archer too nervous and suspicious? Find out in the next part!
Thank you for reading.
