
Sickleworth’s Cursed Treasure Part 2
Introduction
Hello everyone, welcome to Part 2 of the Sickleworth’s Cursed Treasure Adventure of Harry Potter Hogwarts Mystery!
In the previous part, you and Bill Weasly formed a new Curse-Breaking group in Hogwarts, and for your first special guest, you had Archer Dubbins, a Curse-Breaker employed by Gringotts. Archer revealed to you and Bill that he arrived at Hogwarts to ask for help in retrieving a cursed coin that is somewhere in Hogwarts. This coin can duplicate itself and the person who takes it.
With the help of Sickleworth, you discovered that the cursed coin was in Tonk’s possession, although she wasn’t duplicated. She took the coin from the table, and she assumed the coin belonged to Madam Rakepick. She intended to return the coin to her, but once Sickleworth took the coin, he duplicated himself. Both he and his copy fled from the Great Hall, and now you, Tonks, and Bill must find him before things get out of control.
Summary
Part 2 Summary:
- Task 1: Go after Niffler
- Waiting Time: 1 hour
- Location: West Towers Corridor
- Requirements: 1 hour – 5/5 stars
- Choice: Reassure Tonks
- That’s all right: +5 Empathy
- That’s a problem: +5 Knowledge
- Task 2: Chase Sickleworth
- Location: Dungeons
- Requirements: 3 hours – 5/5 stars
- Choice: Dispel the duplicate Merula
- Dispel the Merula on the left: +5 Courage
- Dispel the Merula on the right: +10 Empathy
- Task 3: Meet Bill and Archer
- Location: Lakeshore
- Requirements: 1 hour – 5/5 stars
- Choice: Agree or disagree with Archer about not trusting Madam Rakepick
- I don’t trust her, either: +5 Courage
- She’s all right: +5 Empathy
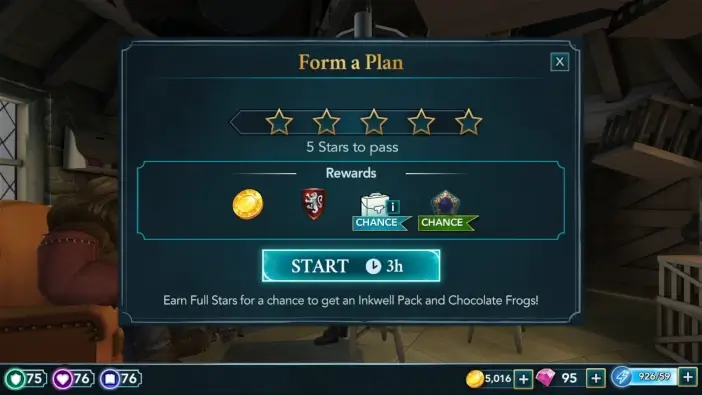
- Task 4: Get Hagrid’s advice
- Location: Hagrid’s Hut
- Requirements: 3 hours – 5/5 stars
- Choice: Tell Hagrid if you think the fear could be the trigger for the curse
- Yes, I think so: +5 Empathy
- No, not necessarily: +5 Knowledge
- Part 2 Rewards: 3 Gems and 1 Chocolate Frog
Walkthrough
Before starting the next task, you’ll have a waiting time of one hour. After the waiting time is over, go to the Corridor in the West Towers to continue the story. Tonks will wonder why she didn’t duplicate when touching the coin. You’ll explain that the curse is a unique variation of Geminio, but you don’t know what activates the curse, how often duplicates are created, or whether the duplicates can create duplicates of themselves.
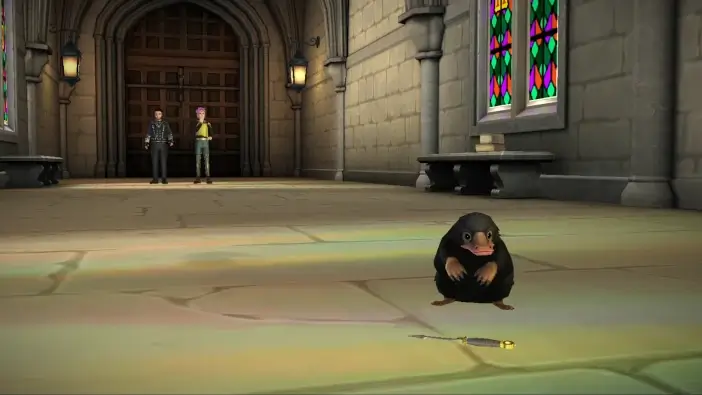
Suddenly, Sickleworth, or his duplicate, will appear to inspect the treasure on the ground. If this version holds the cursed coin, he would hold it in his belly pouch. You’ll decide to sneak up on Sickleworth.
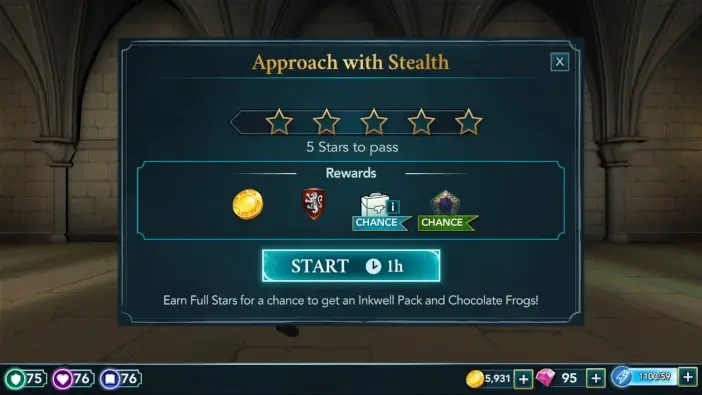
To approach Sickleworth, earn all five stars within one hour.
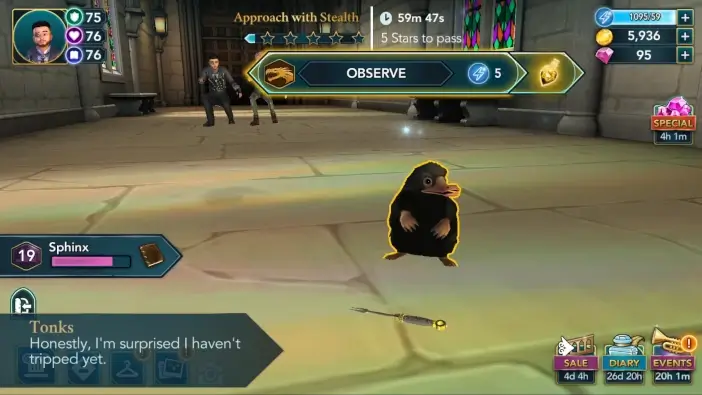
All bonus progress actions are tied to Sickleworth. Prioritize actions tied to him to save some energy. Swipe the screen left and right to see all available options.
Once close to Sickleworth, Tonks will lose balance and scare him. He will duplicate himself again, and you and Tonks will corner one version.
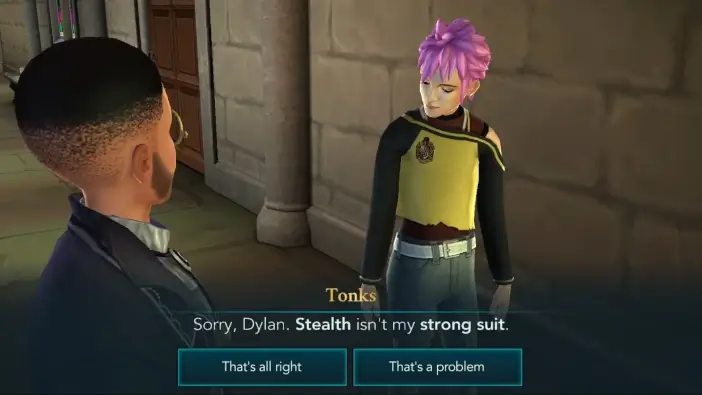
Tonks will apologize for failing in the stealth approach. You can respond in two ways, but if you like her, choose the first option to reassure her.
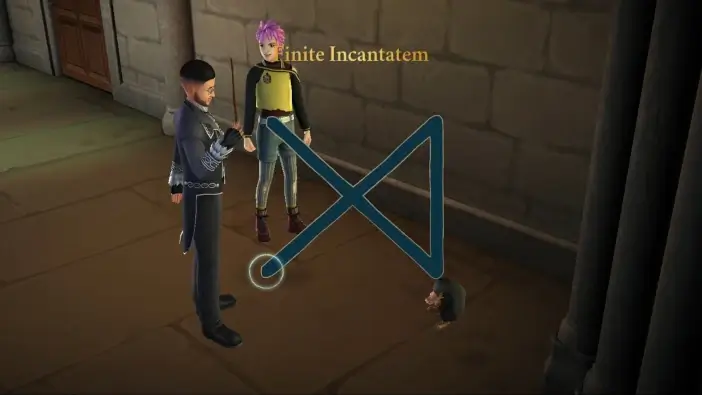
Cast Finite Incantatem on this version of Sickleworth to see if it is the original or a duplicate. If duplicate, it should vanish, which will happen. You’ll remind Tonks that if you don’t find the original Sickleworth, he’ll keep duplicating, and Hogwarts could be overrun with Nifflers.
Go to the Dungeon part of Hogwarts to continue. You will meet Merula, who cornered one version of Sickleworth. She will explain that she heard about the cursed treasure, and she will not share the profit with you from selling it. You will try to explain the situation, but she will cast Flipendo on you, and you will fall to the ground.
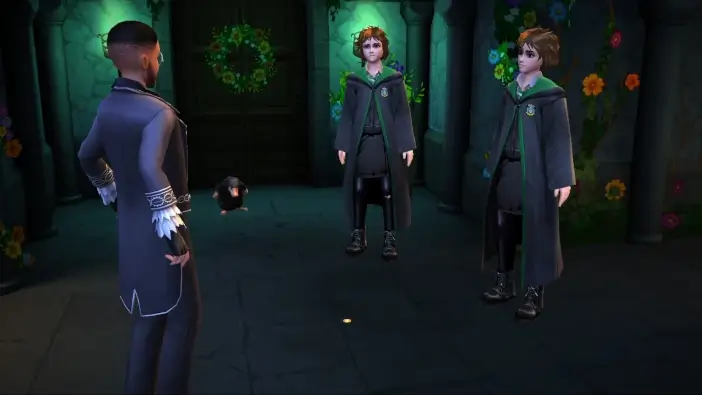
Once you stand up, you will realize that Merula has duplicated. During the confusion, Sickleworth will again grab the coin and duplicate, then run away. The copies of Merula won’t let you go, and they will argue between each other about who is a copy and to whom the cursed coin belongs. To identify fake Merula, you’ll need to pay attention to what they say.
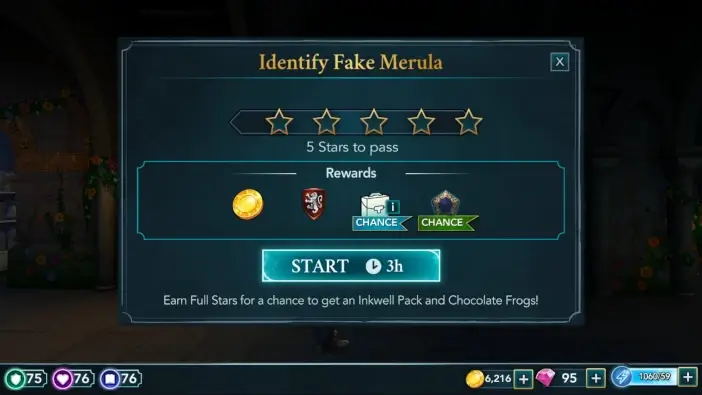
To complete the next task, you’ll need to earn all five stars within three hours. Start this task when your energy bar is full.
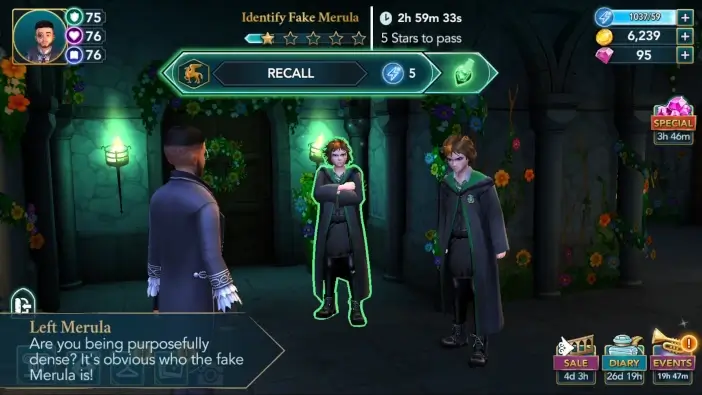
One bonus action is tied to Merula on the left. Prioritize actions tied to her to save some energy. Pay attention to the dialogue window on the bottom-left when you click one of the Merula versions. Merula on the left will mention real events that happened, while Merula on the right will only complain. This is a hint that Merula on the left is the real one and Merula on the right is fake.
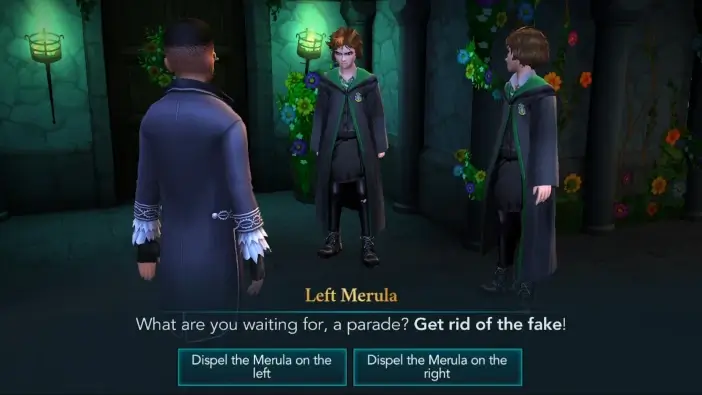
After the task, you’ll need to choose which Merula is fake. The correct answer is Merula on the right. Even if you make a wrong choice, the outcome will be the same. You’ll just additionally annoy the real Merula. You’ll need to cast Finite Incantatem on duplicate Merula to vanish her.
You will wonder why Merula duplicated and Tonks didn’t. You will decide to check in with Bill and Archer. Go to the Lakeshore to continue the story.
You, Bill, and Archer will gather, and you will discuss everything that has happened so far. Since you don’t know what triggers the course, you’ll agree that you should avoid touching the coin.
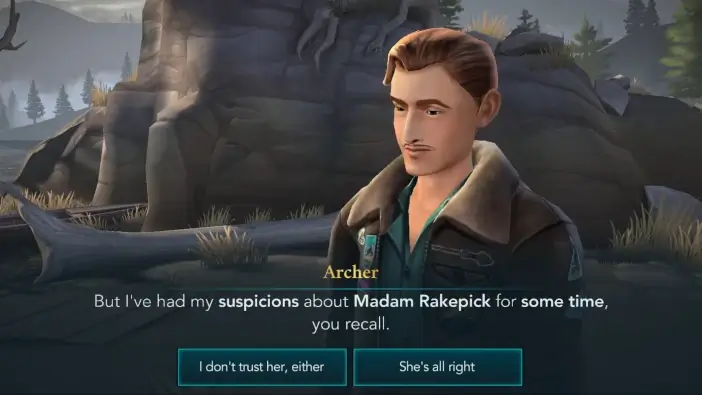
Once you update Archer that Tonks believes the coin belongs to Madam Rakepick, he will bring up his suspicions again. You can agree or disagree with him, which can influence some dialogue later, but it won’t influence the overall story.
You will decide to use Wingardium Leviosa on the coin to move it, to avoid touching it. You’ll need to practice it first.
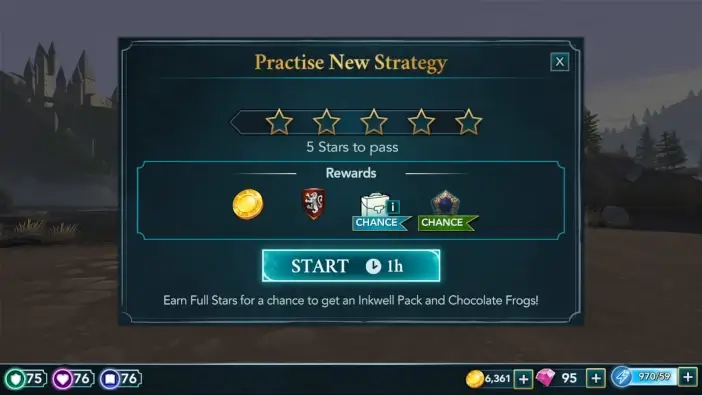
To complete the next task, earn all five stars within one hour.
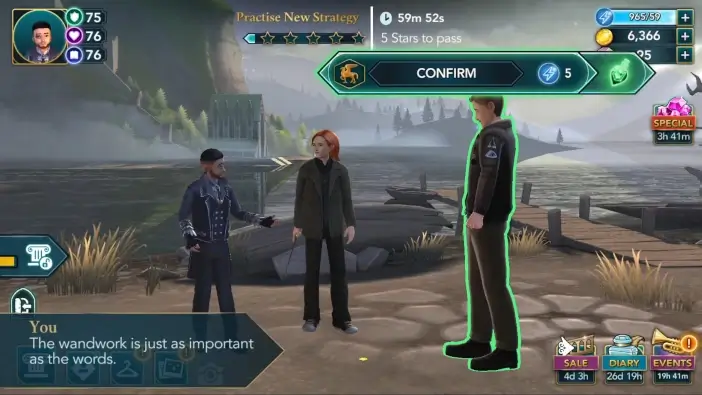
Bonus progress action is tied to Archer. Prioritize actions tied to him to save some energy.
After the practice, you and Bill will feel better prepared to find real Sickleworth and the cursed coin. You will recall that you could recognize who the real Merula was after she shared her memories, but Sickleworth can’t speak. There must be something unique in Sickleworth’s behaviour, so you’ll ask Niffler expert Hagrid to help you.
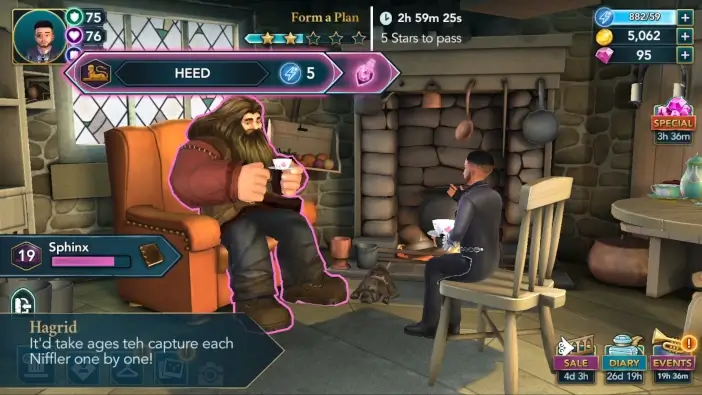
Go to Hagrid’s Hut to continue. Hagrid will already know the problem with duplicate Nifflers since they are all over the place, even Dubledore complained. You will ask him to share his thoughts about how to solve this problem.
To complete the next task, collect all five stars within three hours. Start this task when your energy bar is full.
Bonus progress actions are tied to both Hagrid and your character.
You will realize that if you lure all the Nifflers to one location, you’ll increase the odds of finding the real Sickleworth. One Finite Incantatem on the original Sickleworth will vanish all duplicates and end the crisis. Since Nifflers are attracted to shiny things and treasure, Hagrid can use Leprechaun gold as bait. He will buy it in Knockturn Alley.
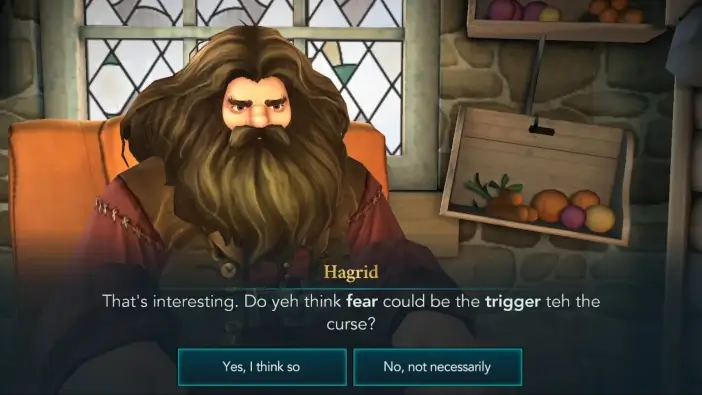
Hagrid will be worried if Sickleworth is scared by his duplicates, and he will wonder if fear could trigger the curse. You’ll have the opportunity to share your opinion on this topic.
This will mark the end of Part 2 of the Sickleworth’s Cursed Treasure Adventure. Hit the Collect button to claim your reward. You will receive 3 Gems and 1 Chocolate Frog.
Will you manage to find the original Sickleworth and vanish all of his copies? Find out in the next part!
Thank you for reading.
